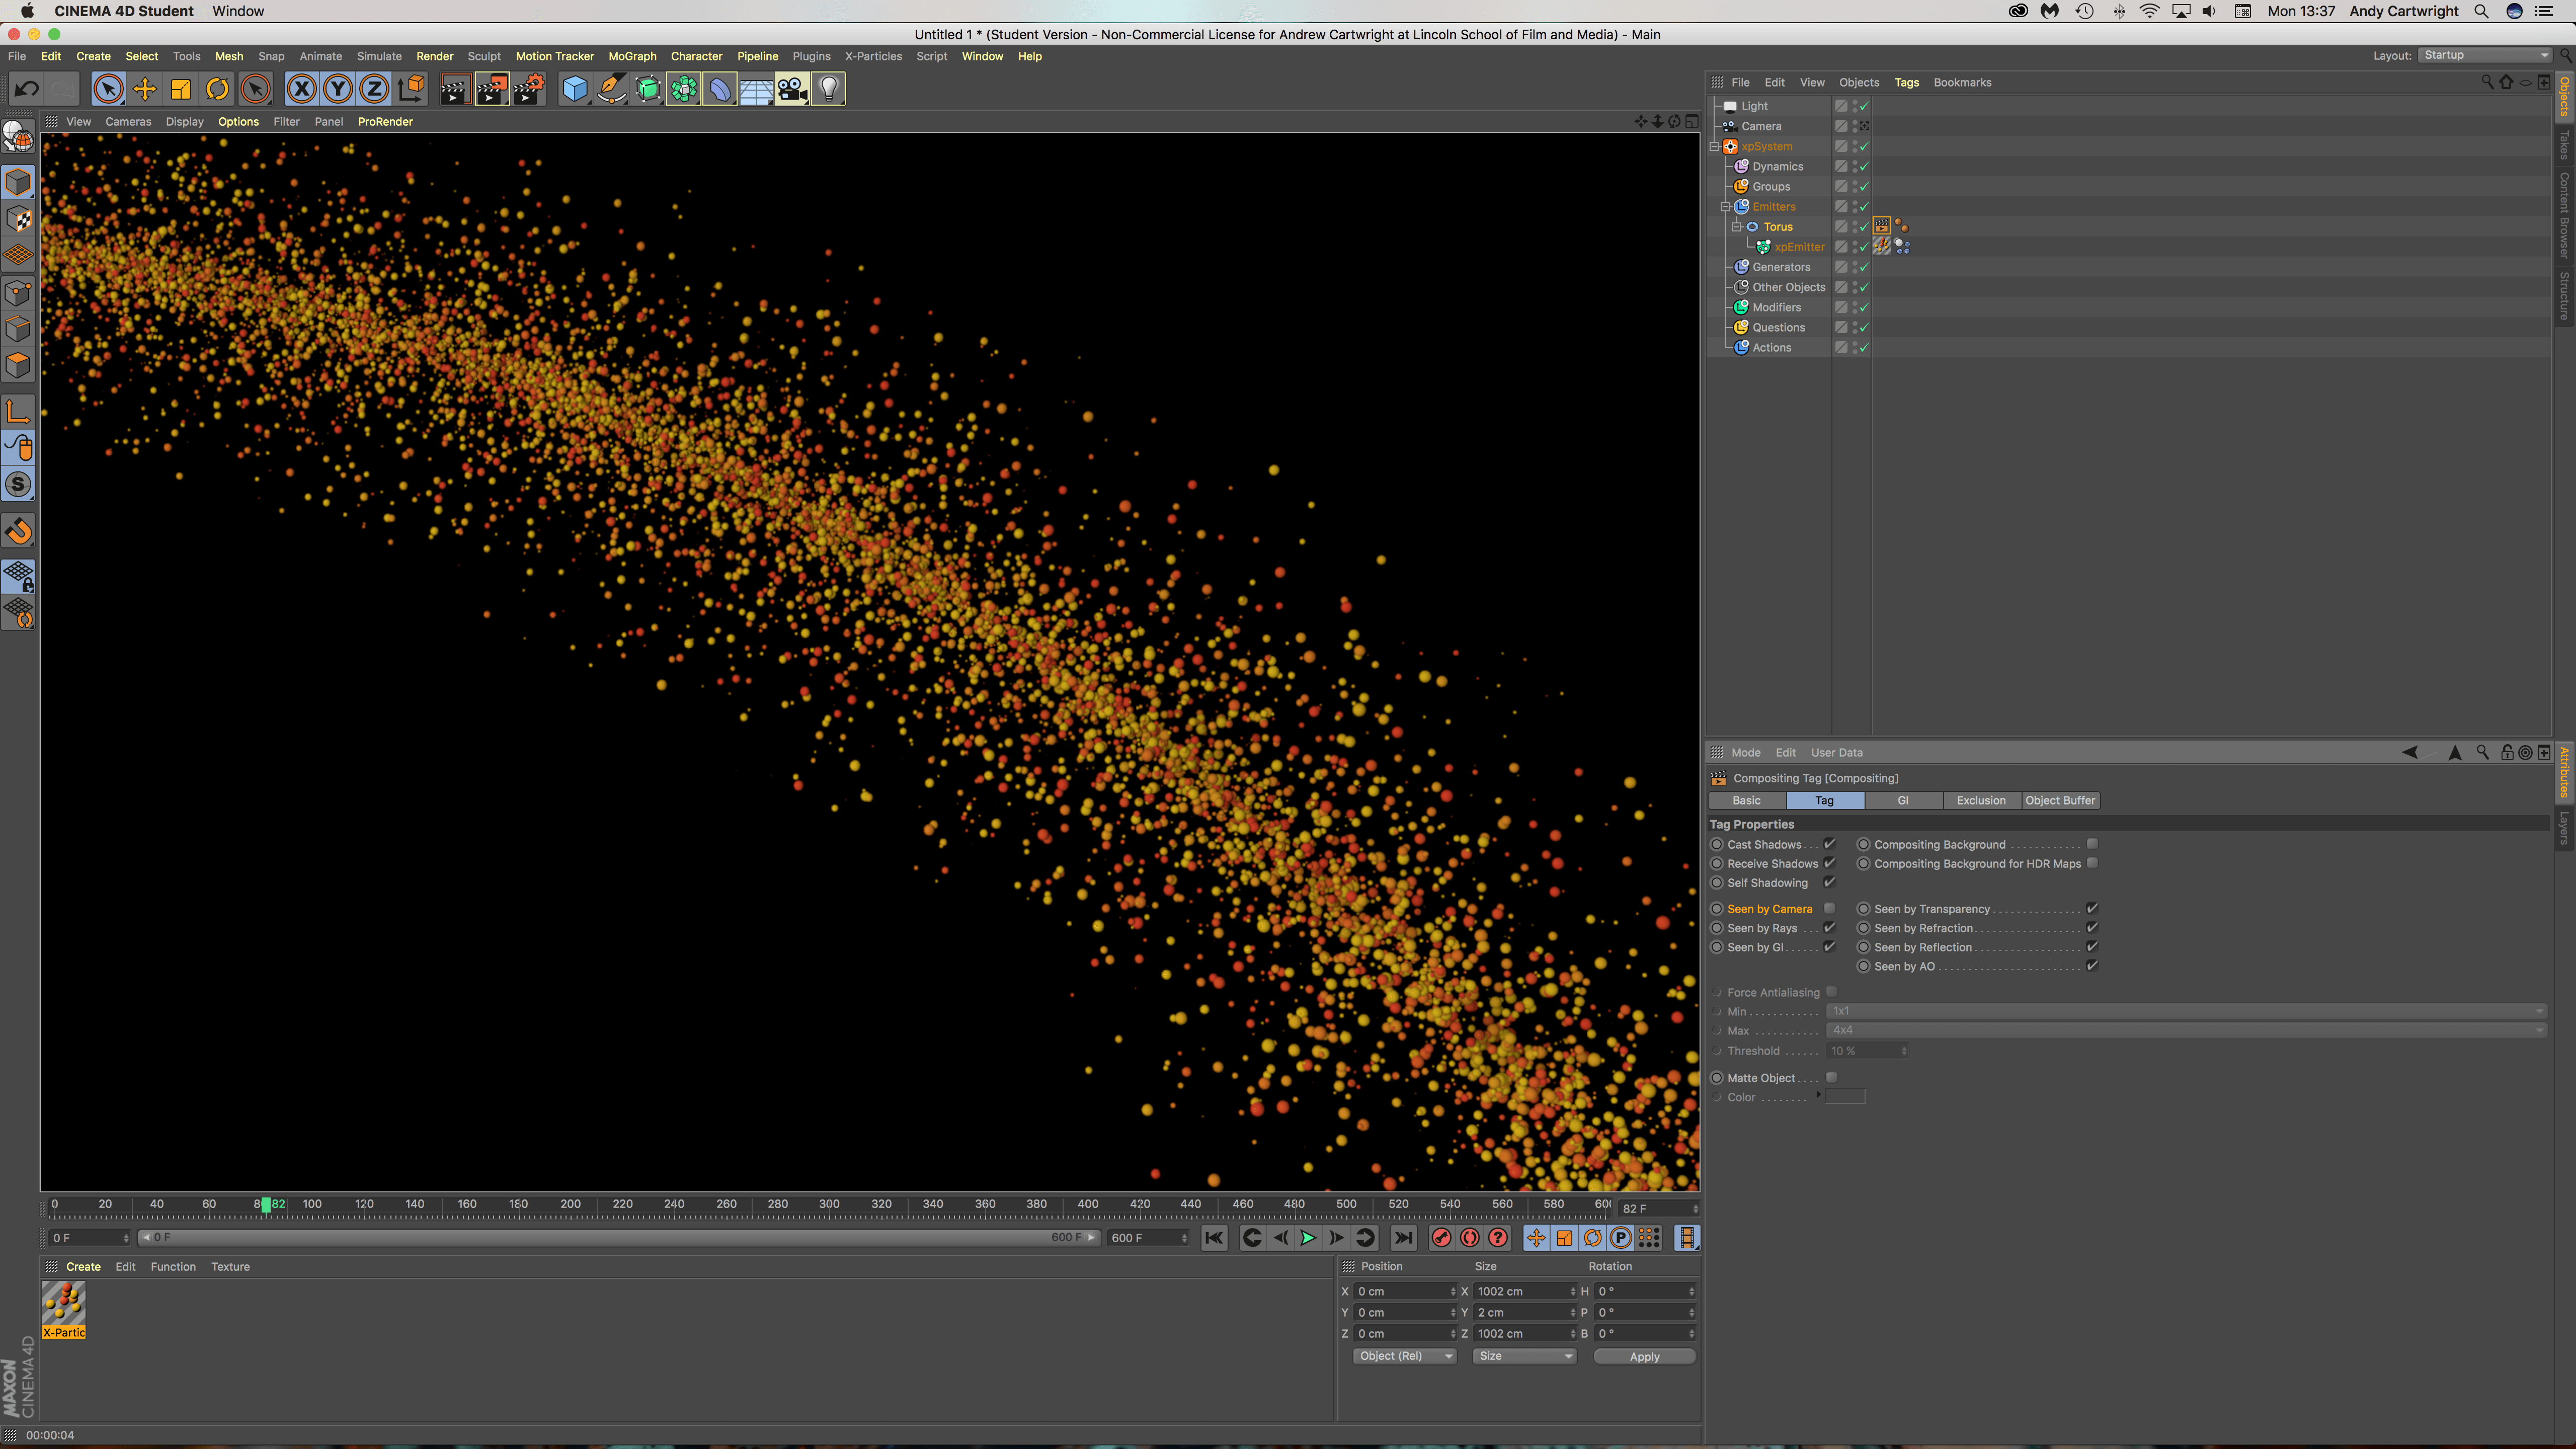
Here is another Youtube tutorial by Greyscalegorilla, the project being done doesn’t apply to my animation at all, however, there is a specific part which goes over x-particles materials in great detail which was very useful. The specific part in the tutorial starts at 15m 20s and ends at 19m 50s, which can be viewed below:
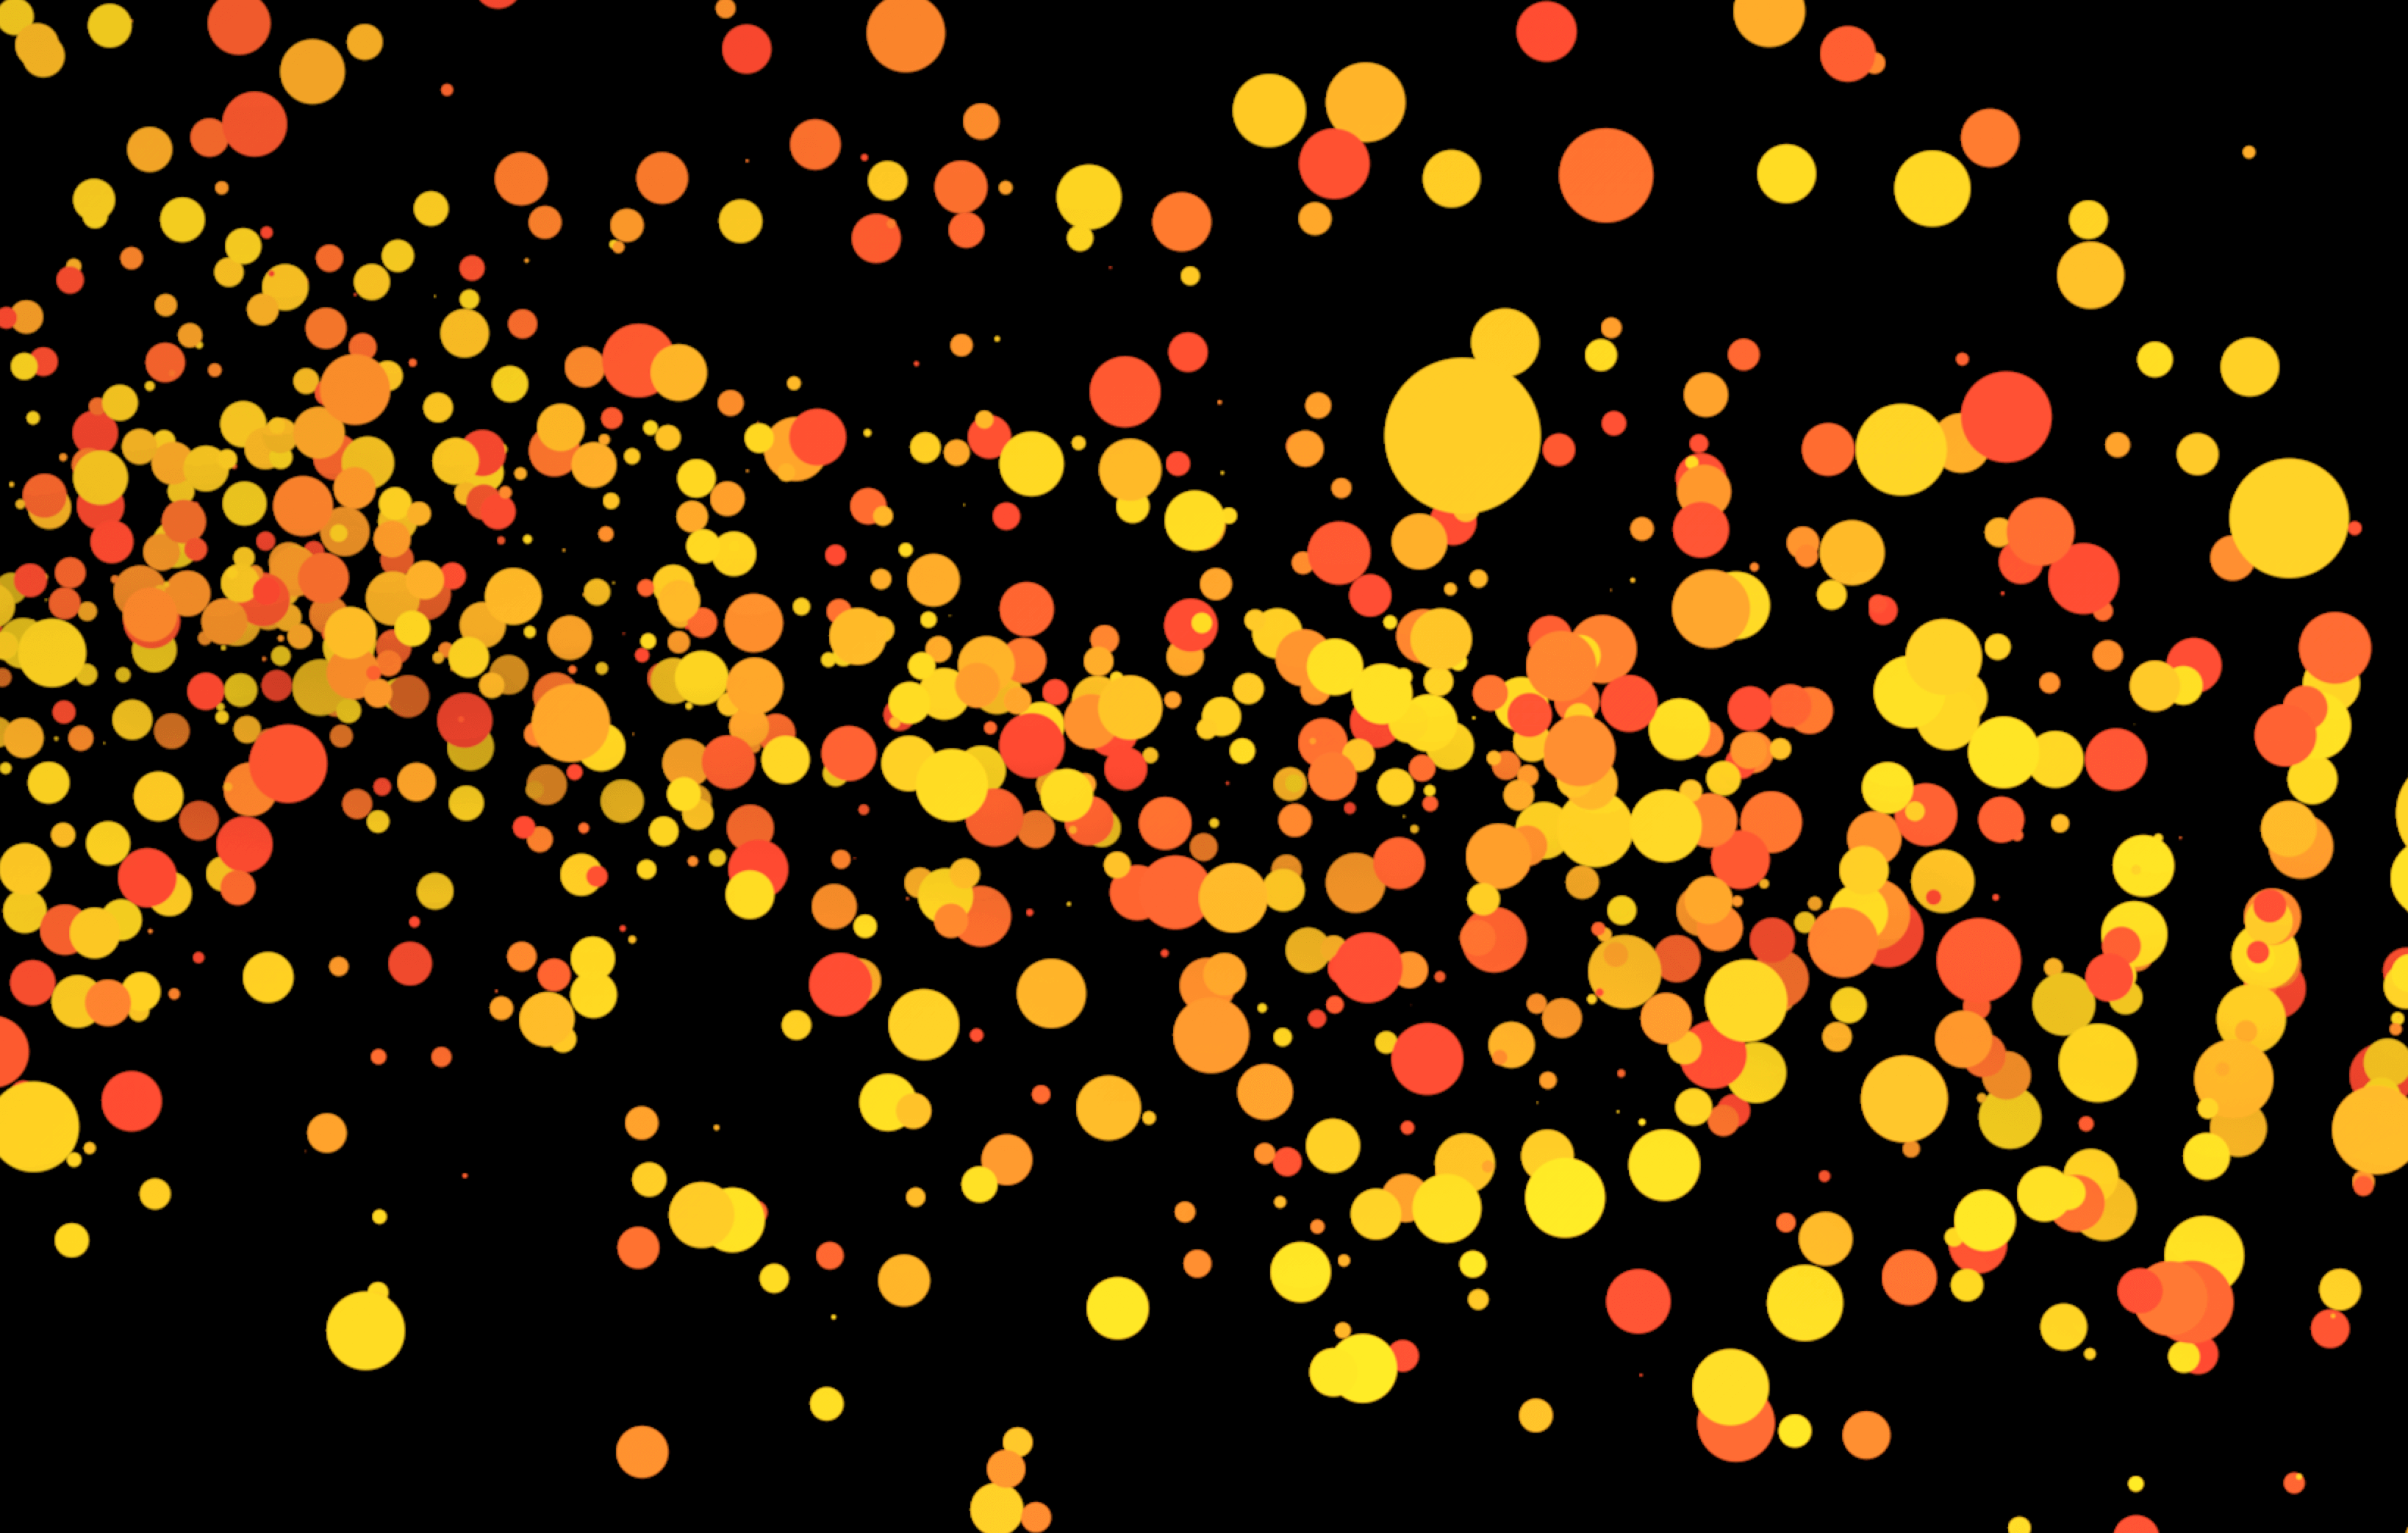
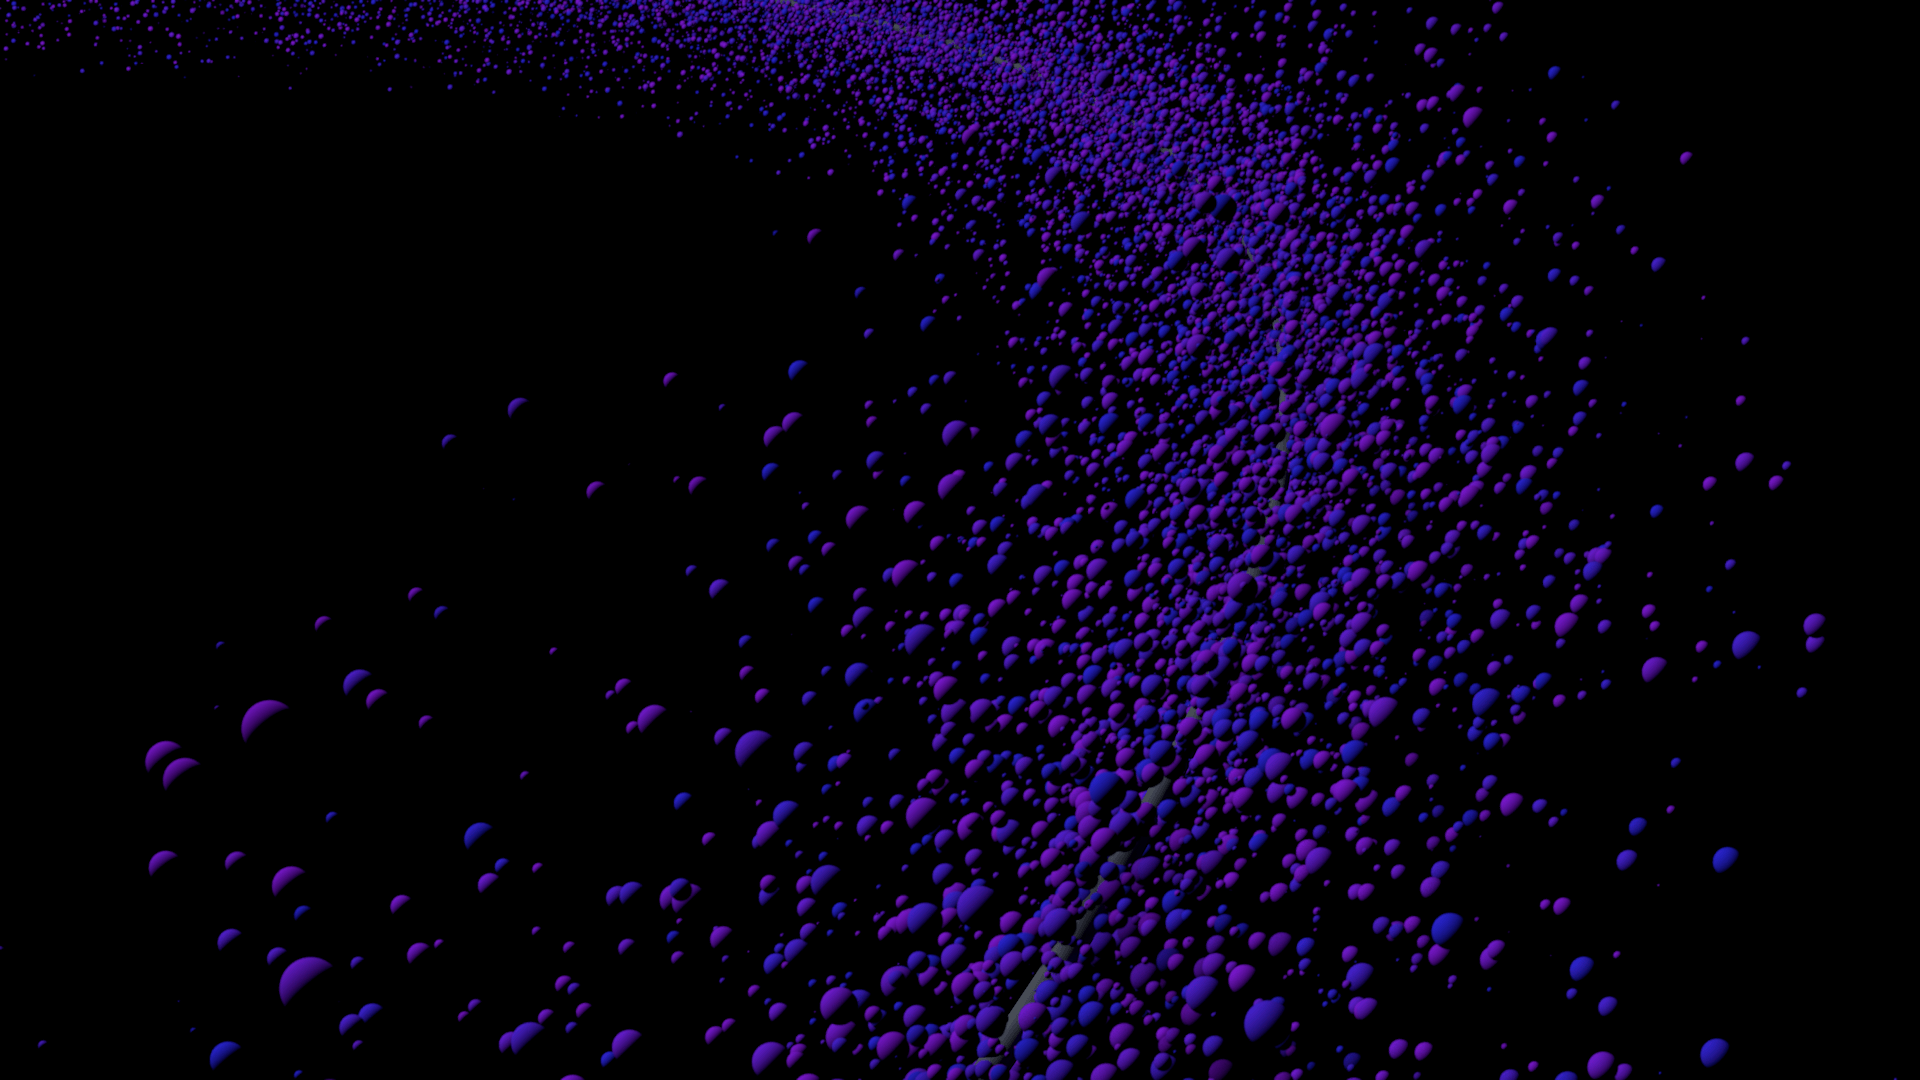
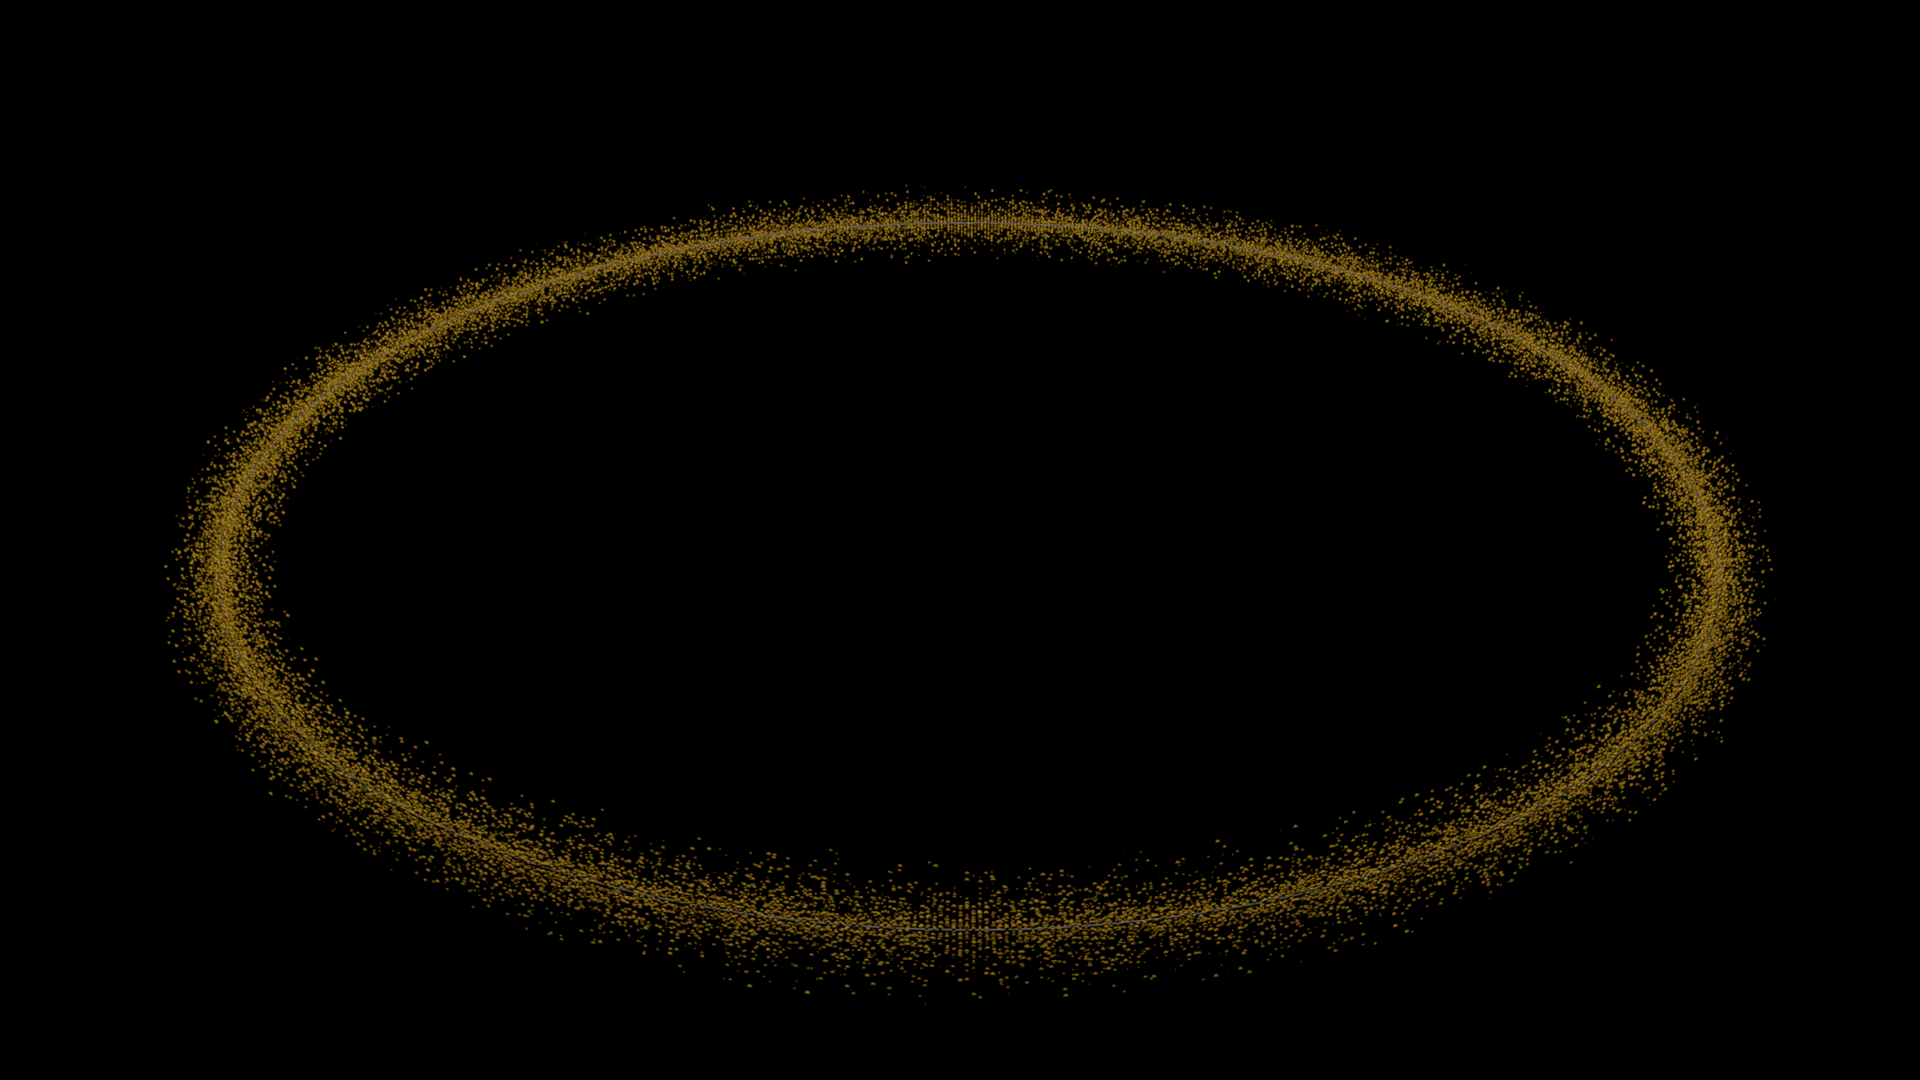
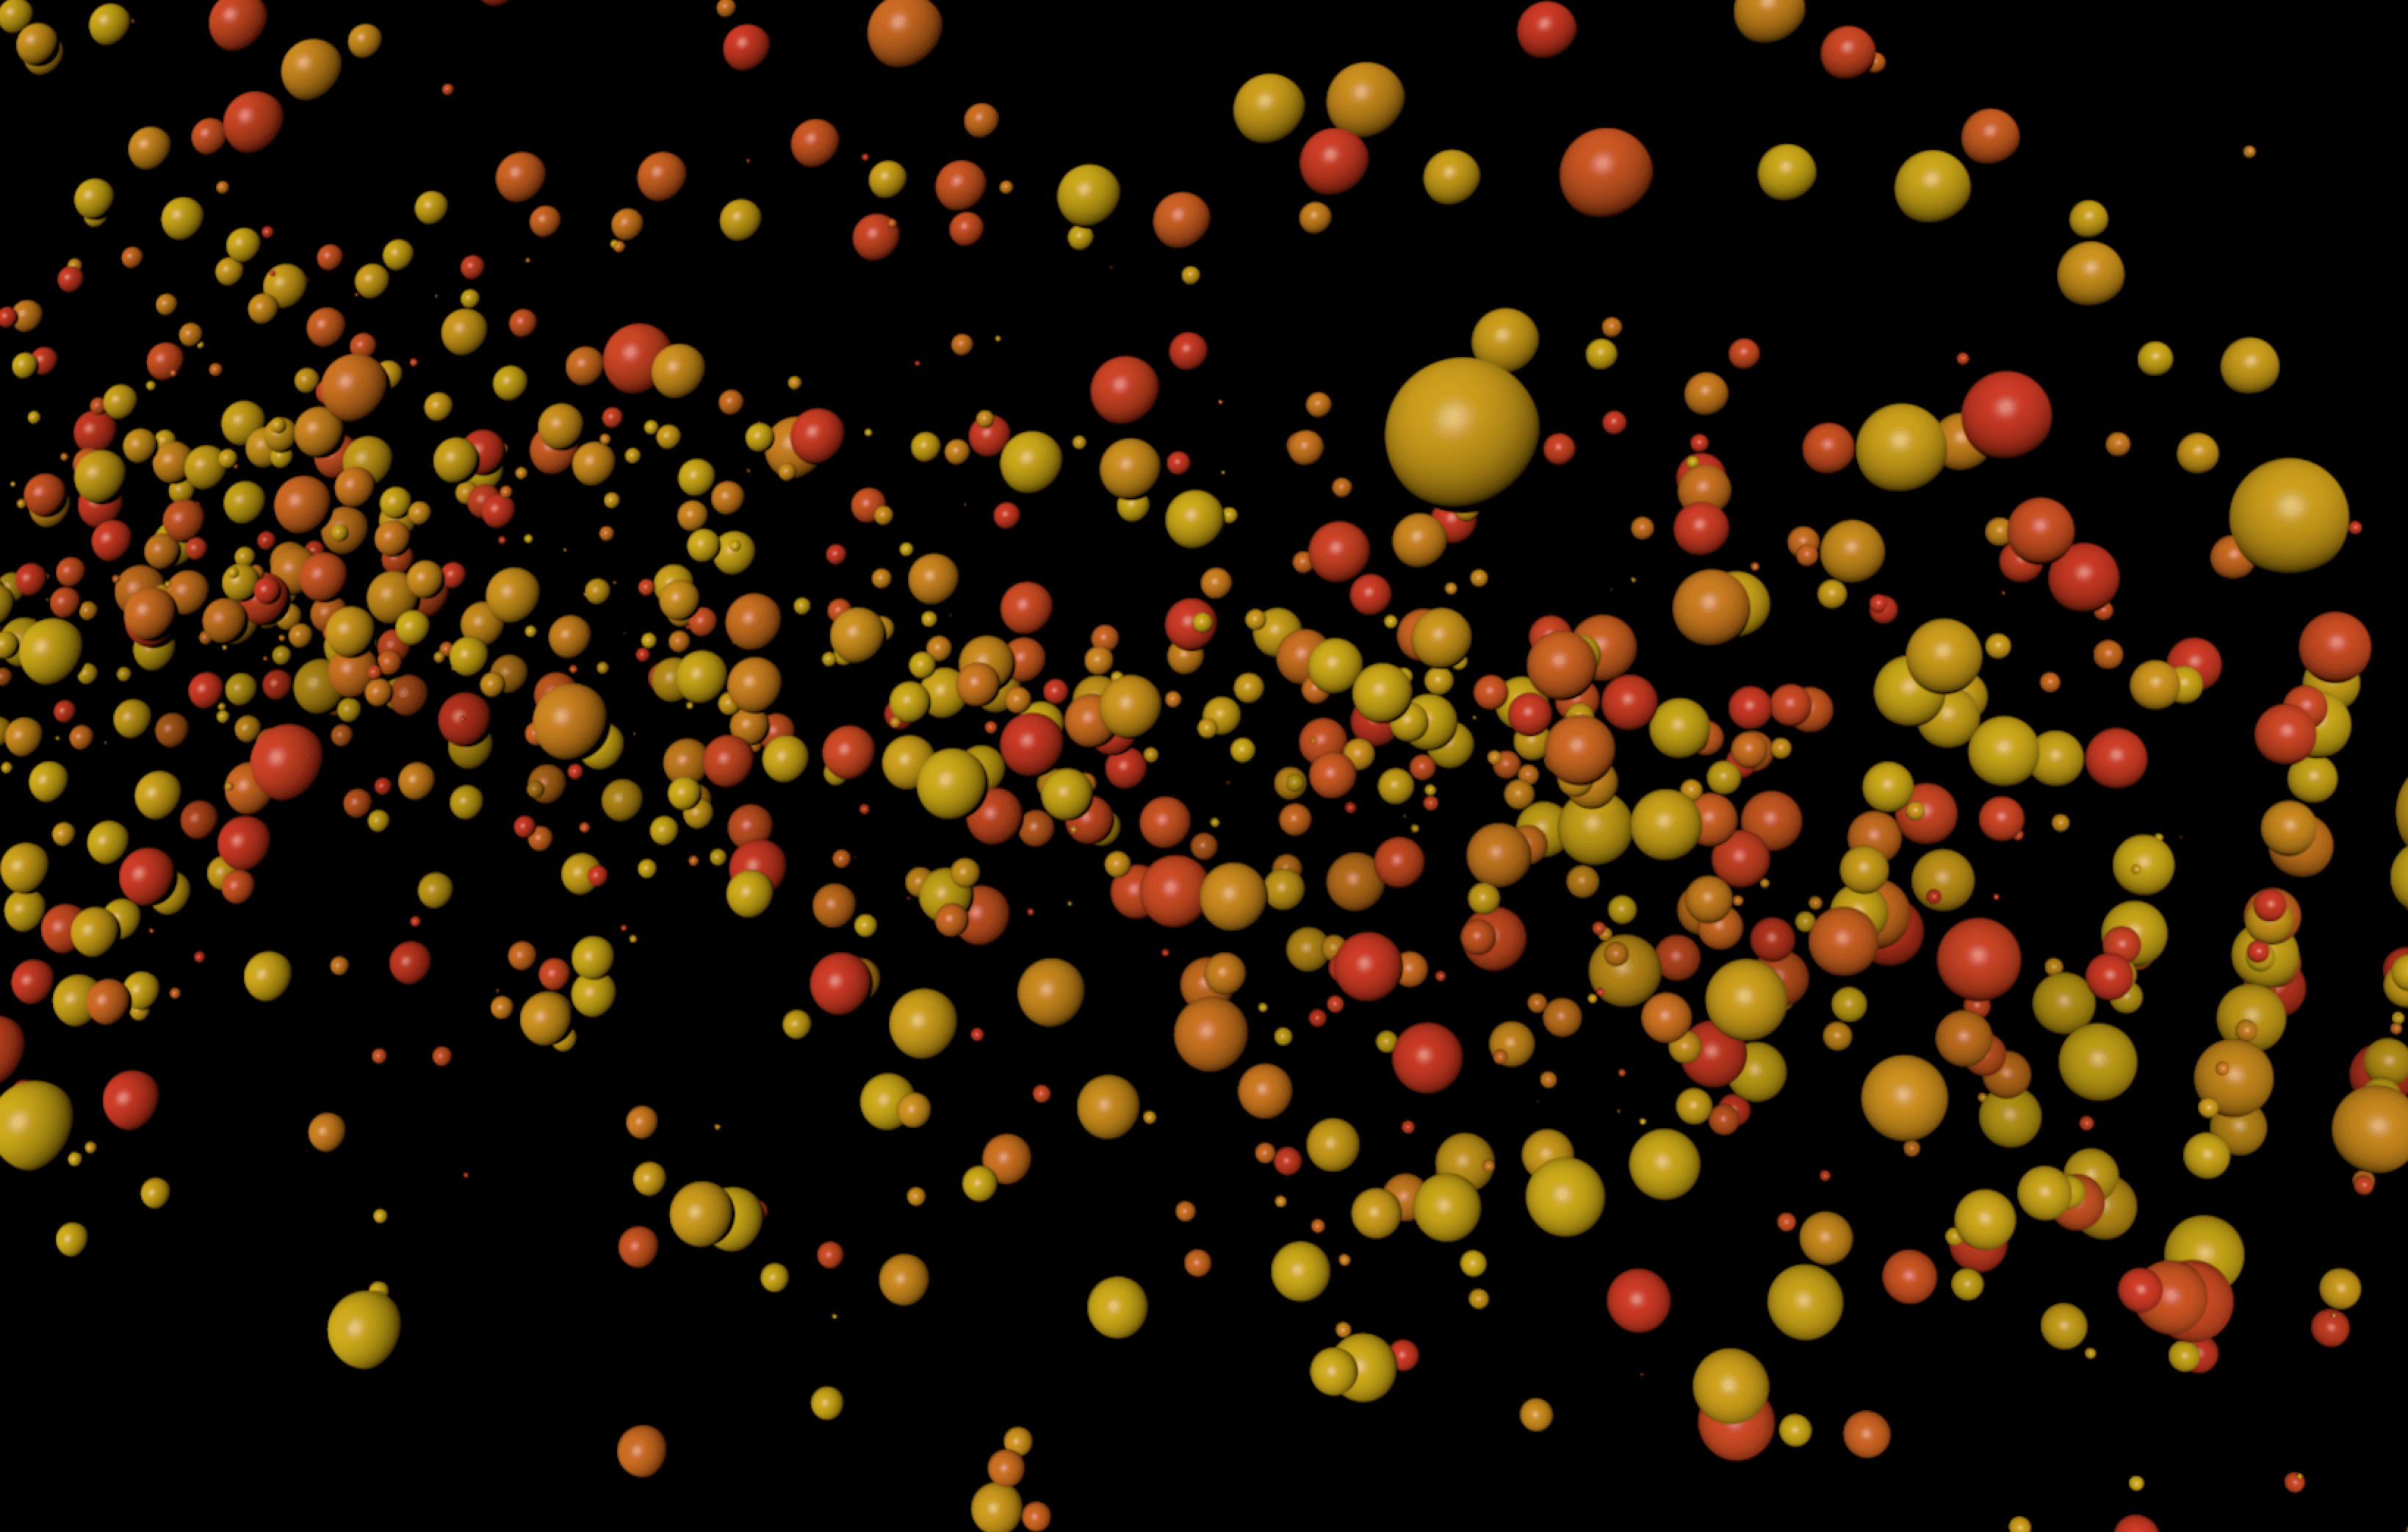
When experimenting with X-particles before in my X-Particles Research post, I didn’t know how to make glossy X-particle materials, specifically looking for a reflectance within the material. When experimenting I came very close to discovering how to do this, however I didn’t select the right colour mode under: X-particles material > Illumination > Lighting > Mode. Under this section within the colour shader of the x-particles material, there are many different settings to choose from, each with their own unique effect which can be seen in the renders below – I feel overall the only one that I will use will be the Phong colour mode as it gives that glossy aesthetic to the material which I desire. However, it is key to note that there were other modes that also produced interesting features:
- Diffuse – The diffuse mode is very much similar to phong as it brings a 3D effect to the particles emitted, it understands where the light is coming from within the scene and creates shadows accordingly to create the 3D illusion.
- Fuzzy – The fuzzy mode is also very interesting as it blurs each of the particles making them seem more like dust or light splotches – I could see this being used within my animation to create a hazy atmosphere, however, the colours and opacity would have to be changed accordingly.
- Neon – The neon mode is by far the most different setting compared to all of the others – it adds a slight blur to each of the particles but also adds a strong luminance to each of them which can be seen in the background of the render. To me, I could see this being used to denote a blood vessel if a swatch of reds and dark pinks were used, the particles could also them be red blood cells or other cells found in the bloodstream.
Renders:
1) Diffuse
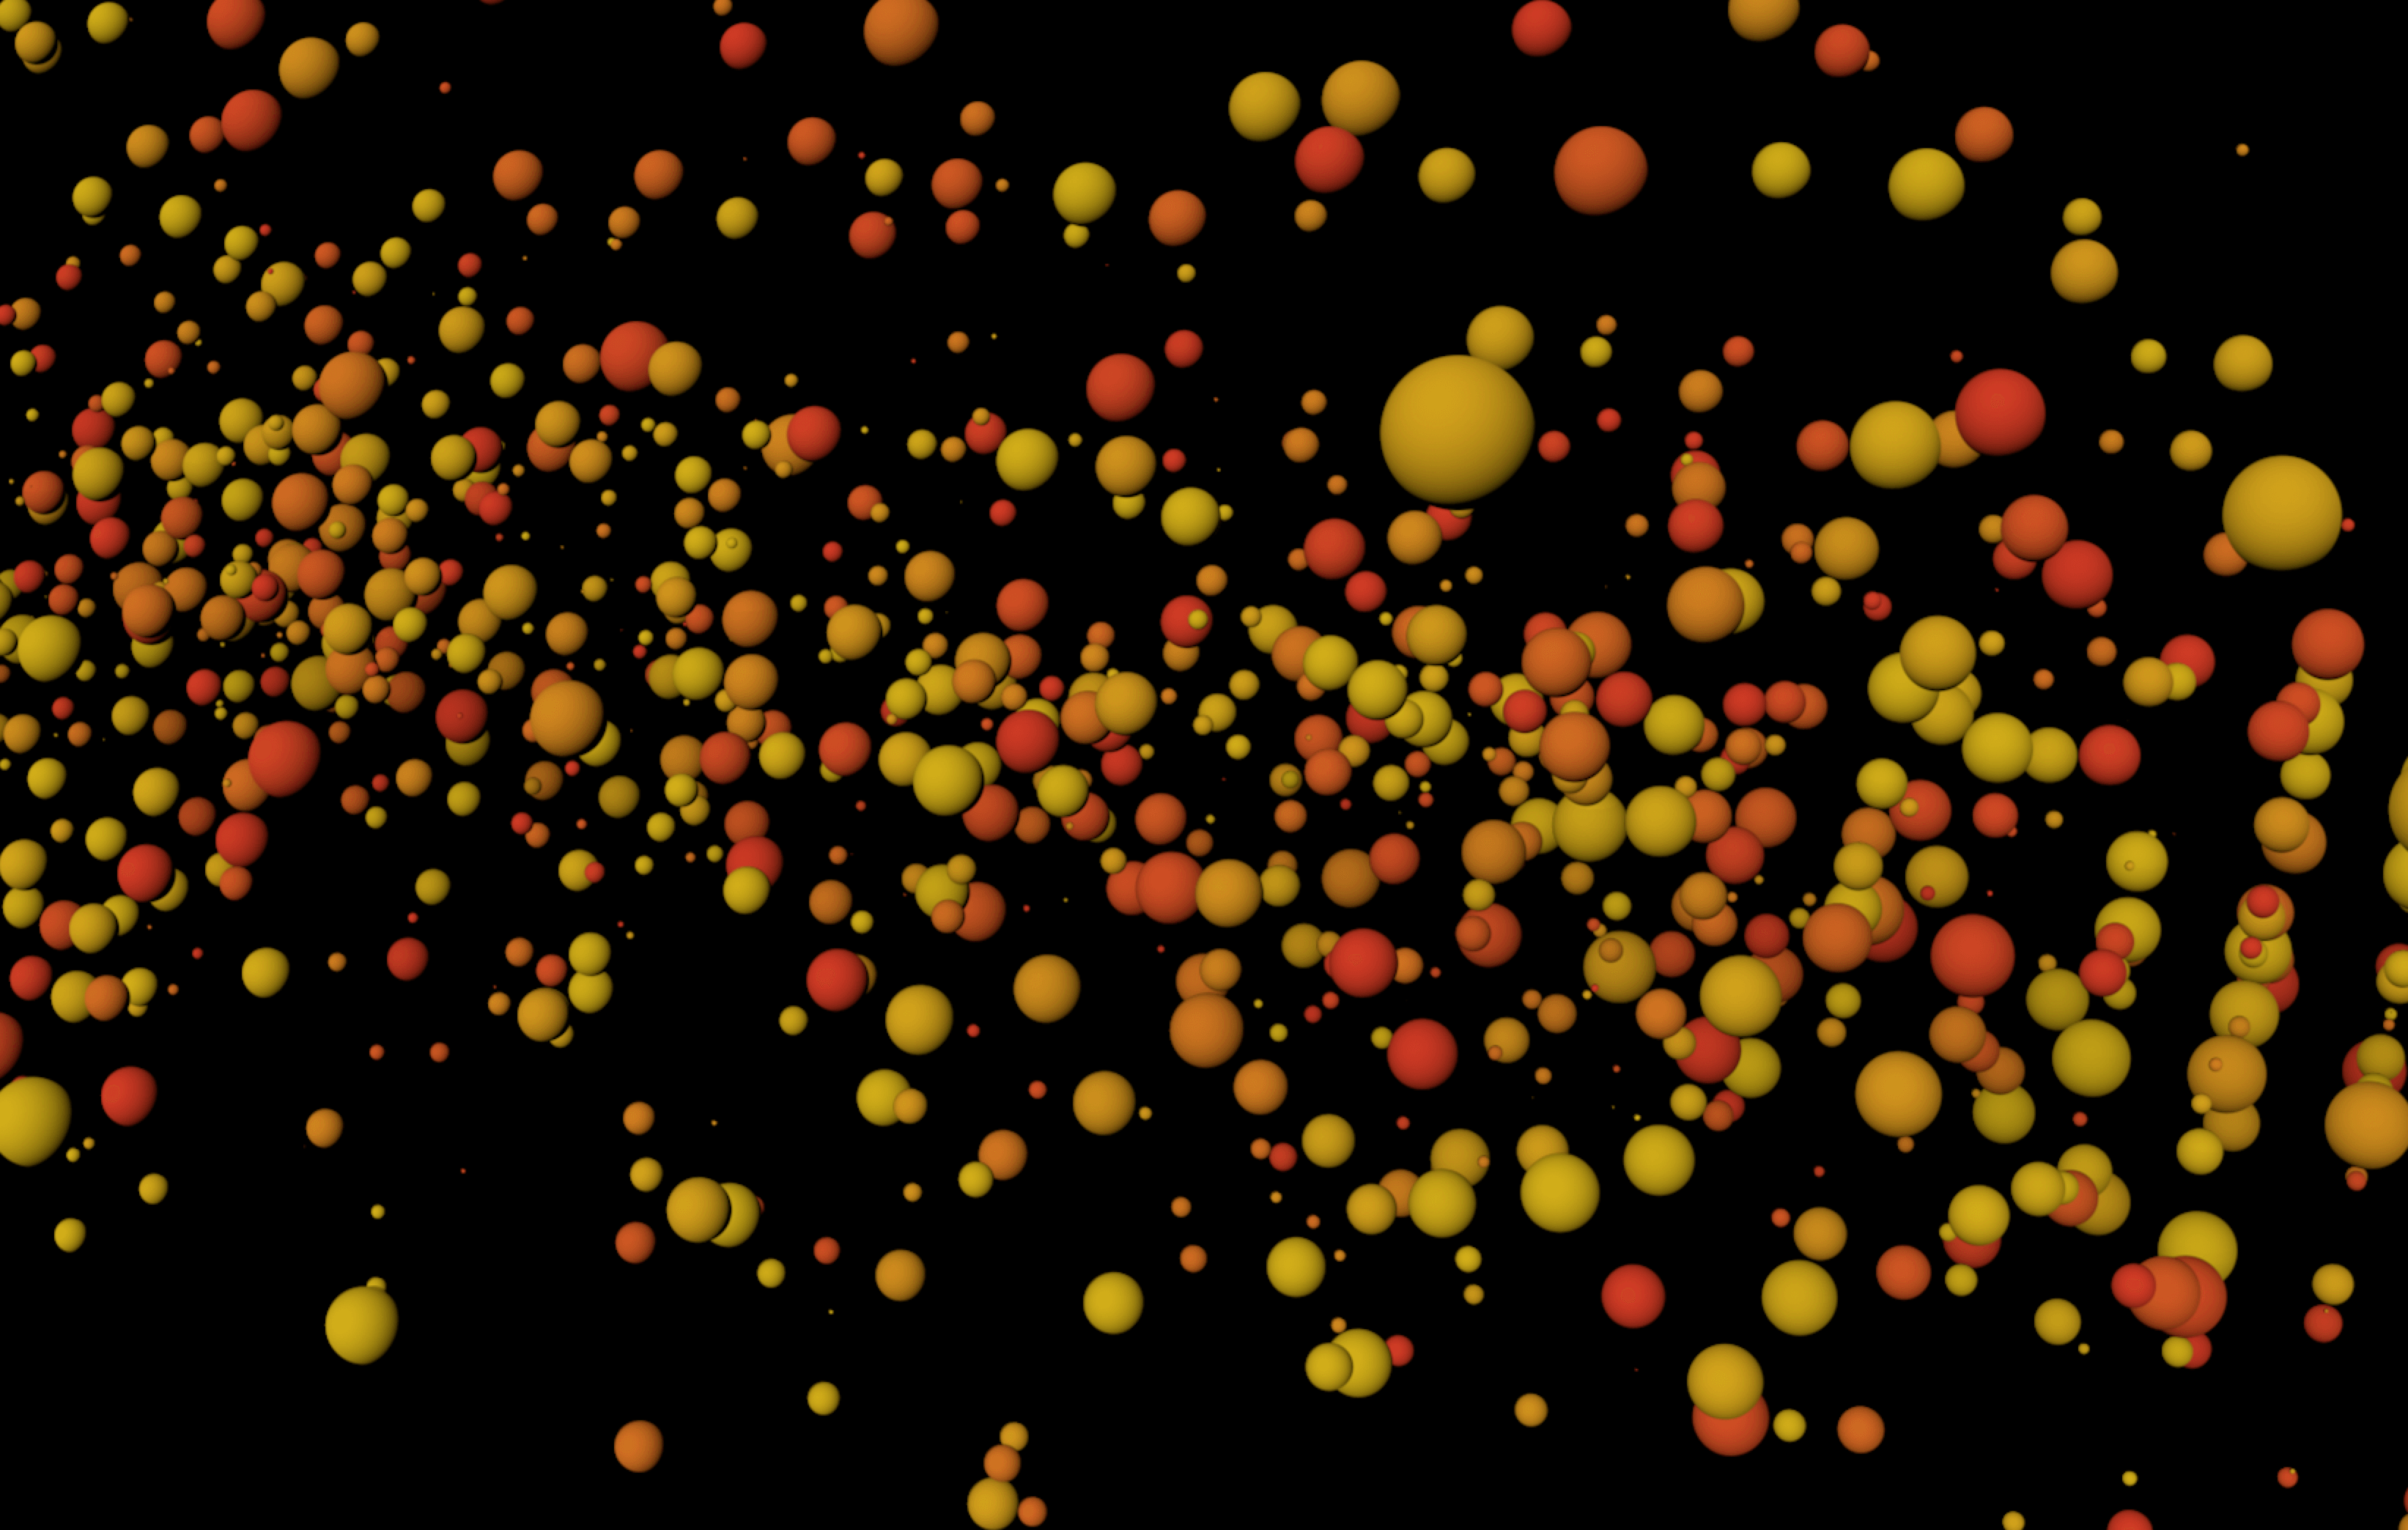
2) Phong
3) Flat
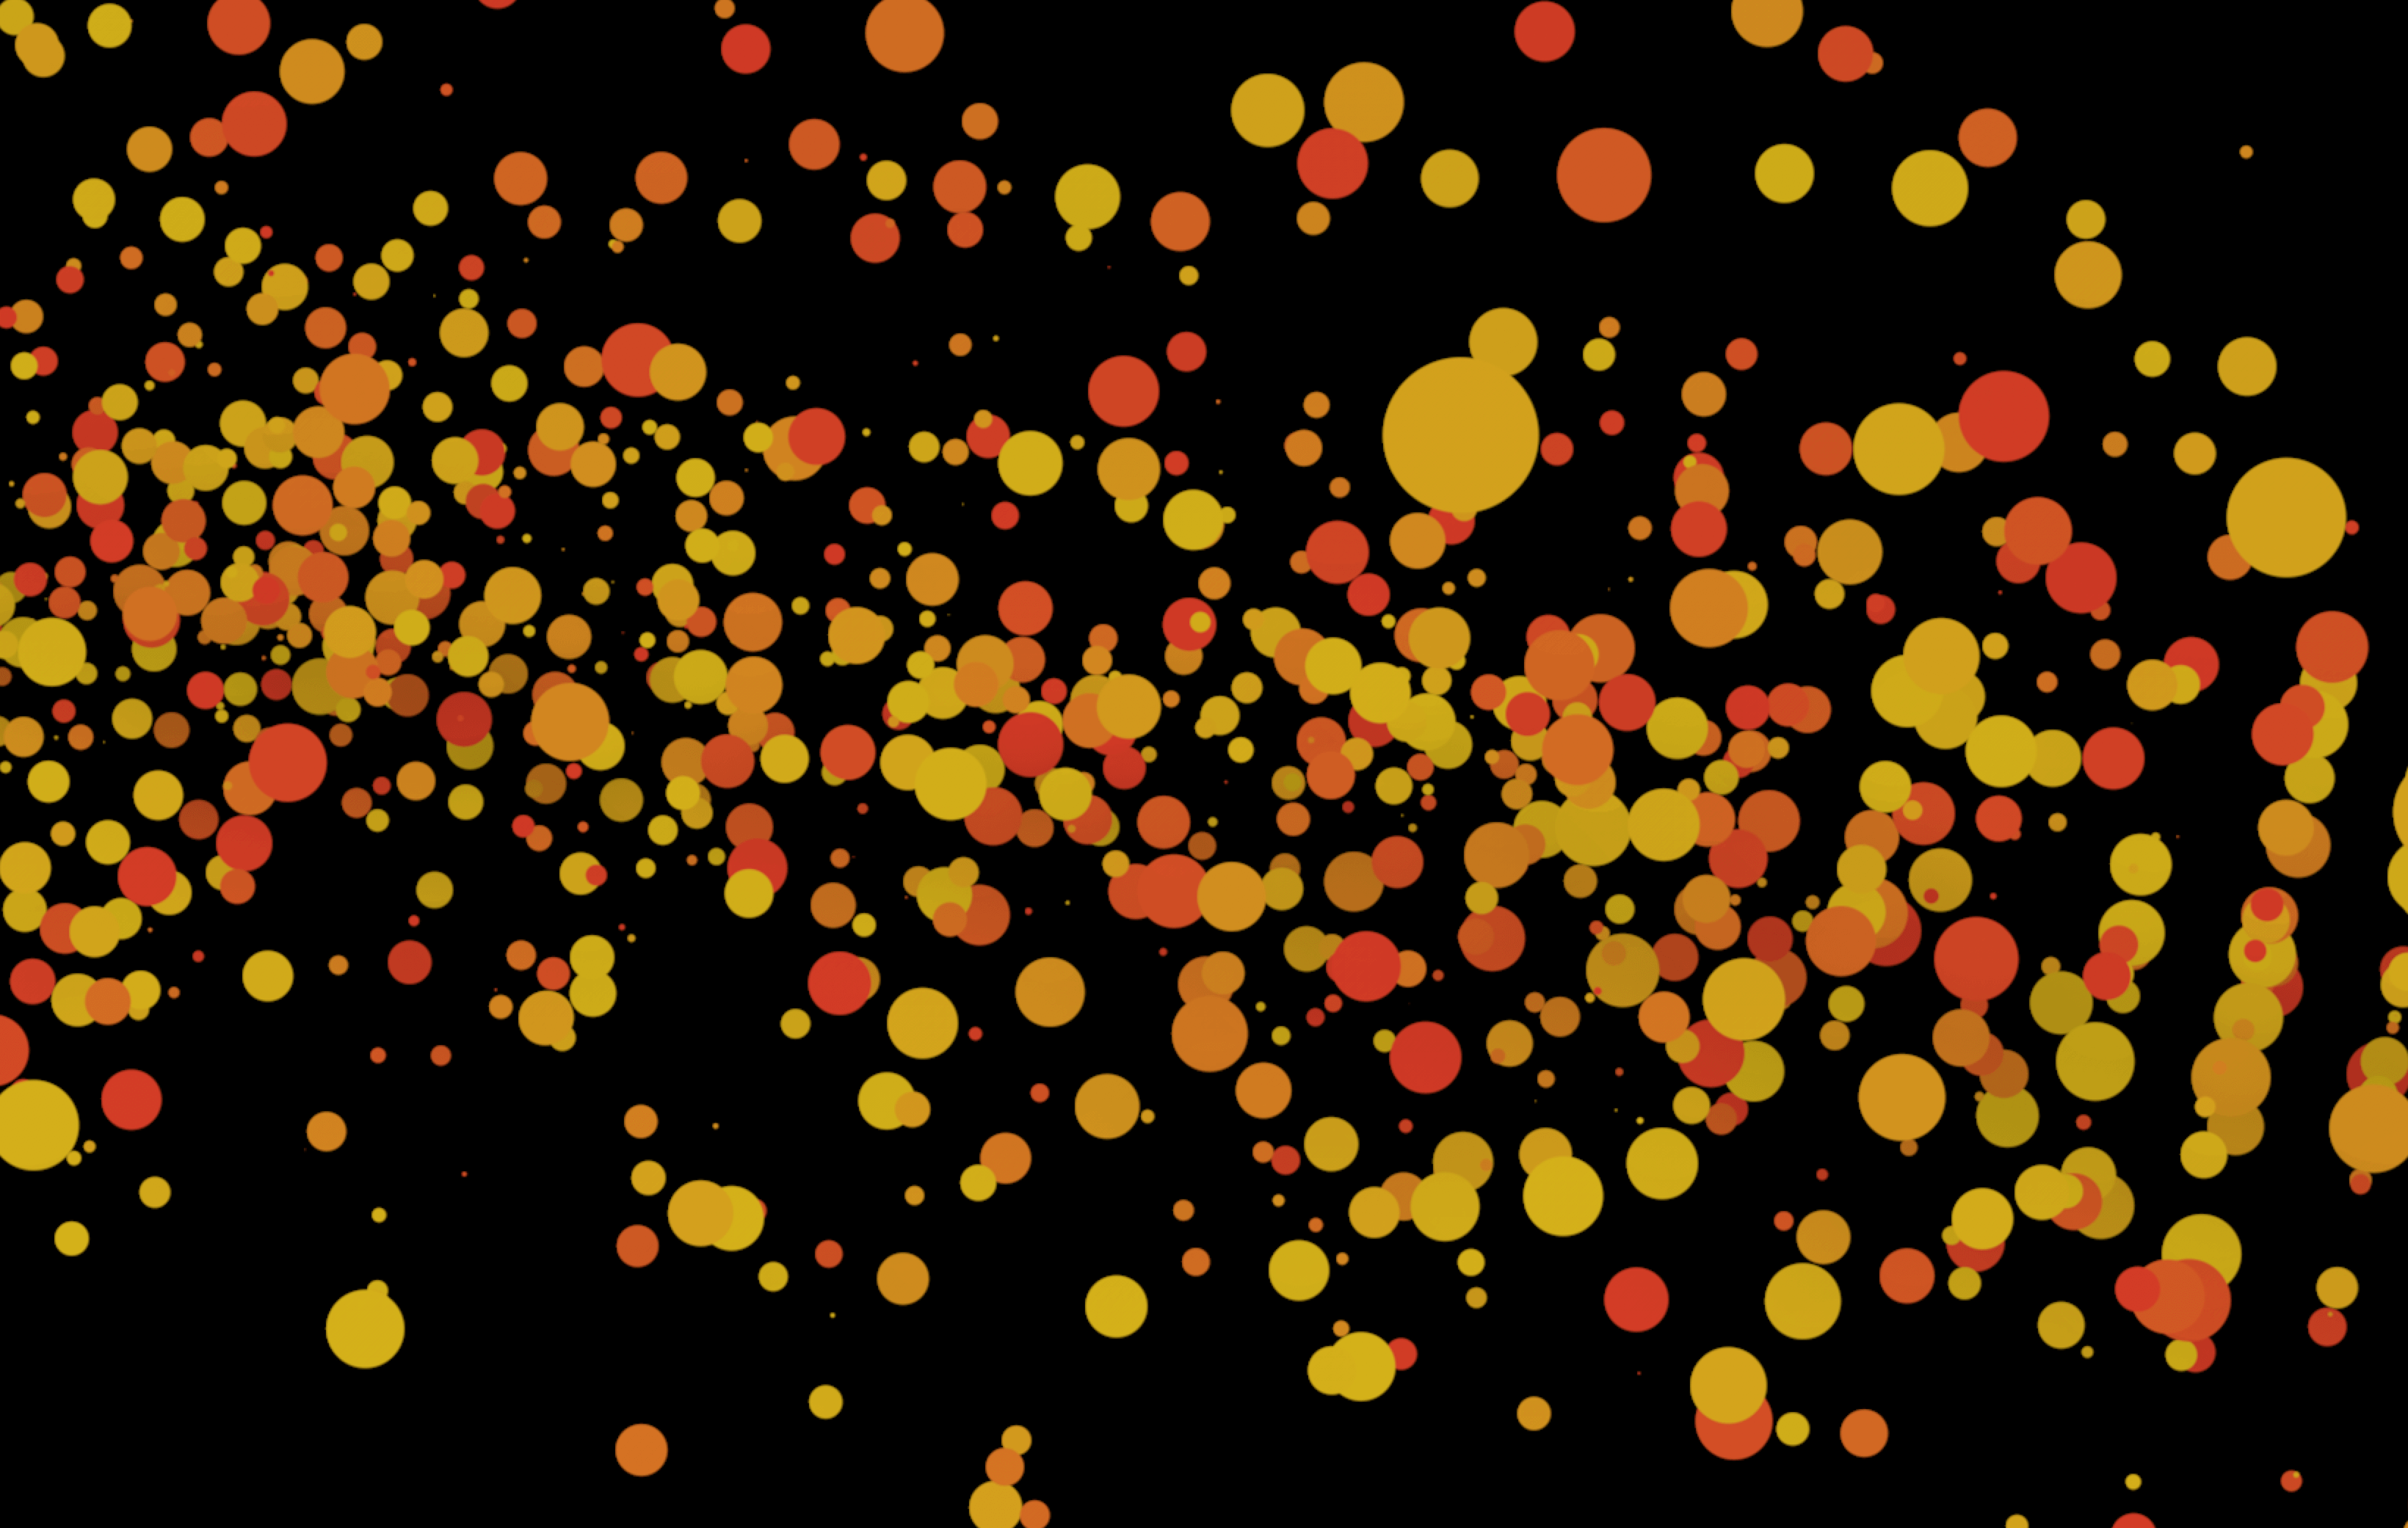
4) Fuzzy
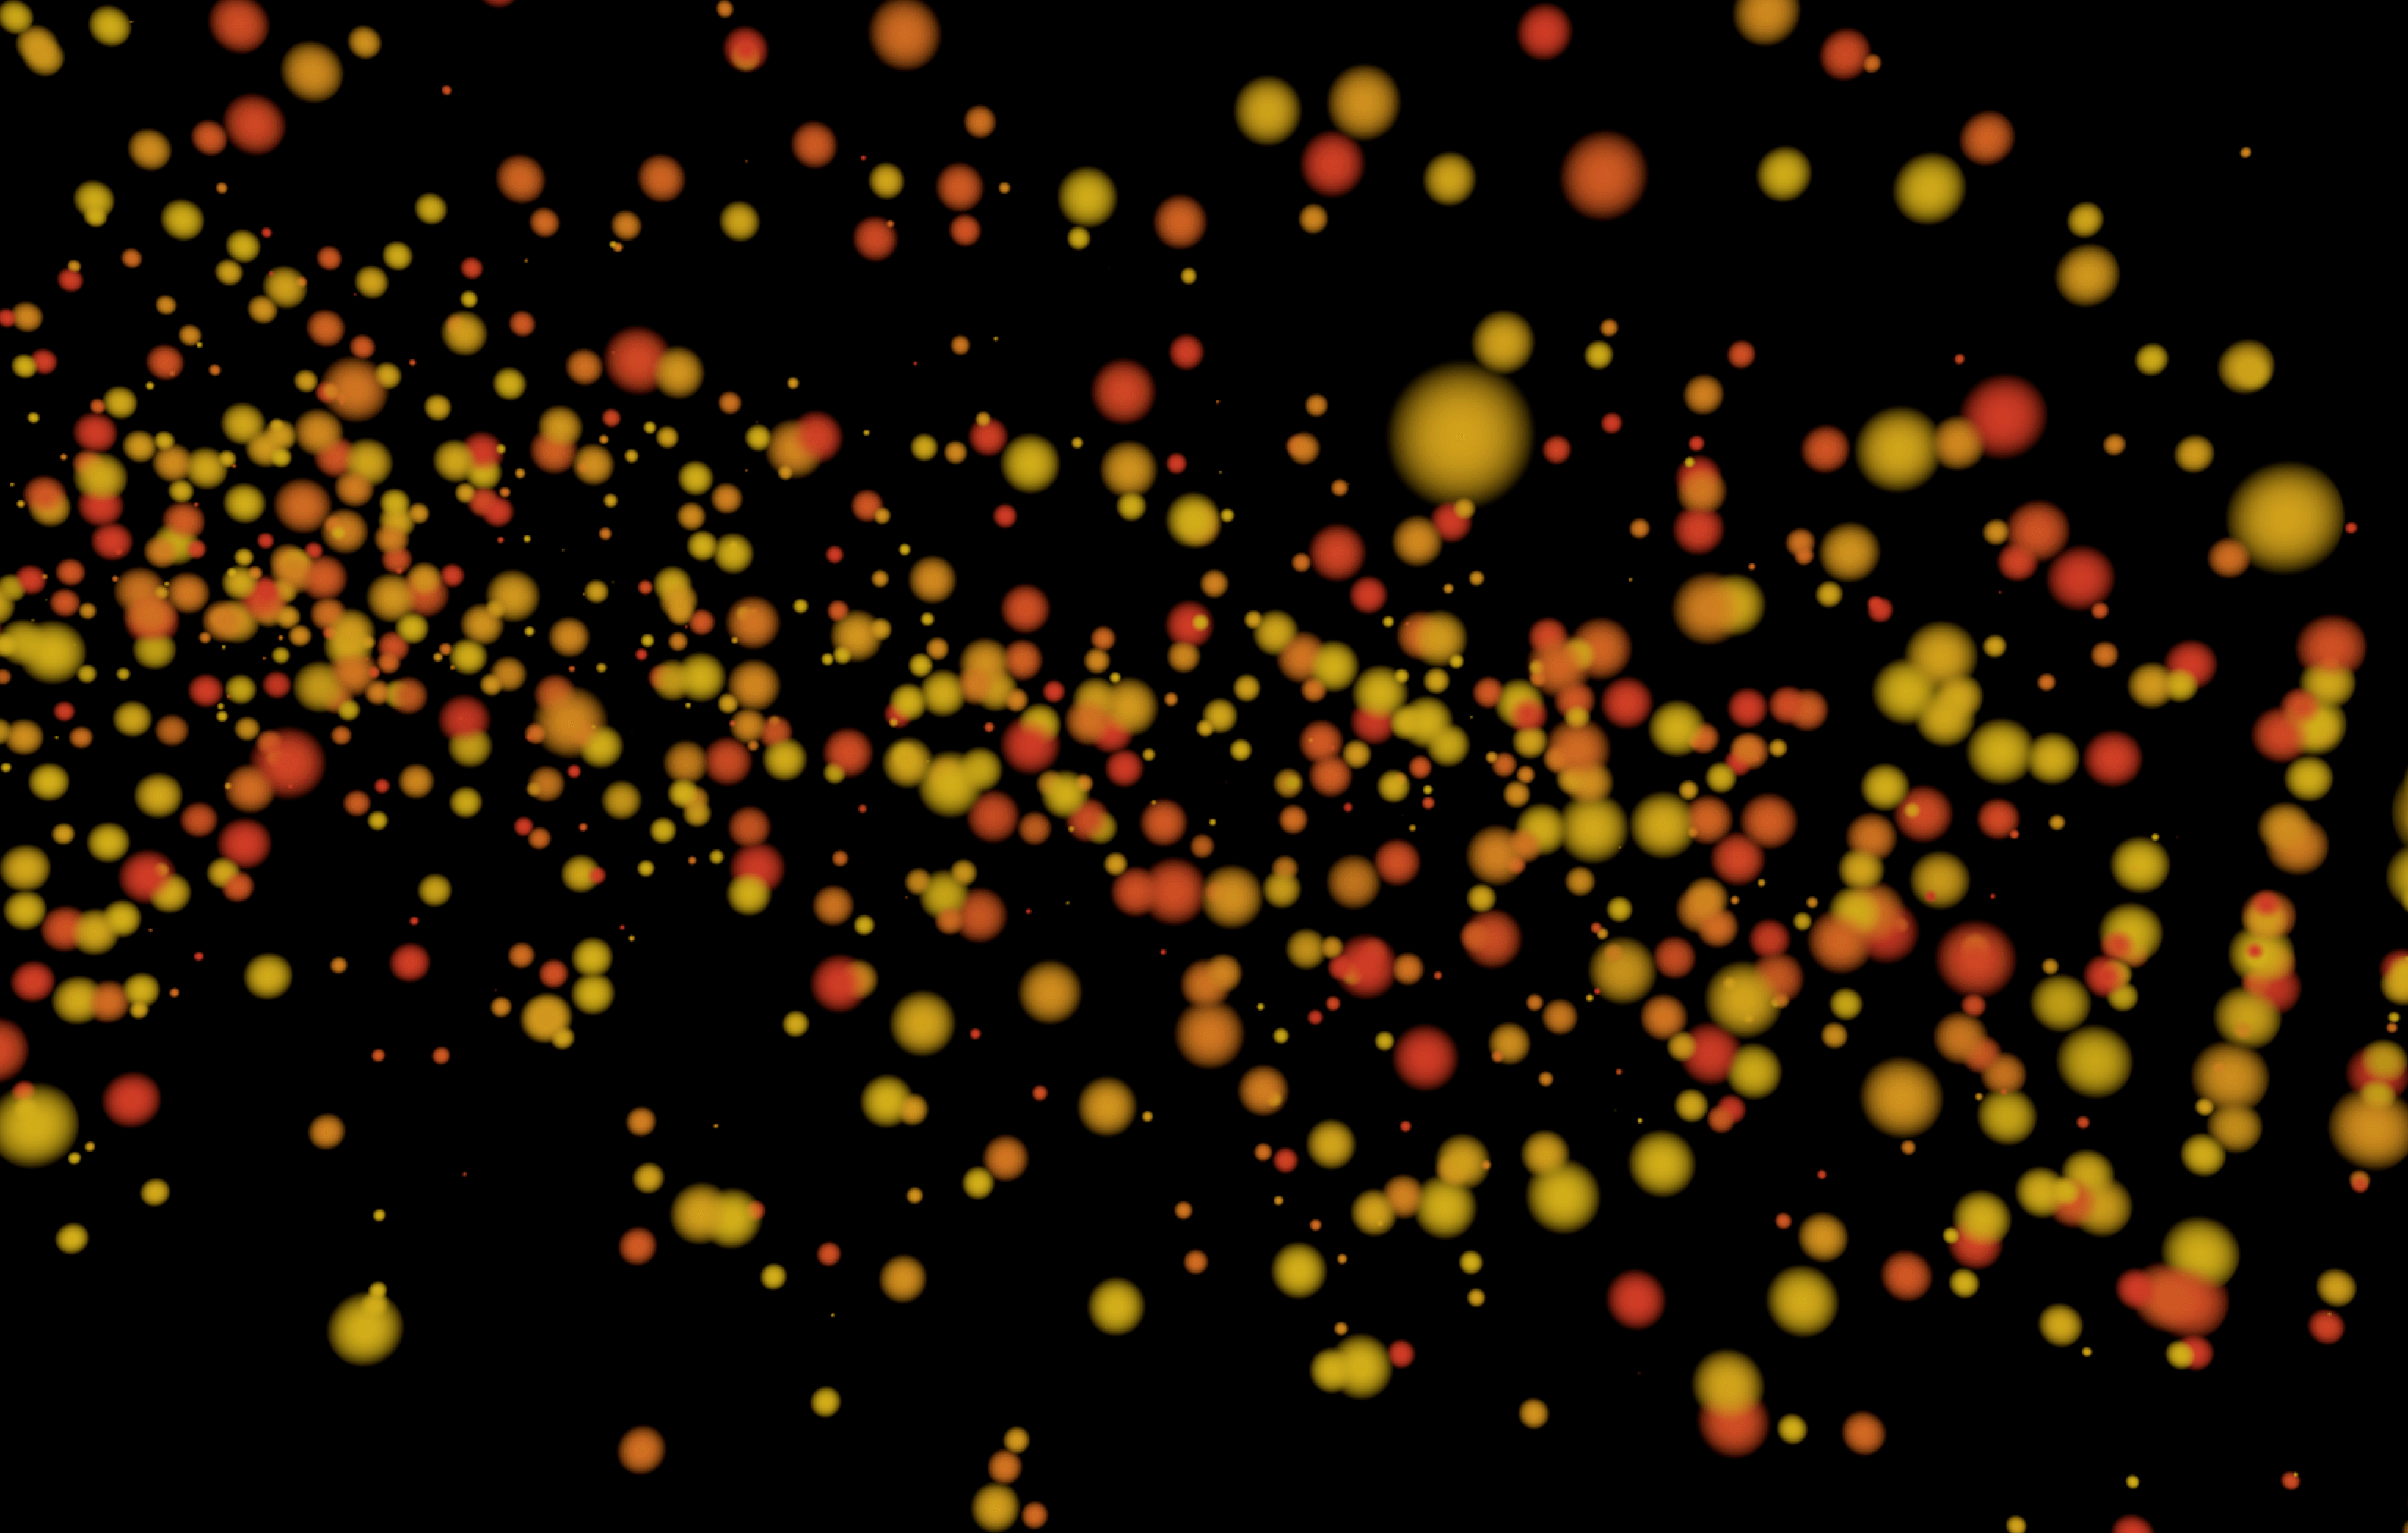
5) Neon

6) Henyey-Greenstein
7) Schlick
8) Rayleigh