Cinema 4D – Lighting Research

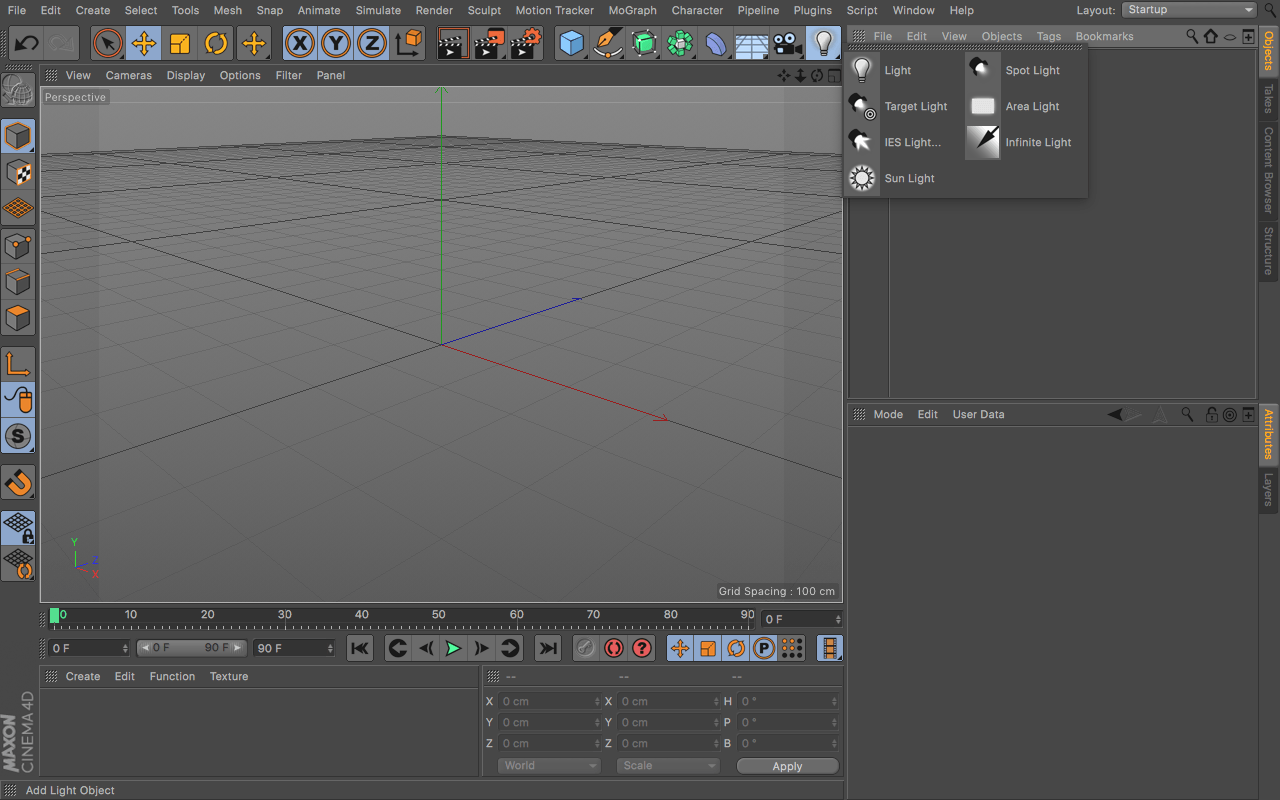
In preparation for my project, I need to conduct some research into effective lighting inside of Cinema 4D (c4d). Within the software there are 7 different types of lighting, these include: Light, Target Light, IES Light, Sun Light, Spot Light, Area Light and Infinite Light. Each of them have different settings that make the light that they produce react differently on objects within the scene. (Different lights can be seen in the top right corner of the screen)

Screen Shot 2017-10-13 at 16.20.42

Light

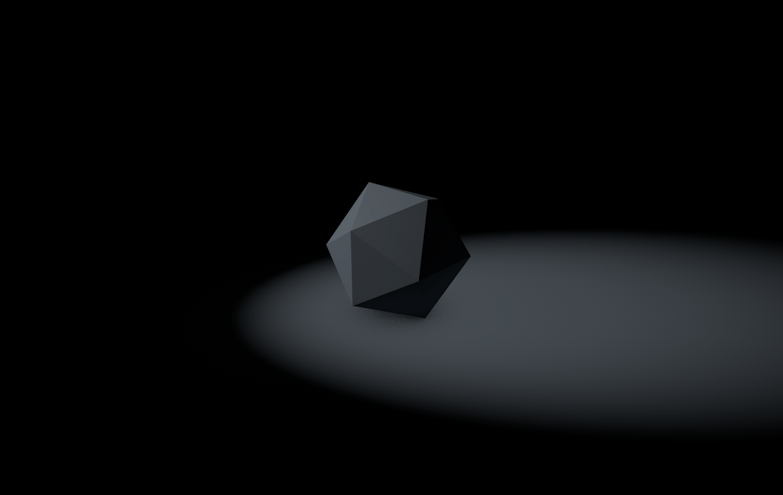
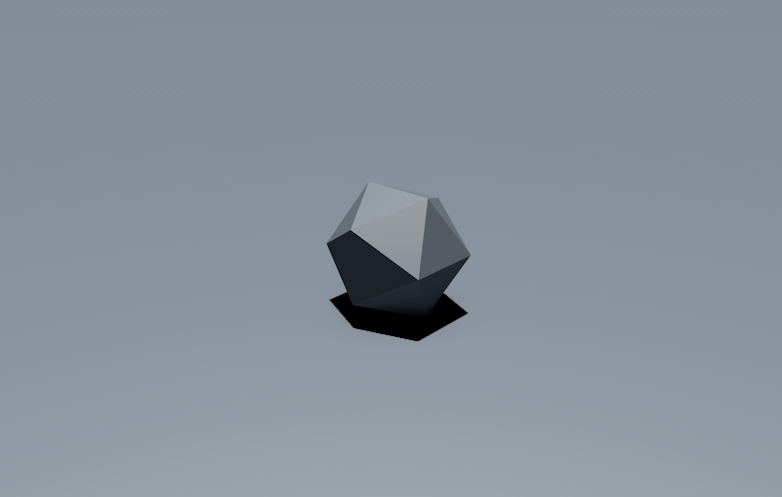
The default light in c4d is very basic, it allows for general illumination of scenes and also allows for very limited shadow controls – as you can see from the render below the light spread itself is very large and very harsh. The rendering below shows how the light acts within the scene and also on the platonic shape – compared to the Area Light it has a much broader spread.

Screen Shot 2017-10-13 at 20.58.18

Target Light

Target light allows you to target a single object or a group of objects within a scene – it does this by creating a null object which the target light follows, you then have to make the null a ‘child’ of the object you want to be illuminated.

*To make the null a ‘child’ of the object means to attach it to the object.

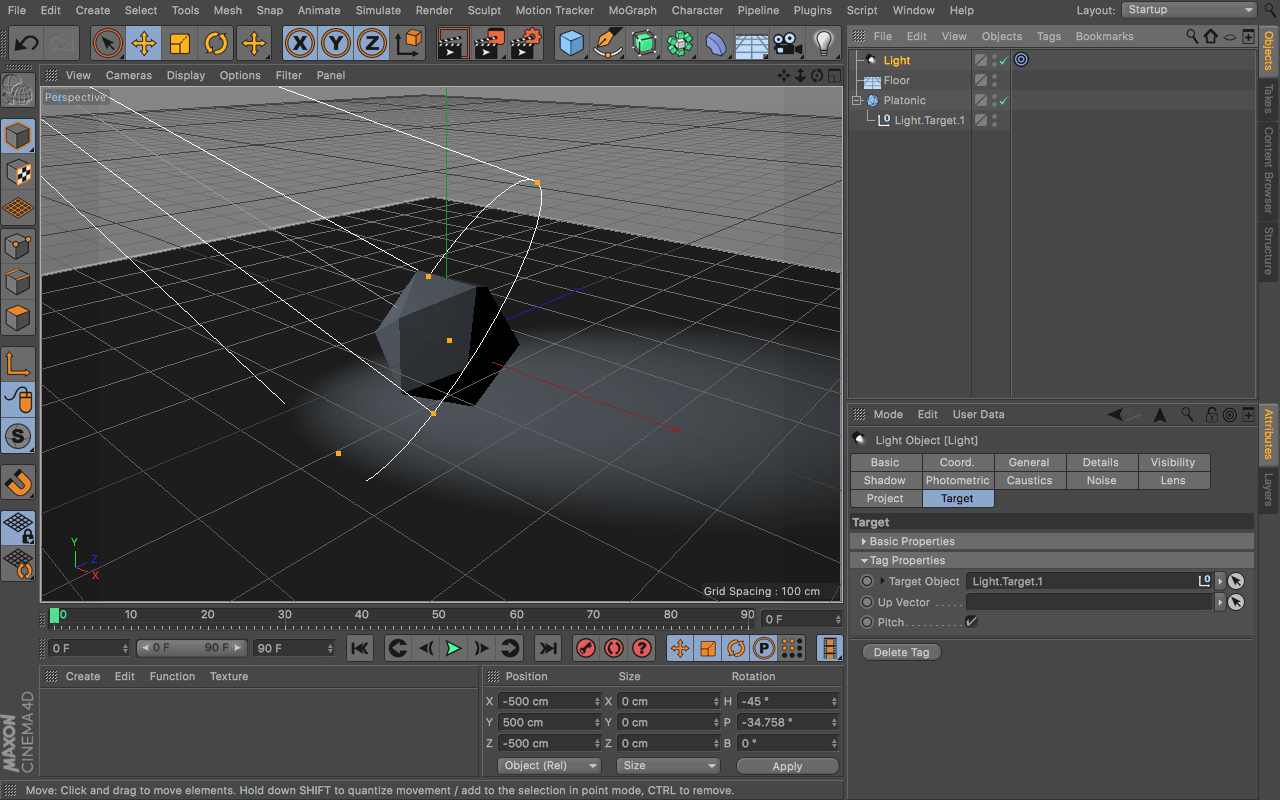
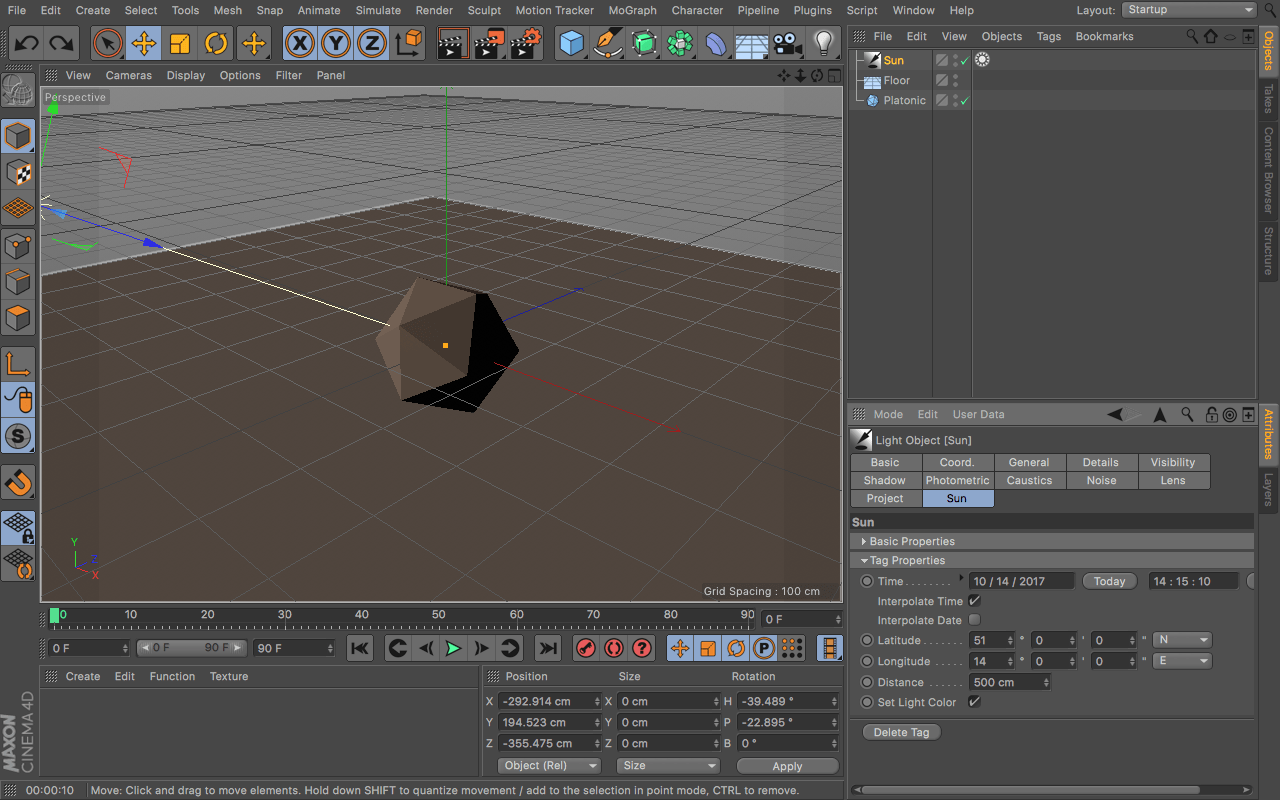
The render on the left shows the target lights settings – under tag properties you can see that the target object is set to Light.Target.1 which has been made a ‘child’ of the platonic, this means that wherever the shape is moved to in the scene, the target light will follow it. The render of the right shows the way in which the light illuminates the platonic – the light itself acts very much in the same way as the spot light.

Screen Shot 2017-10-14 at 14.49.32 Screen Shot 2017-10-14 at 14.47.08

The target light could be very useful for highlighting the key elements in scene to put emphasis on certain objects further drawing the audiences eye.

IES Light

An IES light tries to replicate real lights and the patterns that they cast in the real world. A good example of this is your standard everyday desk lamp, when this is angled downwards onto a surface you can often see a halo effect being cast on the surface – this is due to a number of reasons like the design of the reflector around the bulb, the glass covering the bulb and the shape/thickness of this glass.

When inside of c4d, the IES light can be selected and it will be inserted into the scene. You then need to download and IES light file which tells the light what type of light effect to cast onto the object(s) in your scene – this is done through the photometric tab in the main control panel and then the IES light file can be inserted into the photometric data section.

Below are two example of an IES light. On the left you can see an intense light with a unique dark ring and then a faint secondary ring – and on the left is a similar pattern, however, both light rings are similar in intensities and in size. Both examples below are both made with different IES light files that I was able to download online, along with this there were many different light patterns available to download too.

Screen Shot 2017-10-13 at 20.34.23 Screen Shot 2017-10-13 at 20.32.12

Sun Light 

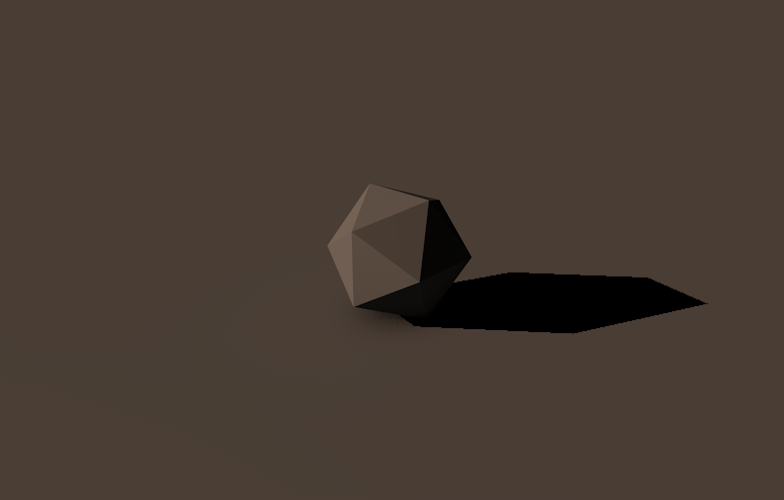
The sun light tries to replicates the real sun by offering more dynamics such as: time of day, month and year to create more realistic light, this would be suitable for a scene where photorealism is trying to be achieved as the sun light would act exactly how the real sun would do e.g. in the morning the sun light would emit a warmer light and larger shadows would be cast, and at mid day the light emitted would be cooler.

The sun light wouldn’t be suitable for my project as I don’t intend to incorporate the sun – My project will be in space and therefore this lighting might be too complex for what I want to create, having time settings to alter will be too time consuming when I can just add a simplistic light to do the same job.

Screen Shot 2017-10-14 at 14.15.49 Screen Shot 2017-10-14 at 14.15.34

Spot Light

The spot light emits a focus beam of light and acts similarly to how a real spot light would act on stage – the best example of this would be for a torch, the light emitted would need to be very focused and illuminate very little of the surrounding area.

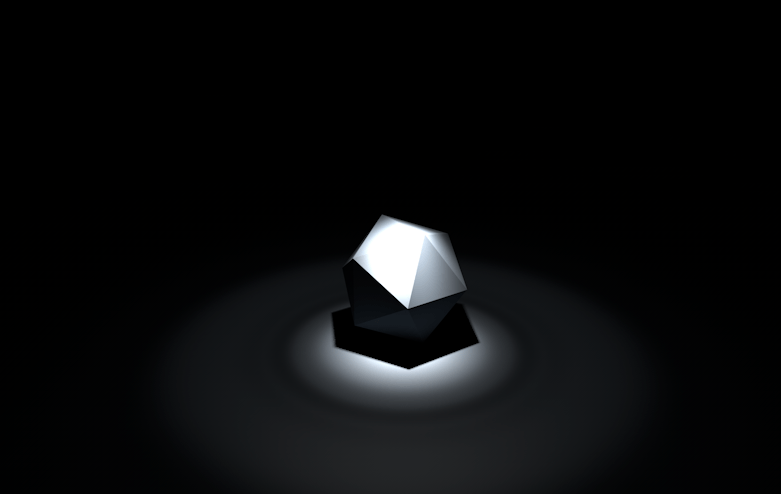
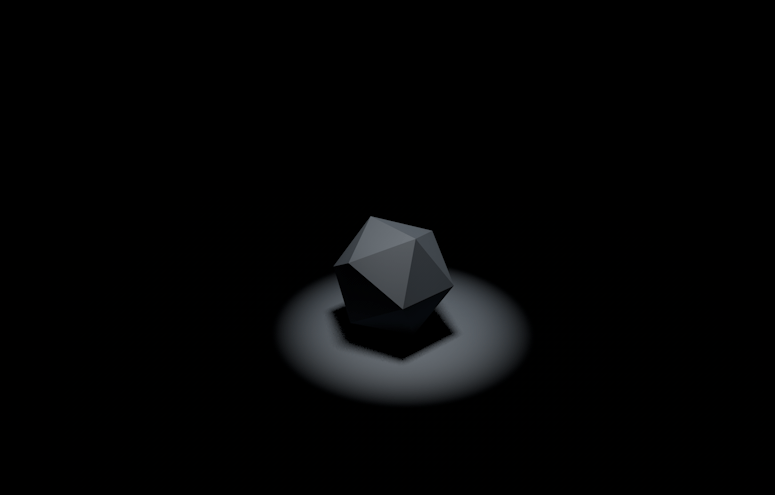
The render below show how the spot light illuminates objects within the scene, it is very much used to highlight key object within the scene and therefore could be very useful within my project. As my project will be in a space/gravity free environment, the spot light could be used to highlight key elements in it to put emphasis on certain objects further drawing the audiences eye.

Screen Shot 2017-10-13 at 19.13.37

Area Light

An area light is a light that emits light over a large surface – this makes it smoother and more evenly spread when it comes to illuminating an object.

Additionally to this, an area light doesn’t need to be altered too much after being added to the scene within c4d as its omnidirectional, meaning its emits light out in all directions – this could be an easy fix to get some good lighting within scene when it comes to the lighting stage as its fairly powerful and soft light source at the same time.

Controlling the light is also very easy within the light parameters, the colour and intensity can all be altered to give the perfect settings for the scene – this could allow for very organic looking lighting especially of spherical shapes.

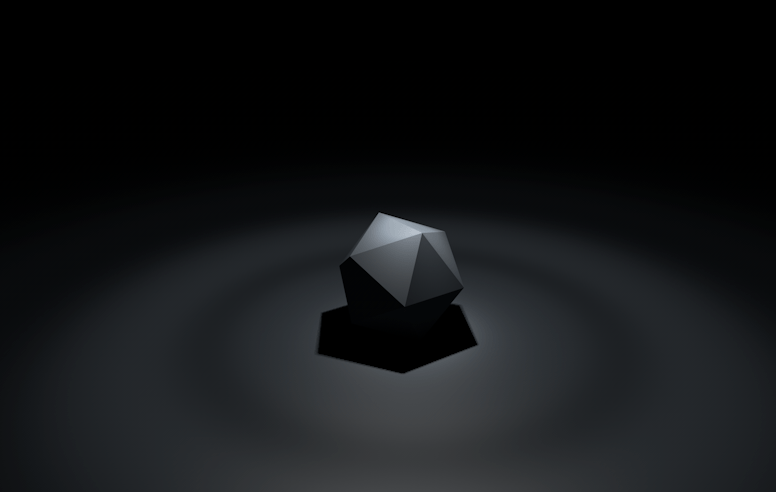
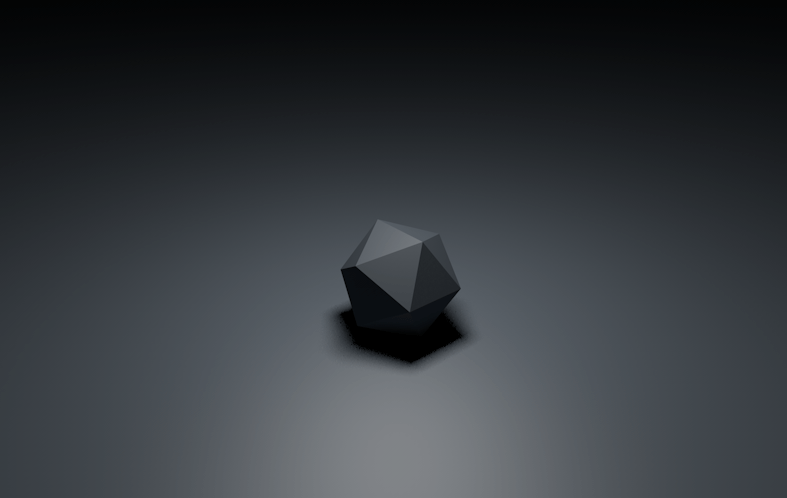
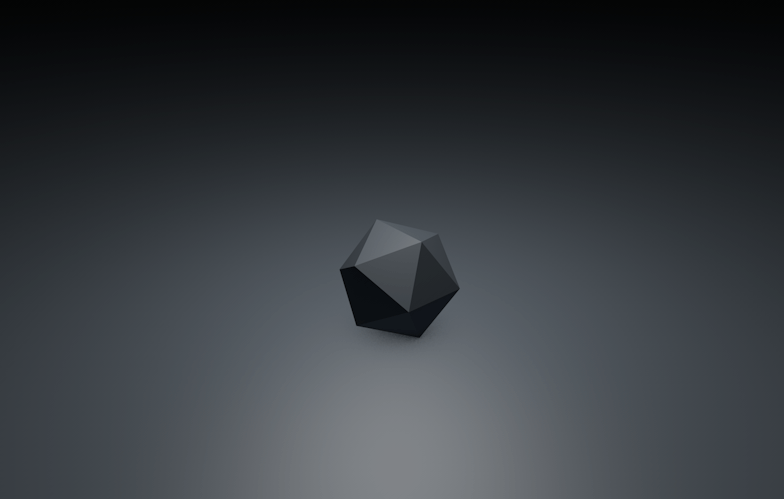
Furthermore, shadows can also be controlled within the light parameters, this is an equally important factor as having effective shadows can make the difference between an object looking realistic or not. Below are two renders of an area light being used on a platonic – the left render had ‘area shadows’ enabled and the right has no shadows enabled. Although the actual shape itself is illuminated, the render on the right doesn’t look realistic as there isn’t a shadow.

Screen Shot 2017-10-13 at 16.30.30  Screen Shot 2017-10-13 at 16.30.01

 Infinite Light

The infinite light is a light source comparable to the sun, the light is very intense and because of this it causes very harsh shadows. The light source only works in the Z-axis, this will allow it to either work -Z or +Z space – this would be best used as the sun in a scene in any other ways in which harsh shadows are needed to be cast.

The infinite light wouldn’t be very suitable for my project as I don’t intended to create any scenes that incorporate the sun – My project will be in a space environment and therefore very intense lighting wouldn’t be suitable for the mood I am wanting to create.

Screen Shot 2017-10-13 at 21.23.20

Conclusion

Overall the lighting research showed me very clearly which types of lights will be best to use within my project – mainly area lights and potentially spot mights to help emphasise key objects within the scene. To further consolidate my research I shall produce a short video showcasing all of the different lights illuminating different stationary and moving objects which will help show A) how well the different light illuminate different objects and B) how the different shadows that the different lights produce.

Idea Developments #2

After talking in groups about the different assessment strands, I discovered that I will have to produce a product for the end of this semester. I’m more inclined to select one of the first two strands as I wanted the majority of marking to be based around the development and research of my work and not on the final product in case it wasn’t up to a high standard. I feel that this will work better for me this year round because I don’t know the software very well and means that my R&D can save my final product if it fails.

Additionally, after conducting research into different competitions I thought it might be a good idea to look at some tutorials on YouTube to get more familiar with Cinema 4D. After watching a couple videos I came across one (embedded below) that talked about a plug-in called X-Particles – after googling it I found out that its an extension of the software that allows for better particle rendering and control within the software which I found real interesting.

To find out more detailed information on the plug-in I checked out the website and discovered that they have an online competition for December called the X-Particles Challenge, this could be a competition that I enter this semester as it being held on a similar date to when our work is due in. In addition to this, I found that I can get a 30 day free trial of X-Particles which would work with my student version of Cinema 4D.

Screen Shot 2017-10-10 at 14.45.39

Above is a screen grab of the website hosting the challenge. They specify that the final product must be created with Cinema 4D and X-Particles combined and that the final product must be no more than 20 seconds long and in the ratio 1280 x 720. Sticking to their guidelines will be easy, however, the more difficult part would be researching the plug-in and understanding its capabilities within Cinema 4D.


Software Research

For my project I am going to conduct some research into the different types of 3D software that is available today, looking specifically at: What they do or What they are most commonly used for within industry, What platforms they are available on – either Windows or Mac, Cost of the software and Accessibility to me as a student.

Cinema 4D

Cinema 4D is a 3D Modelling, Rendering and Animation software that is most commonly used within the television and advertising industry – mainly down to its specific features for motion graphics, its has developed a powerful set of MoGraph tools that can make real-world motion graphics by enabling cloning, the adding of effects and easy motion creation of objects. In addition to this, Cinema has also been used on major film productions such as Spiderman 3 and I Peggiori (an Italian film) for select features like Bodypaint 3D Module which was specifically used within the special effects of the films. However, it is key to state that the majority of the film industry do not actually use Cinema 4D – the preferable choice is often other softwares such as Autodesk’s Maya. As Cinema 4D is supported by mac and windows, many people recommend the software to those who aren’t yet a professional but have the desire to learn 3D skills – its recommendations often come from its easy to navigate user interface as it consists of a small amount of buttons, however, hidden within the tabs are all the necessary tools needed to create your projects. Unlike the other 3D software, Cinema has its own render engine that allows for project scenes and animation projects to be rendered straight away as soon as they’re finished, it also allows for external render engines such as Maxwell Render or Vrayforc4d to be used within it as well – this is often used in conjunction with cineware which allows for 3D integrated scene to be transferred directly into After Effects CC and vice versa. Cinema 4D has a limited accessibility as I can apply for a 30 day free trial, but as a student I am able to apply for a free and complete student license of the software which makes it a more viable option.

maxresdefault

Autodesk Maya

Maya is a 3D graphics, Character and Animation software that is most commonly used within the film and video games industry – mainly due to its writing language MEL (Maya Embedded Language), it can expand the functionality of the program by allowing external plug-ins and custom button to operate alongside the software. These features have been very beneficial to larger studios hence it being used a lot for famous films such as Avatar, The Lord of the Rings and Transformers as well as many successful games such as the Halo and Call of Duty franchises. Maya is supported by mac, windows and linux which makes it very versatile for many users across the industries, however, it isn’t a novice friendly software as the graphical interface is fairly complex but still manages to be adaptable to the creative guidelines. Additionally, the software uses an integrated render engine called Arnold which is a highly rated renderer which, is also accompanied by MASH which is a procedural animation toolkit that enhances the users ability to create visual effects within the software more easily and in a decreased amount of time. Maya is very accessible as I can either apply for a free trial version of the software, but as a student I can get a free 3 year student license of the software which makes it viable option also.

Autodesk_Maya-Lockup-2017-1280x720


Blender

Blender is a 3D modelling, Motion tracking and Game creation software that is used primarily by indie game developers and hobbyists. Because of the user base, a large amount of community forums have been created therefore there are lots of avenues for support if any problems occur during the creative process. Blender is a free open source software that is available for mac, windows and linux, and has its own built-in game engine that allows users to create their models, animations or game assets quickly as the software can allow them to be directly viewed within the environment they intend to be in. As Blender is open source, it is constantly being developed by hundreds of active users around the world – it has advanced API scripting using the coding language python to further customise the software with specialised tools which can be released to users all around the world. Although this is a positive aspect for developing the software, it could pose some stability issues as all the coding might not be 100% bug free from one operating system – I might be able to use the latest tool in it on a windows machine, however, when I try to use it on a mac it could crash.

Blender_logo_no_text.svg_

Adobe Dimension CC (Project Felix)

Dimension CC is a 2D and 3D asset building software that is created by Adobe and distributed through their Creative Cloud package. As the software is still in early development it claims to create high-quality and photorealistic 3D images through adding different assets to your scene. It also has added functionality of allowing the composition of 2D and 3D assets to build product shots and their scenes and abstract art. As this software is still in development, I might not be able to get a copy of it iin time for my project and if I did manage to get it, it might not be the most reliable of softwares to choose from as it could have stability issues when in beta. However, the software is available on both mac and windows operating systems but it will cost £15.20 per month for students.

fe_beta_appicon_noshadow_1024

Conclusion

*Cinema 4D – I am able to get a free copy of Cinema 4D via a student license and I already have a small amount of pre-exisiting knowledge with the software. In addition, using this software would allow for increased workflow as it has convergence with other Adobe CC applications, specially After Effects, which I not only have on my computer but also intend to use towards the end of my project for editing the 20sec animation together with. Another major factor for the use of Cinema 4D is that it is modelling orientated, this would allow for easy creation inside of the software of different shapes also accompanied by the effector would allow further manipulation of those shapes to create aesthetically pleasing results – this is benefitted even further as if I was to choose Cinema I would be able to use the excellent built-in render engine to export my work. I feel choosing this software would produce a good animation – I am more inclined to go with this software over Maya as I have a small amount of knowledge of Cinema which means I would be building straight onto the technical skills rather than start form the 101 basics.

Maya – With Maya I am able to get a free copy of the software through a student license which beneficial, however, I have no knowledge of the software which would make learning it more of challenge – especially if the software isn’t very novice friendly. I feel that Maya could sufficiently handle the project in mind as it is a 3D graphics orientated software which means I could build my project inside of it and also render it out thank to it having its own render engine, Arnold. I feel choosing this software would produce a good final piece, however, sticking to a fail fast approach I feel that it would take longer than 12 weeks to properly learn everything about it.

Blender – As Blender is mainly a 3D modelling software it would be good to choose this as I could easily prototype my project, texture paint it and finalise it. The only problem that I can foresee is when it come to rendering the project out, when researching I discovered that it doesn’t have a particularly great render engine when compared to Cinema 4D or Maya, this might cause problems with having to source another render engine that is compatible with Blender to get my final product.

Dimension – With Adobe Dimension, I am currently unable to get a copy of the software as it is still in development. Due to this factor alone I cannot select this software to create my project with, however, I was able to get it, I feel it would be fairly useful.

*Overall I am going to use Cinema 4D for the reasons listed above.