Aesthetic Research

For my project I will be researching different space aesthetics from different sources to help strengthen my idea, I will be further providing screen grabs and videos to help explain what I like about certain aspects within that source as well as an explanation as to how I intend to use it in my project.

Guardians of the Galaxy

Guardians of the Galaxy is an adventure sci-fi film that follows a group of  intergalactic criminals who are force to work together. Within this film, the group travel around the universe to different planets which are introduced to the audience an very attractive way with slow cinematic shots. I would like to utilise the title/naming convention that is adhered to within the film, a specific example can be seen below where the brackets come up and reveal the name of the planet with extra features below it such as: a description and the planetary co-ordinates. (Full Intro: https://www.youtube.com/watch?v=JNlnQwHWSYw)

Screen Shot 2017-11-05 at 20.45.22 Screen Shot 2017-11-05 at 20.45.13

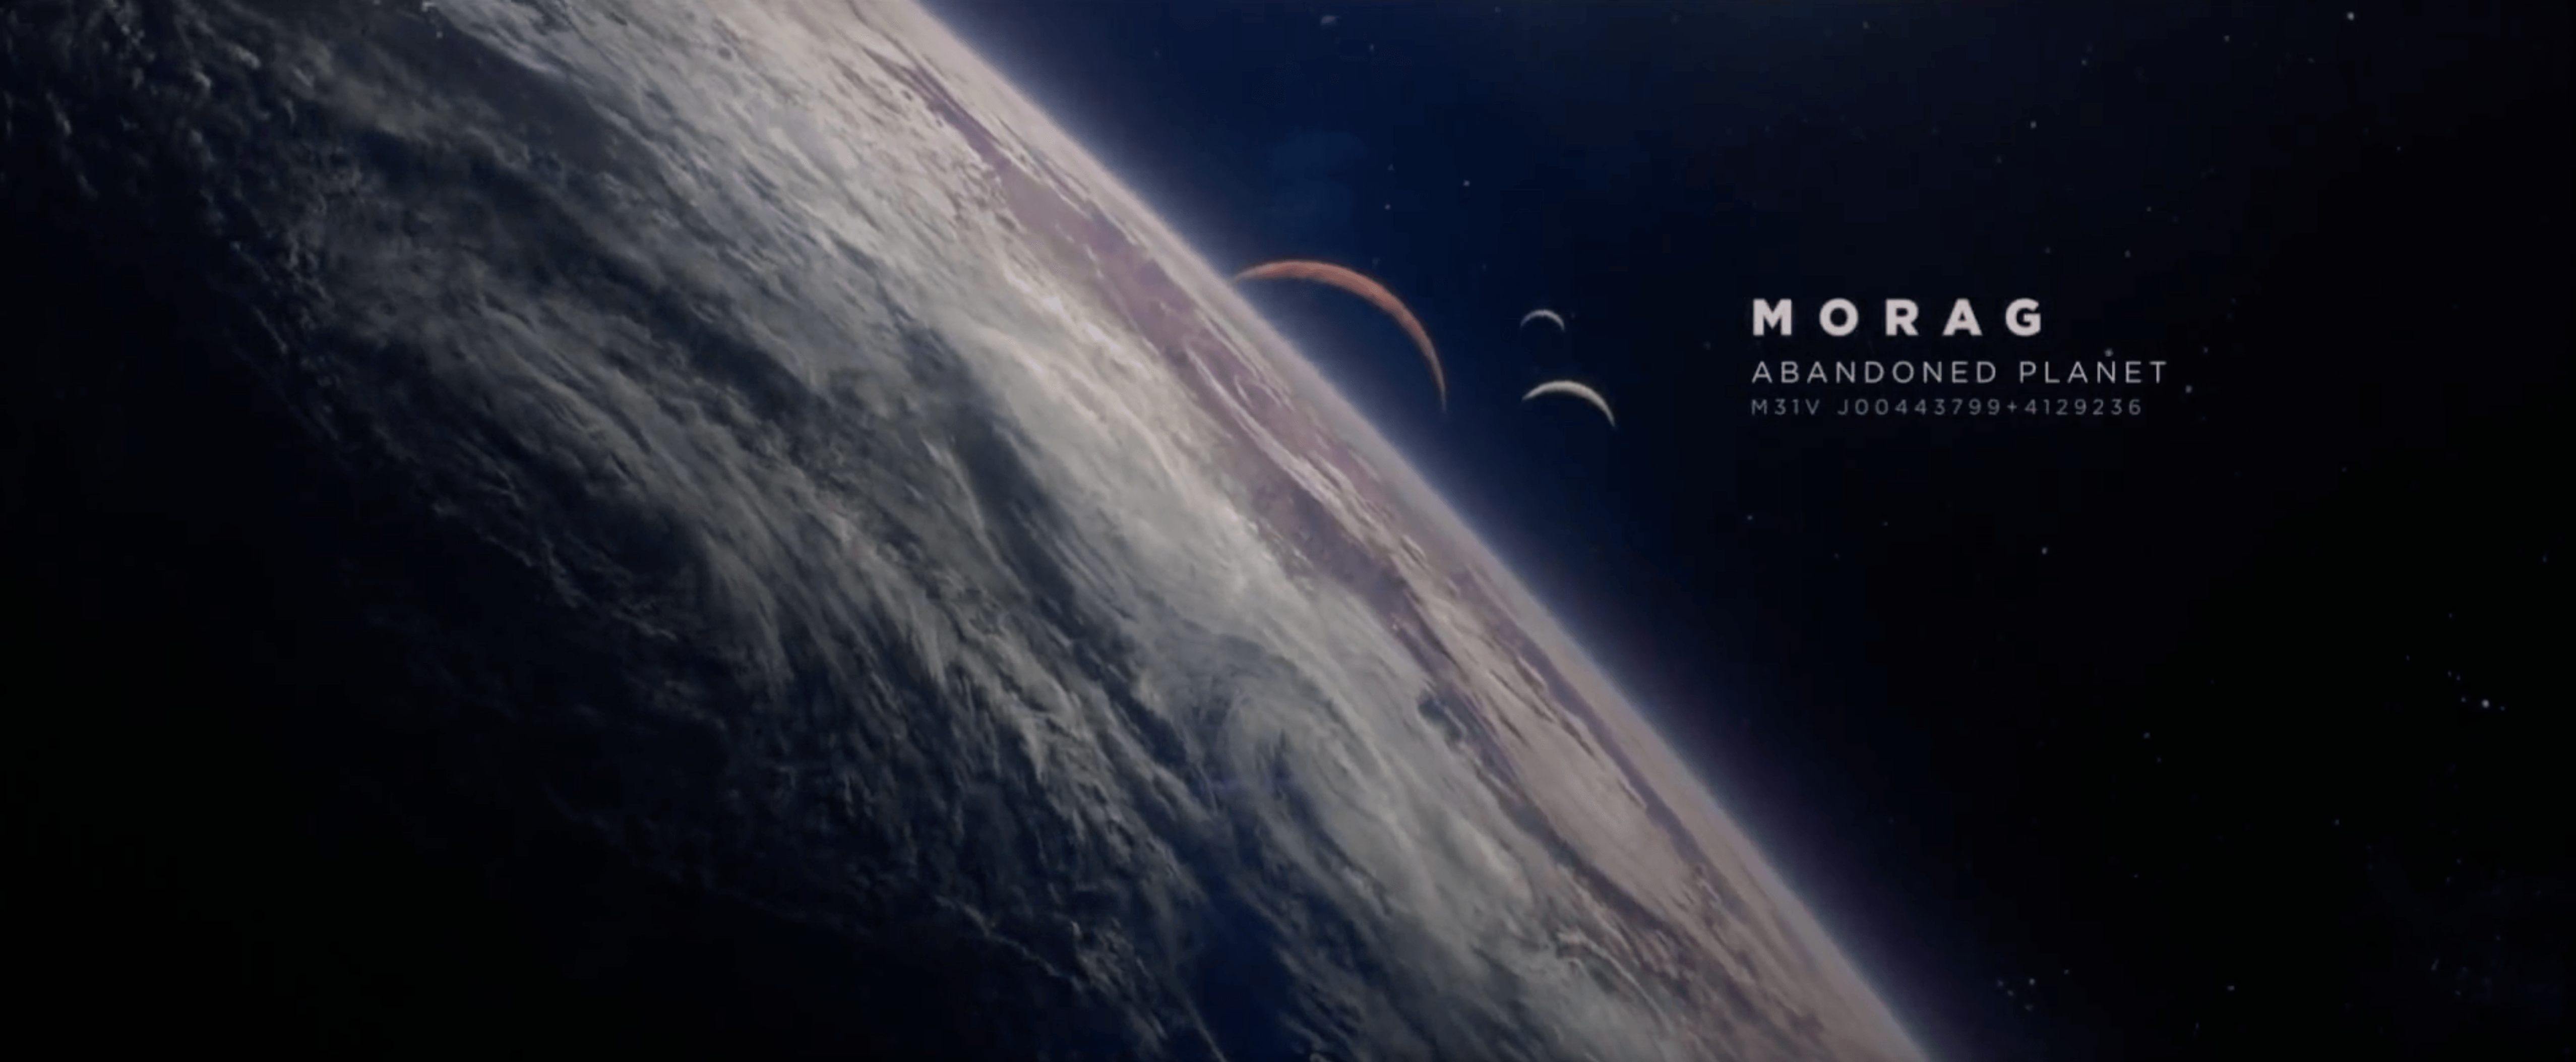
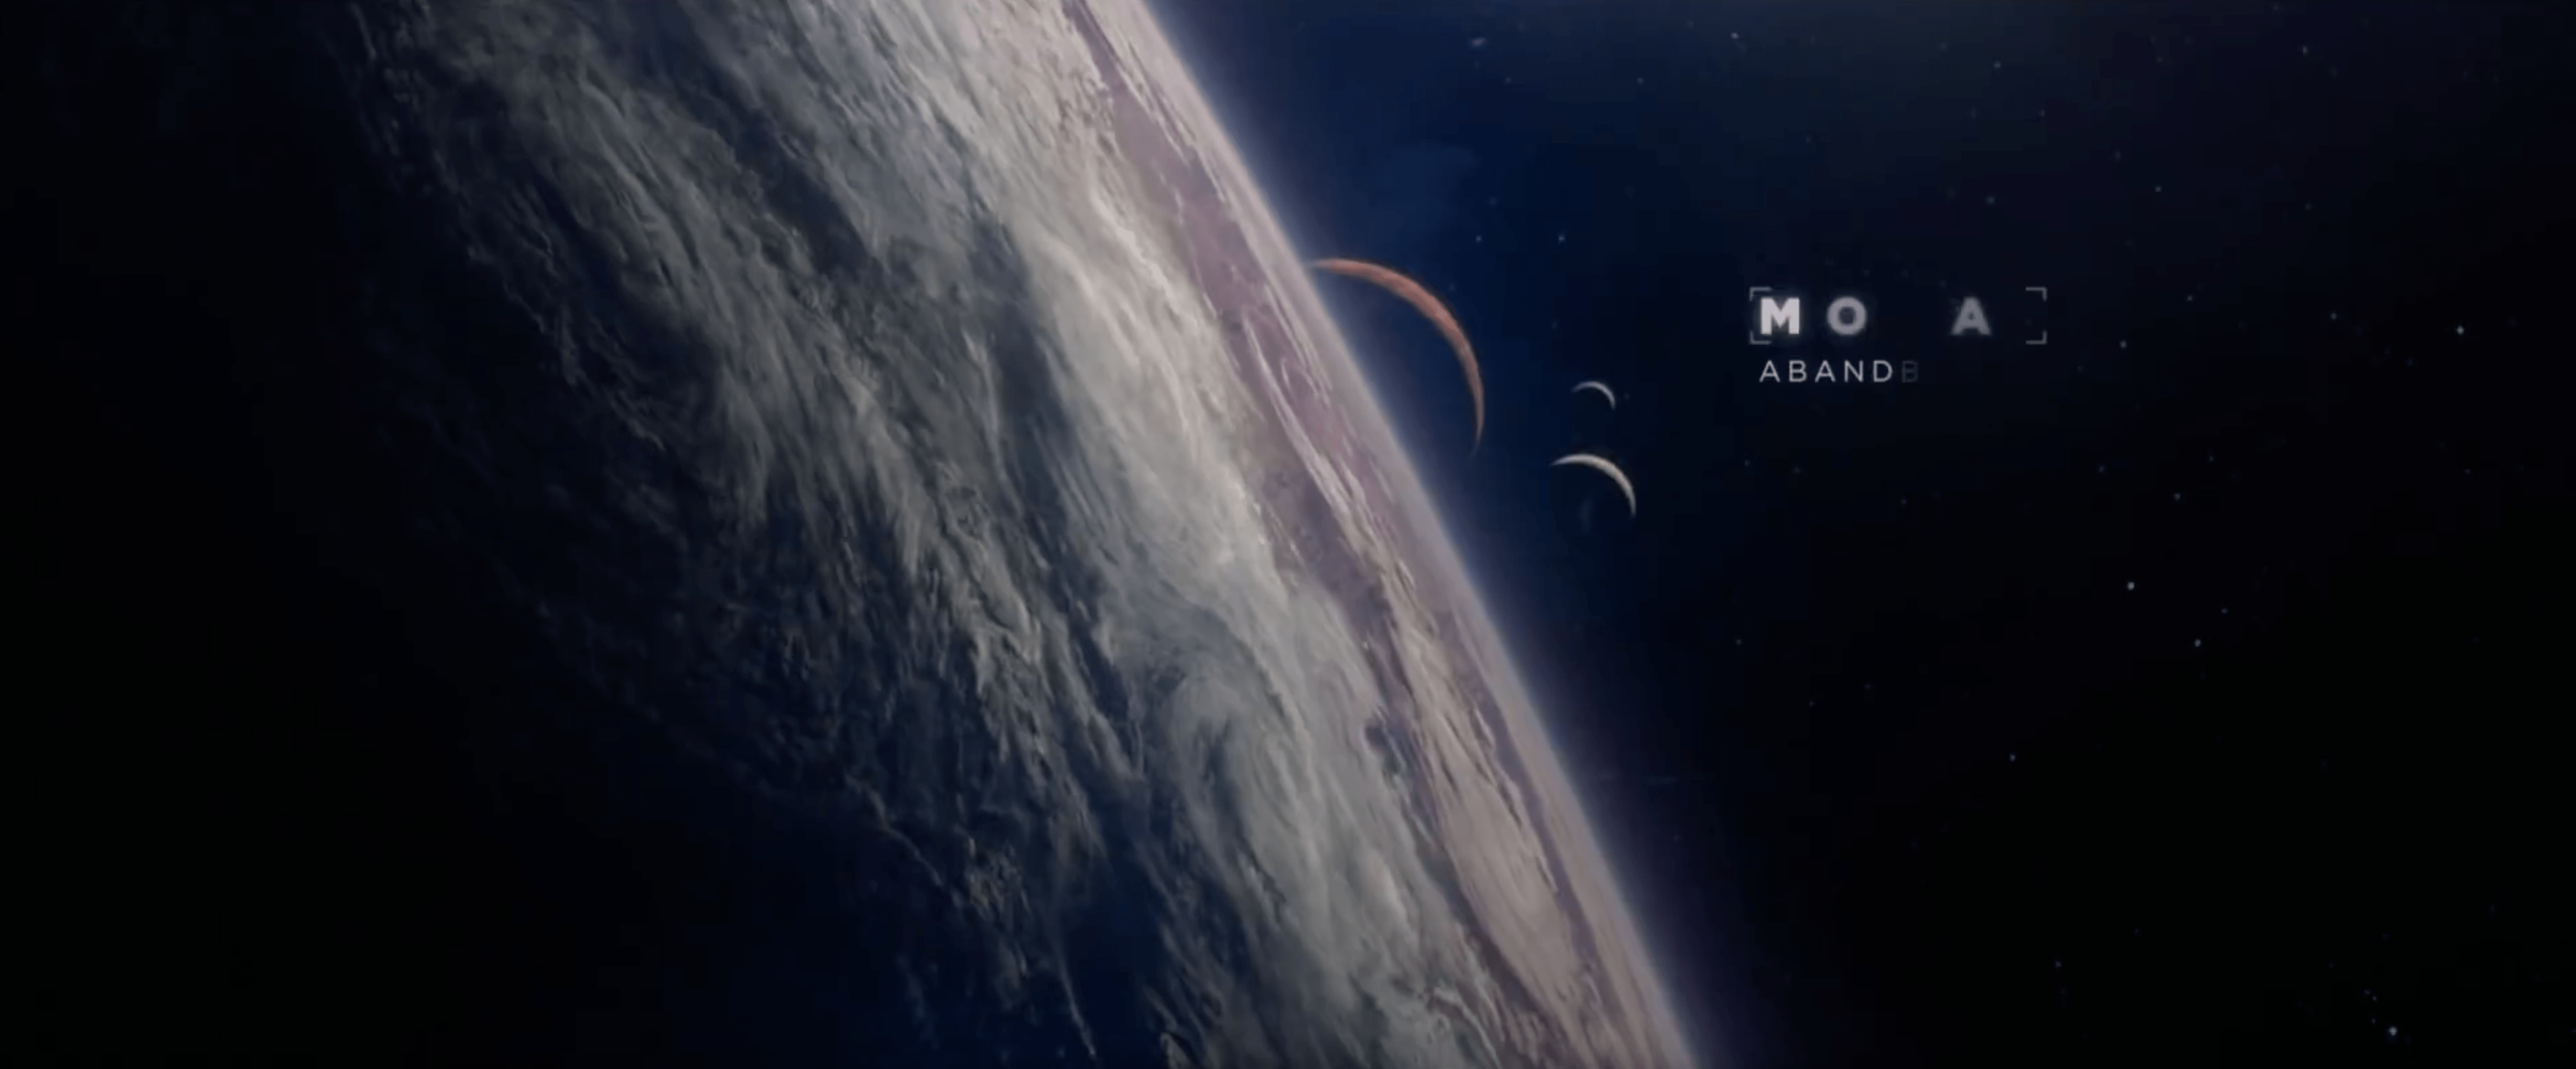
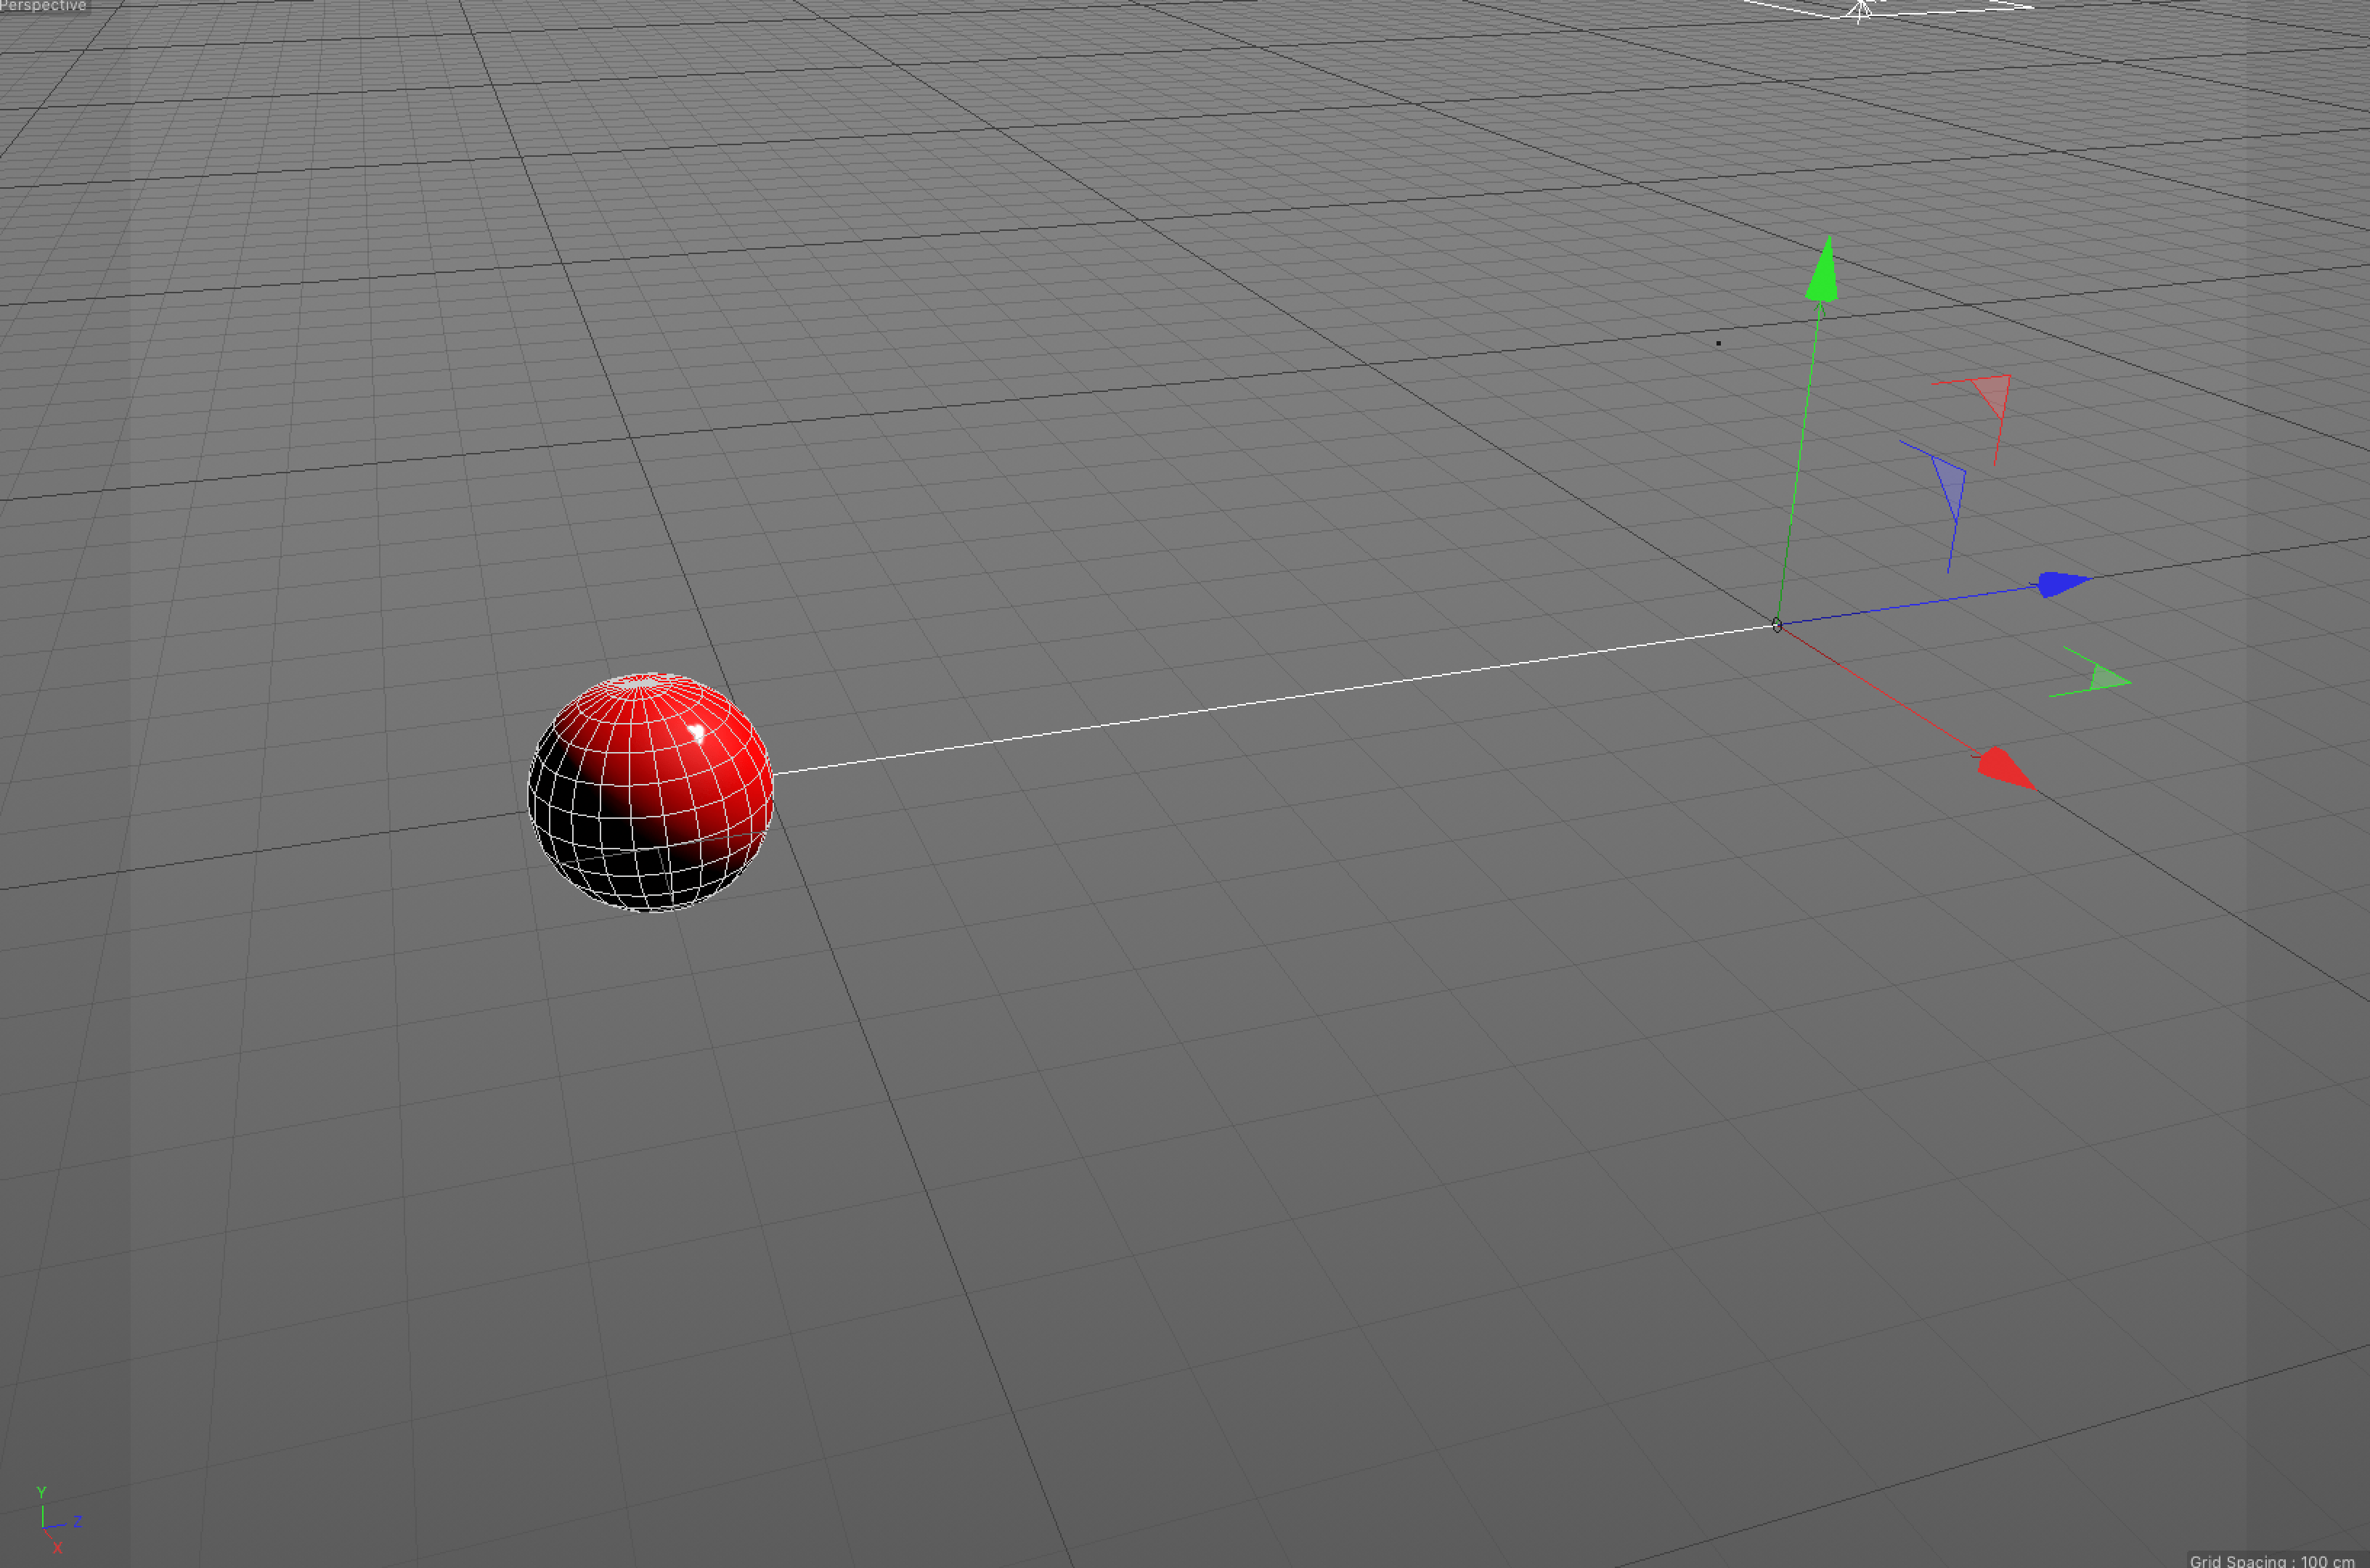
I feel that this convention would be highly adaptable and usable within my own project. I would intend to use this convention by showing to the viewers what the mysterious cube is in the space/zero-gravity environment. A small point would fade onto the cube to which a narrow arm from extend from it, this would then allow a point for the the cube name, description and co-ordinates to be displayed from.

In Addition, I would also like to try and replicate the space environment, through observation I can see that there are starts within the background, however, they aren’t overpowering and distracting. This would be an aesthetic I would also like to replicate within my project as I would want to keep the audiences attention on the objects in my scene.

Star Trek 

Star Trek is another space themed adventure film, it follows the crew of a space who aim to defeat a villain with a specific fluid called ‘Red Matter’ which has the power to create blackholes and destroy the universe. Within a key scene at the end of the film, the container in which the red matter is kept gets mashed and the camera pans up to a group of small dots of the fluid, a quick series of edits inverts the images colours which adds a really dynamic effect – especially when accompanied by the non-diegetic sounds (can be seen below).

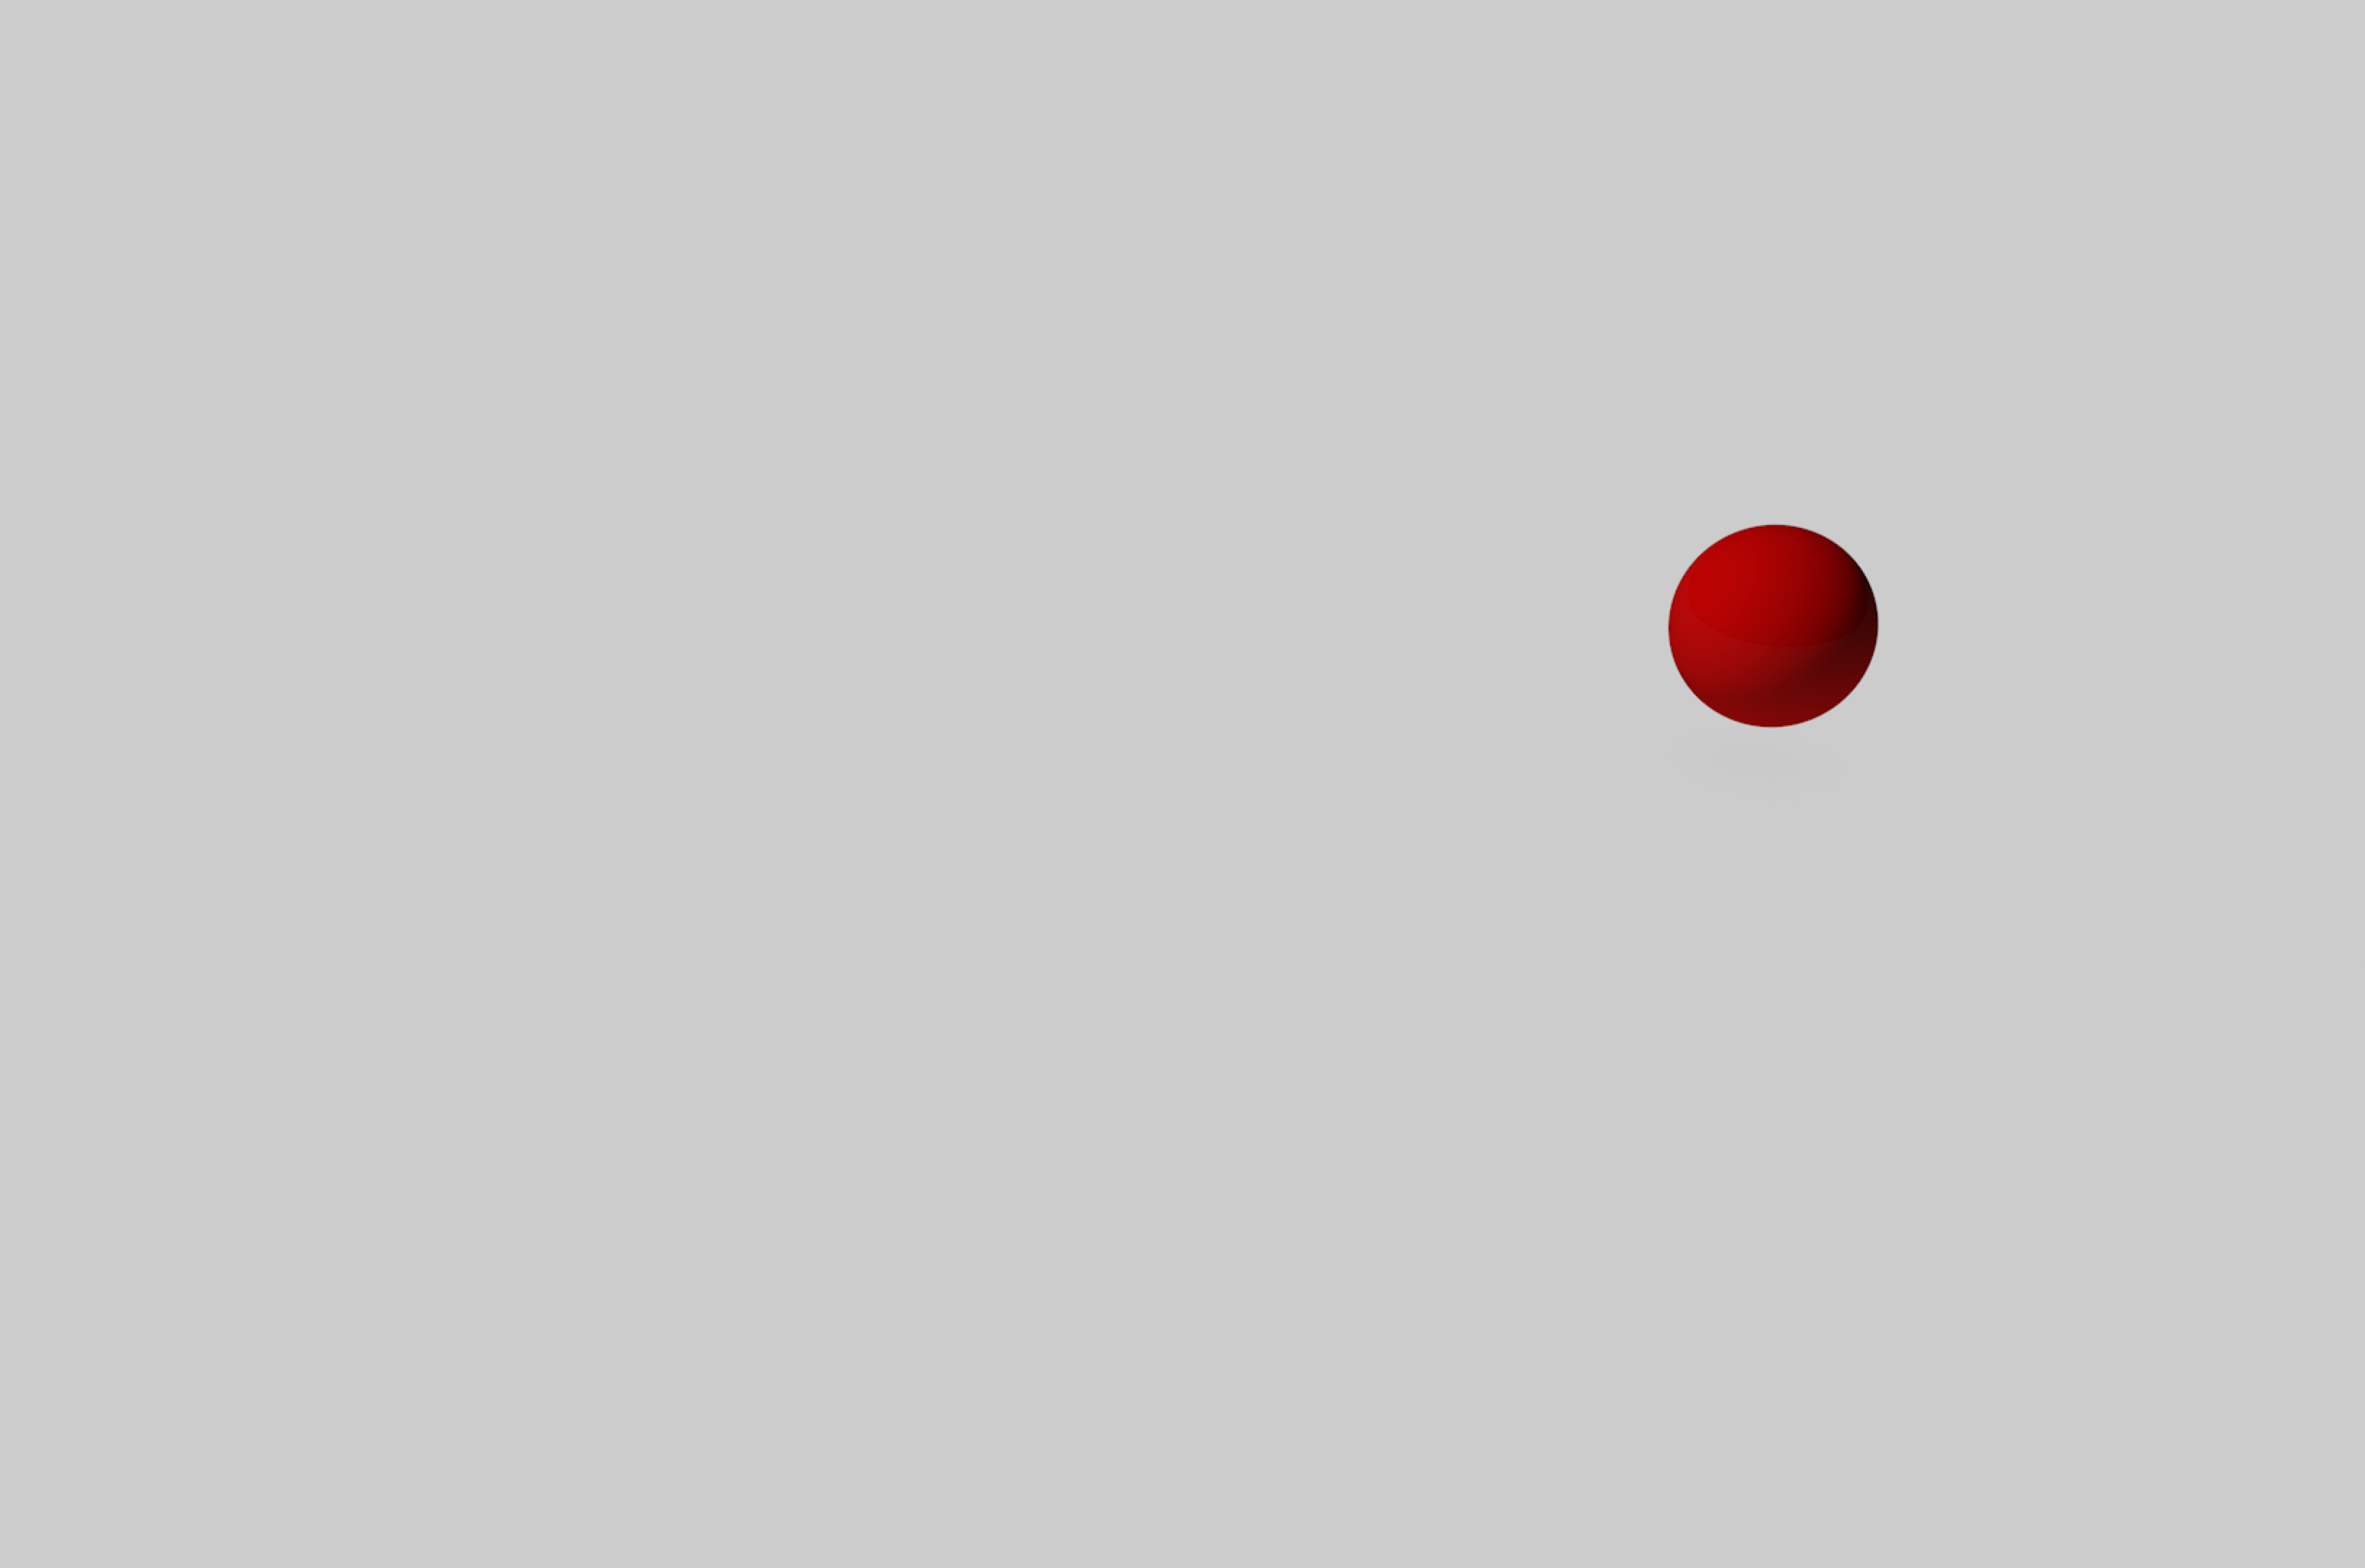
I would like to take this piece of inspiration and adapt in into my animation, I would like to use a similar camera shot (CU) to denote the spheres moving around, however, instead of inverting the image colours I would like to use an RGB spilt effect , cross cut with another perspective view of the spheres floating around the cube. I feel that this would made the animation more visually interesting to the views by showing them for information about the environment and if done correctly & subtly, it shouldn’t disorientate the audience.

Additionally, the ending of Star trek has a attractive space aesthetic which I feel inspires my work. Although I might not necessarily employ any of the convention used into my own animation, I feel that it narrows my aesthetic ideas more.
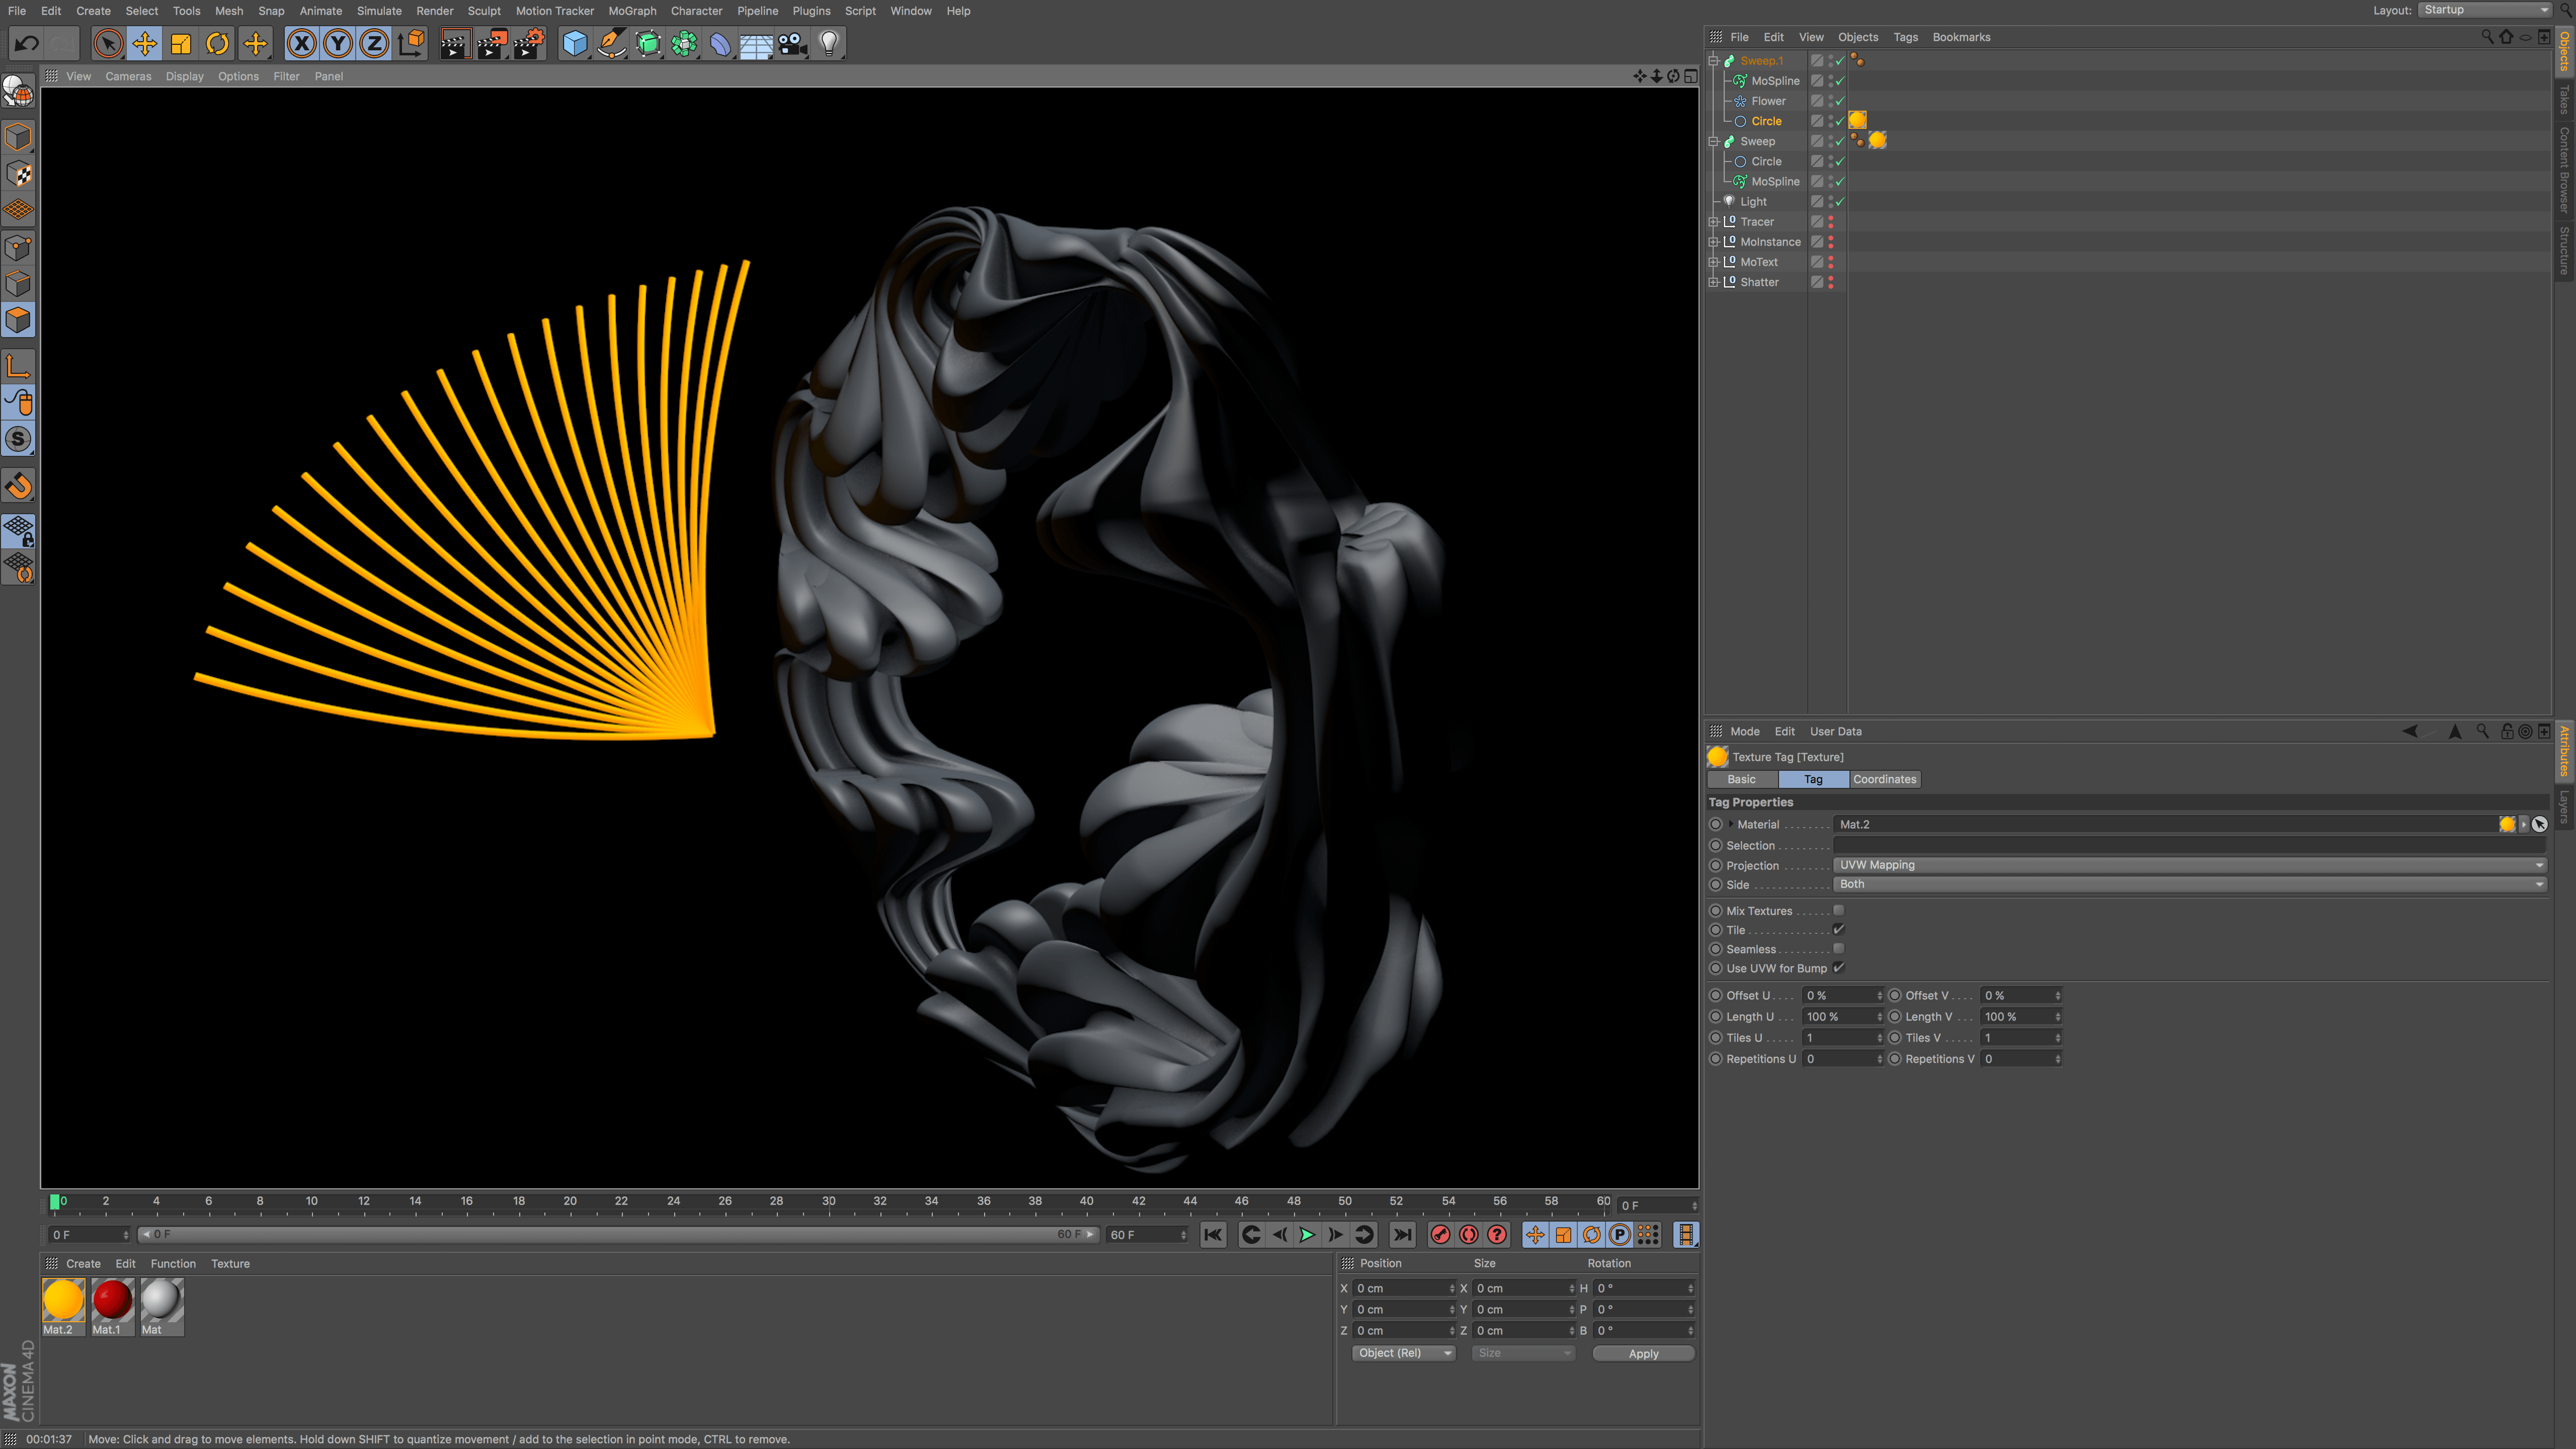
Ending Credits:

Overall, I really like the 3D effect that is created within the ending and I was fully surprised to find out it was created within Adobe After Effects by Andy Kramer. I didn’t associate After Effects as a powerful 3D software tool.

Oblivion  

Oblivion is an adventure mystery about a veteran assigned to extract Earth’s remaining resources begins to question what he knows about his mission and himself. Within one of the final scene of the film, the hero find himself approaching a large space station called the ‘Tet’ that he didn’t know existed. The general object design of the tet is fairly simplistic, however, it again reflects the man-made aspect I want to incorporate within my own animation. The shot below as again shows the contrast between organic (Earth) and man made (the tet).

1375049592_10

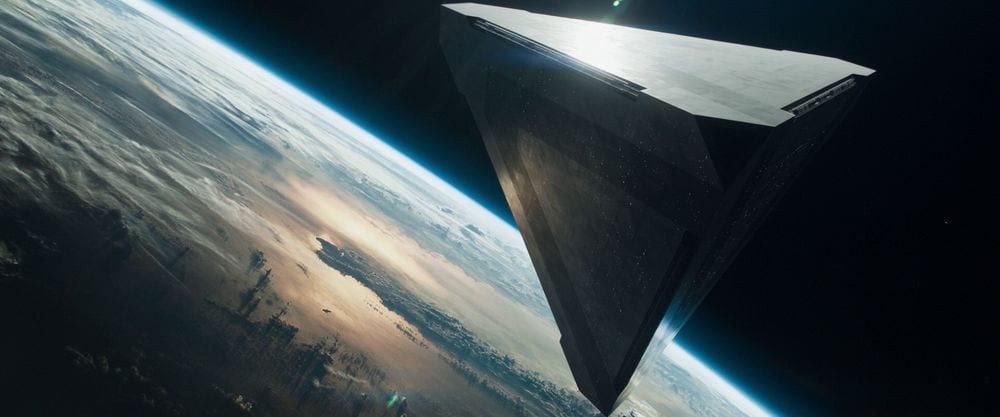
After the shot, the scene then cuts to the inside of the tet, which can be seen below:

The geometric design is reflected inside of the tet as well – I specifically like the use of straight lines as it further reinforces the notion of a man made structure – Within nature today, organic organisms adapt to their surroundings, twisting and turning around obstacles that might be in their way. The ‘Tet’ and also the cube in my animation are the binary opposites, the objects do the exact opposite and forces obstacles out of its way.

Star Wars

Star Wars, the very famous franchise, also incorporates elements which I desire to be inside of my animation. The geometric design on the death star is an obvious inspiration as it  creates and interesting aesthetic. However, there are further elements about the design of the death star that jump out as well – I would also like to try to create luminance objects on the surface of the cube so that lights can be seen, this can be specifically seen in the large ridge across its perimeter, I feel that this adds a different aesthetic to the object – more functional than others such as the tet.

SW1 maxresdefault

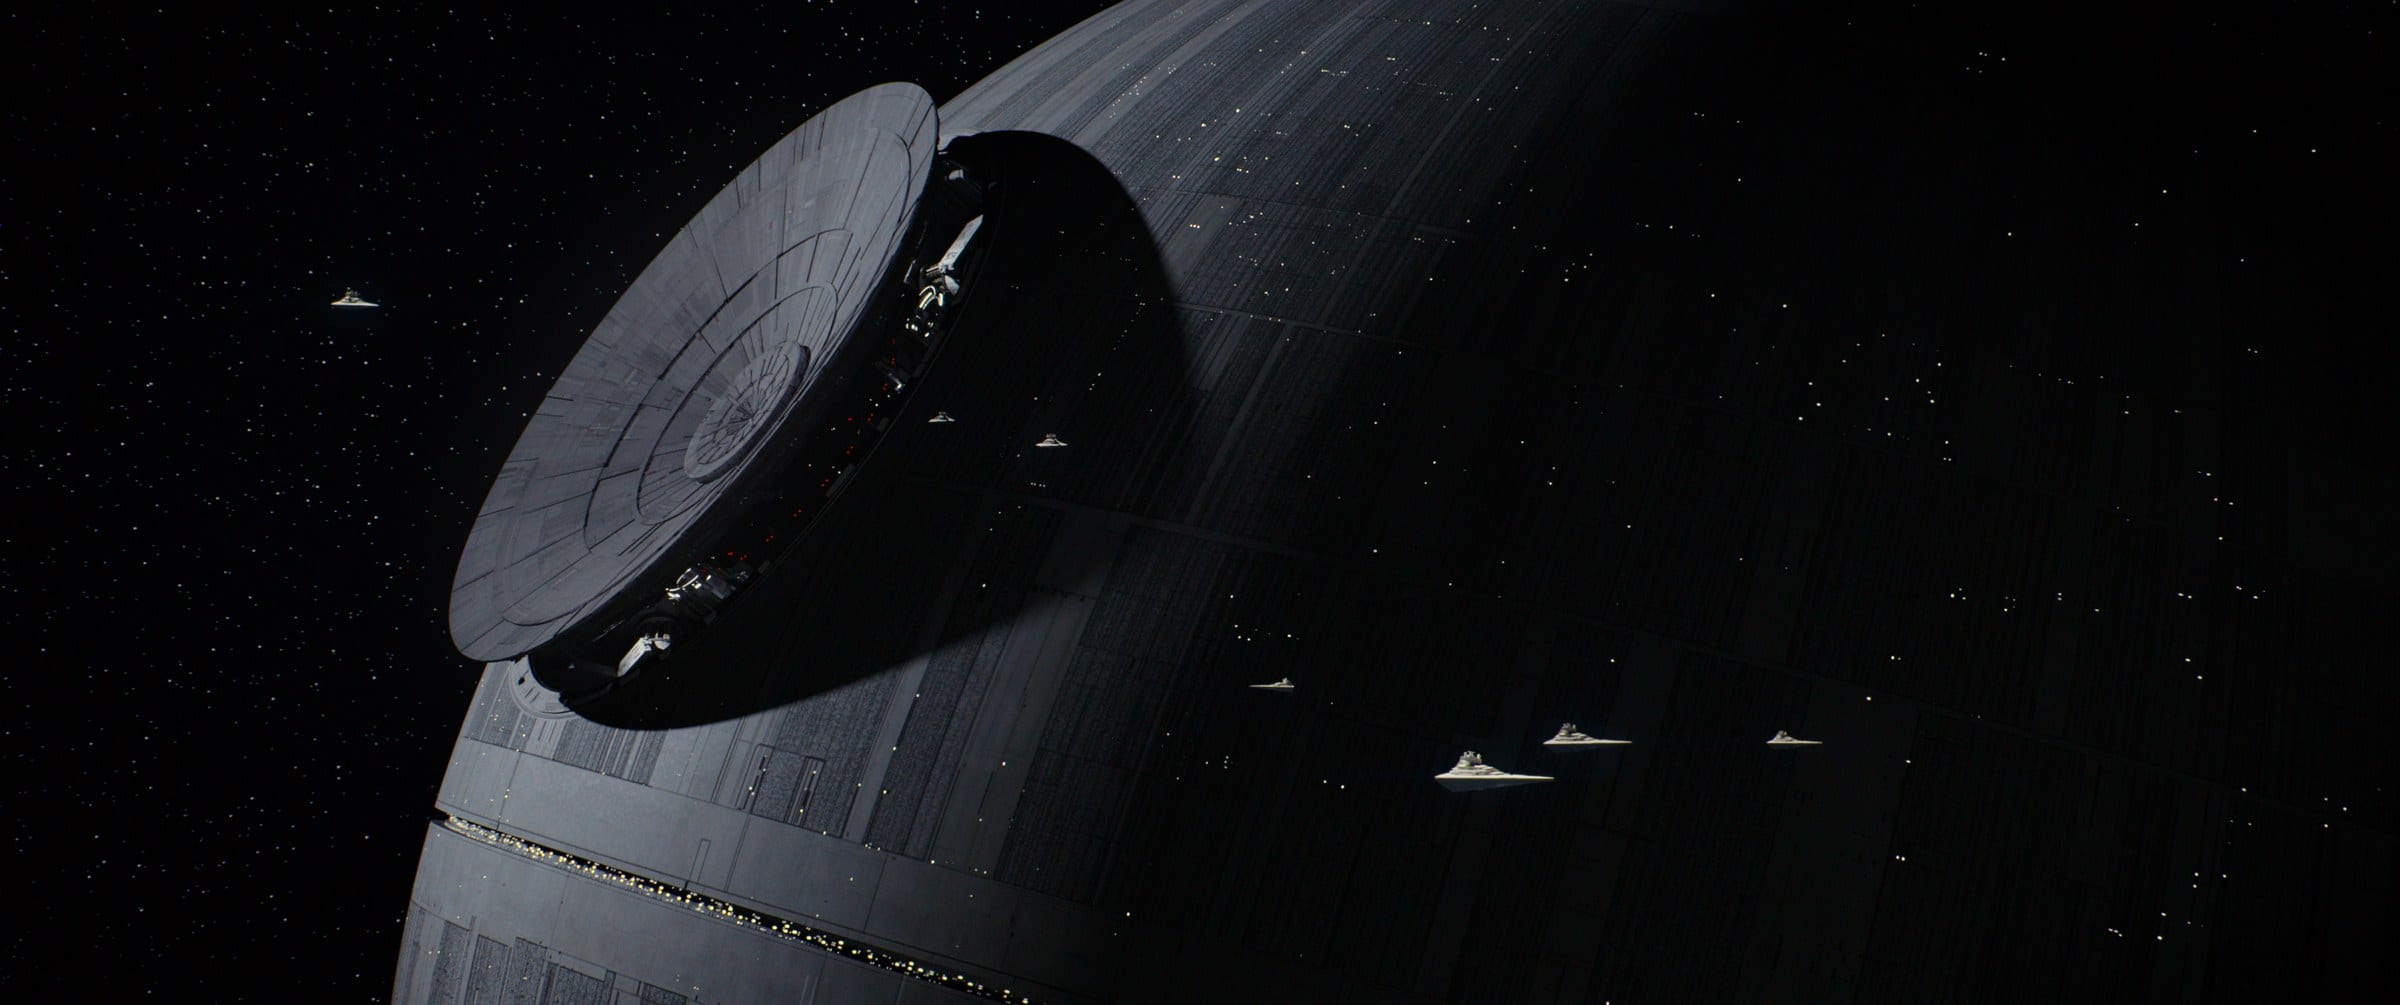
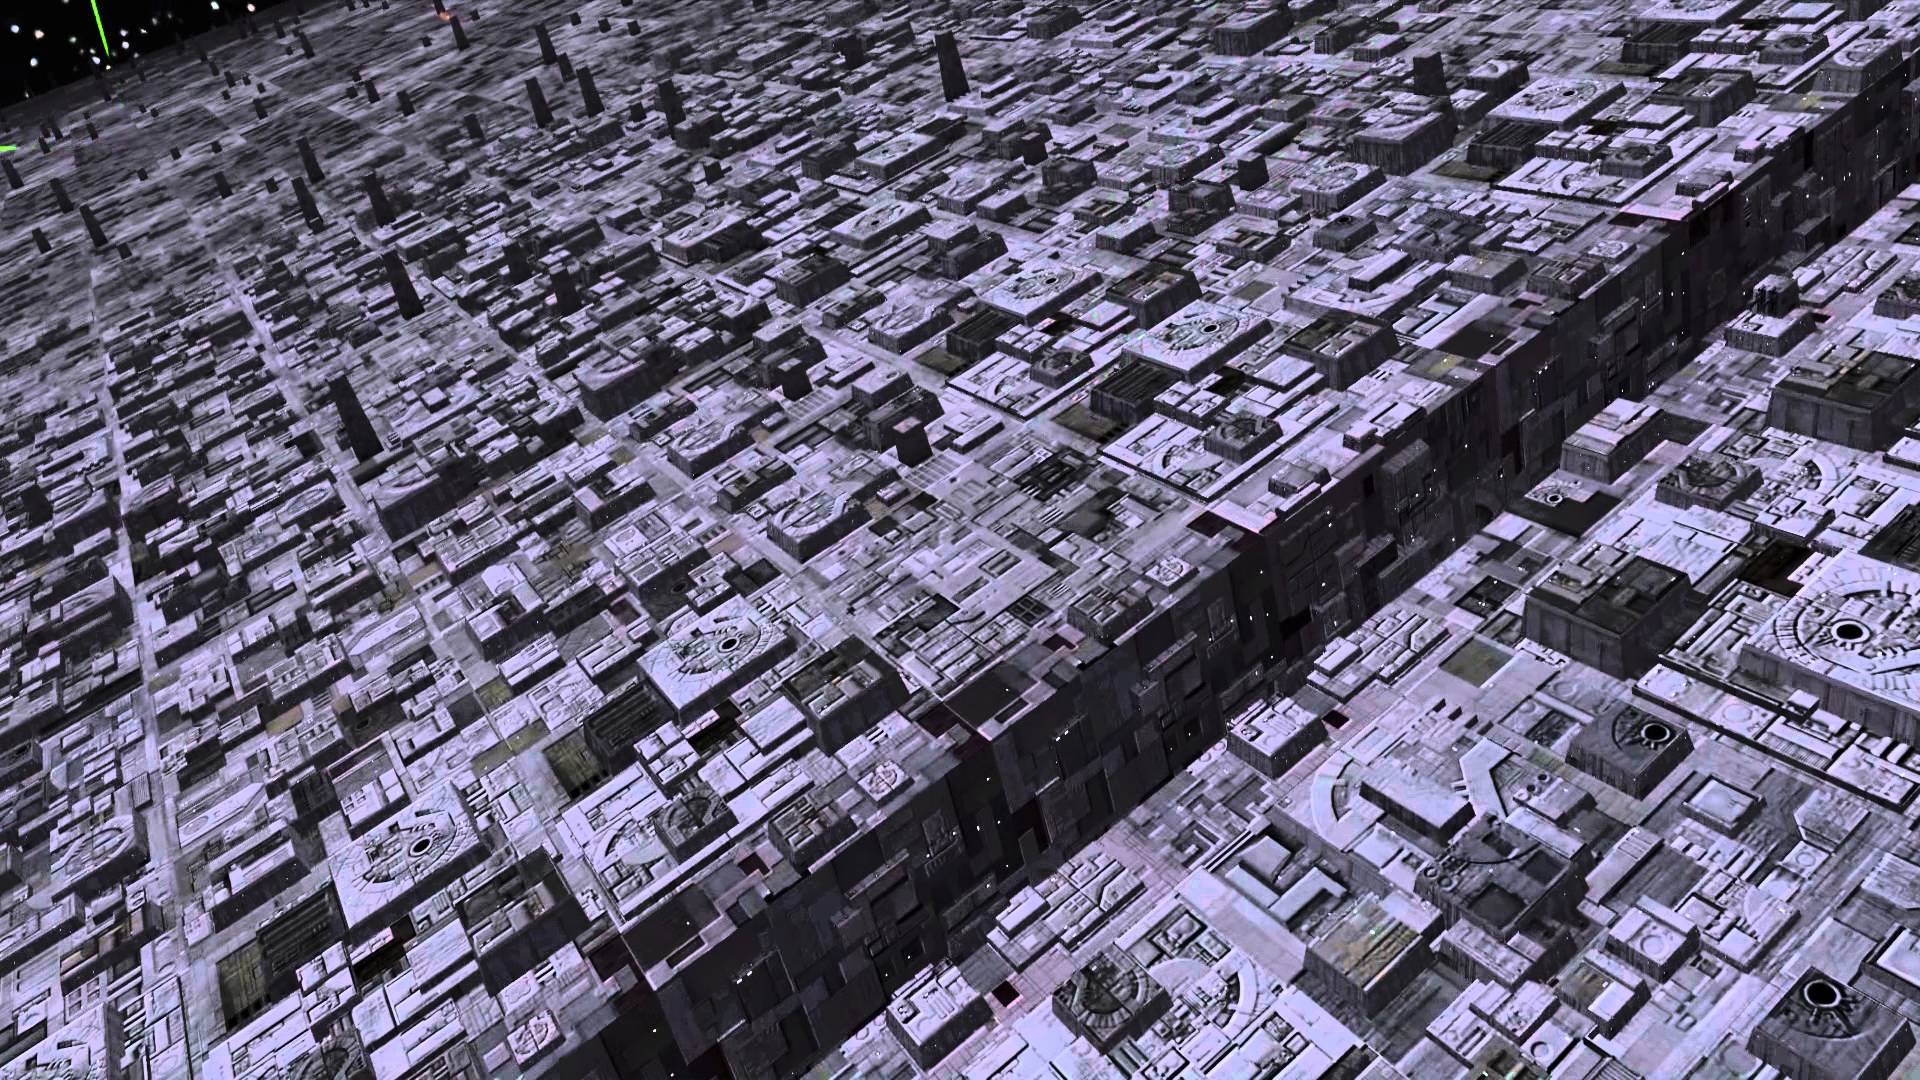
From the screen grab above, the death star further reinforces the geometric design I would like to have on the Cube in my animation – compared to the ‘Tet’ its geometric protrusions are more pronounced on the spheres surface which I feel makes it more interesting for the audience. In addition, the death star also conveys the notion of man made, something which I intend to use.


Project Proposal

Project Proposal

Screen Shot 2017-10-27 at 15.09.05 Screen Shot 2017-10-27 at 15.09.12

This is my project proposal, within this document I have outlined my aims for this semester and a breakdown of smaller tasks which will enable me to complete this – in the first side I  had also given additional details about my project such as: the audience, project criteria and the intended outcome. On the second side of the proposal, I have listed the different sources/archives of the information that will help me with my project ranging from books, videos and websites.

Gantt Chart

Gantt Chart L3

Screen Shot 2017-10-26 at 22.09.26

This is my gantt chart for my project, it shows all of the tasks that I need to complete with relation to when they need to be started and completed by, this is shown in two ways: verbally as you can see on the left and visually as you can see on the right with the horizontal coloured bars. I have arranged each task in a specific order so that I start the most basic ones first, further allowing me to progress and develop into the more complex tasks which will built up my knowledge for the different softwares/plug-ins I intend to use.

Cinema 4D – MoGraph Research

I will be looking at a different element of c4d, specifically the MoGraph toolset that allows for the creation of complex scenes and titles for digital/motion graphic artists. From the screen grab below you can see the different MoGraph tools: Cloner, Matrix, Fracture, Molnstance, MoText, Tracer, MoSpline. I will be giving an explanation of what they all do and additional renders to help visualise it.

Screen Shot 2017-10-18 at 14.44.10

Cloner

The cloner object is the MoGraph tool for the duplication of other objects, allowing for the clones that were created to be arranged into any pattern that is desired within the settings. The cloner object sets the object(s) up so they can be affected by various effectors  – which I will be researching into further.

The renders below show the power of this MoGraph, allowing for quick arrangement and building of scenes just from one object. The render on the left shows how the default set up of the cloner when first added to a shape in c4d – after the tweaking the settings the shapes can be arranged into different patterns, which can be seen in the render on the right.

Screen Shot 2017-10-18 at 14.50.43 Screen Shot 2017-10-18 at 14.52.40

The screen grab below shows the settings box for the cloner. The ‘mode’ section allows for different arrangement of the clones, ranging from: Object, Radial, Linear and Grid Array (which has been used above). From this the other settings can be altered to make smaller changes to the layout, the most noticeable being the count and size section allowing for more/less clones to be added and also the spacing between them to be changed.

Screen Shot 2017-10-18 at 14.51.41

Matrix

The Matrix tool is very similar to the cloner as explained above. When the matrix in placed into the scene, a grid array of cubes appears – each smaller cube hold positional co-ordinates so that when a shape object is entered into it, it duplicates it and places it the scene with the same positional co-ordinates.

The test video below explains this better – From the first test you can see that I dropped a matrix mograph element into the scene and then added a sphere, after this I then changed the object property mode of the matrix from grid array to object. This was my first mistake as I was telling the matrix to take positional co-ordinates from the surface of the sphere instead of the initial positioning. After this, I then placed the sphere into the cloner tool and the further told the cloner to arrange all of the objects accordingly – the arrangement of the clones depends on the settings of the matrix, in this case it was a grid array.

Fracture

The Fracture tool allows shapes and objects to be broken down into their key polygons. The most common example of this when a sphere smashes into a cube – during the collision, the cube smashes into lots of little pieces and adds an interesting dynamic to the scene.

The screen grabs below show how the fracture tool can be used within objects to make them ‘explode’ – using the example given above about the ball smashing an object, I have put it into practice in the renders by following a tutorial. The whole process was very complex and didn’t really allow for different variation in the way the different shards react, this might be very realistic if comparing it to a real world example, however, if I would want the object to break and react in a different way im not sure I would be able to make it happen. To conclude, I will have to conduct more research into ways of making finer adjustments to each shattered object – I think i would because to use some part of it within my final project but again further research is needed.

Screen Shot 2017-10-25 at 19.44.26 Screen Shot 2017-10-25 at 19.44.47 Screen Shot 2017-10-25 at 19.45.10

Molnstance

The MoInstance tool can ‘look’ back at its only animated history in the scene – the tool then looks at the specified frames (entered into the settings) and creates the past states in the form of instances from those frames. These instances, in turn, are regular clones that can be affected by any effector for specific effects.

The screen grabs below show how the MoInstance works – the start position of the sphere or frame 0 (on the left) shows one instance of the object and because it hasn’t moved, its history cant be shown in the display port. By frame 32, the object has started to move and this is when the mograph tool can start to work – the tool recreates the clones from the objects history producing a delay effect and by the final frame, the object has stopped moving – allowing for the clones to catch up. The tool is very powerful and can create some nice effects, one way to make this better is to have the object follow a more organic path instead of just a straight line and also alter the settings to make it have less clones created or either by increasing the space between each clone.

Screen Shot 2017-10-26 at 12.28.00 Screen Shot 2017-10-26 at 12.28.15 Screen Shot 2017-10-26 at 12.28.34

MoText

The MoText tool allows for easy animation of text – when inserted into the scene, the tool can be edited to any word, phrase or sentence and then has further controls which allow it to be animated in anyway which is needed.

The renders below show the MoGraph tool – its fairly simplistic and has some good uses. The control panel on the bottom right of the software shows how customisable it is, allowing for: specific fonts, letter bevels and spacing controls to be used –  the good factor about the tool is that it turns the letter/word into a 3D object which can then be fine tuned to your needs. However, due to the nature of my project I don’t think ill be using it as I don’t intend to be creating an text within my scene, and if I do, I think it’ll be flat or 2D rather than 3D.

Screen Shot 2017-10-26 at 11.41.18 Screen Shot 2017-10-26 at 11.49.27

Tracer

The Tracer tool traces the movement of objects or particles within your scene, this is done by creating splines from the paths that follow – giving the object/particle a ‘tail’. The tracer tool can then be edited to alter the length of the tail and also the overall effect that is created.

The screen grab below shows how the tracer would initially work – the red sphere would move and from behind a white line would appear, this shows the path that the object has taken and also shows the tracer mograph is understanding its path. The tracer mograph can also be changed in the settings to not only produce 1 line but can also make it produce a line for every vertices on the shape (this can be seen within the screen grab – the sphere has lots of white lines, the tracer would then produce a line at every point where they intersect).

Screen Shot 2017-10-26 at 13.09.01

From this, I was able to push the tracer mograph further by adding a circular shape and a sweep to give the sphere a ‘tail’ – this was done by adding a circle (a 2D object) to a sweep which turns the 2D object, in this case the circle, into a 3D object (The 3D version of a cicle is a sphere, however, as its following a long path, it becomes a cylinder). To make it stand out, I added a orange material to it with some luminance.

Screen Shot 2017-10-26 at 13.07.14 Screen Shot 2017-10-26 at 13.07.42 Screen Shot 2017-10-26 at 13.21.53

This could be very useful within my project as it could make simple shapes become more interesting, this would be further benefitted by a more interesting path to follow which would make it look more organic and natural.

MoSpline

The MoSpline is special tool that allows splines to be generated within a sceen in c4d. The tool can create squiggly, flower light shapes and can also grow custom drawn shapes, such as text.

The renders below show the different objects that can be created – when the mospline is first added in the scene it creates a single spline, within the settings more can be added and altered to create the same object in the first render on the left, this was done by changing the number of segments and angles H, P and B (all angles react in different ways depending on others settings). Additionally to this, the mospline can be used in conjunction with a 2D shape under the pen tool – the render on the right used a 2D flower shape and a circle to give it a wavy/organic feel (this was created by accident but I feel it looks really interesting and if it could be effected by turbulance then it would be very interesting to watch).

Screen Shot 2017-10-26 at 14.08.12 Screen Shot 2017-10-26 at 14.25.29

Conclusion

In conclusion, this research was very beneficial but also very tricky to make work and time consuming. I feel that the cloner, tracer and fracture mograph tools could be used within my project as they give very interesting aesthetic objects and shapes – I also feel that they could make creating the scene very easy as well, especially the cloner as it would mean that I could make a lot of objects very quickly all with unique characteristics (which could be used within the colour of the objects and their overall shape or defects within the shape).

Cinema 4D – Lighting Tests

Above is a video that was rendered in Cinema 4D and then edited in After Effect. It shows the different types of lights on a moving object, this allows us to see how the shape reacts under the light with a slightly reflective material and also allows us to see how the shapes shadows react under the different types of light. Overall, I think that some of the lights look a lot better than others – specifically the Area light as its slightly soft compared to the infinite light. Additionally, this will further help when it comes to creating my project as I will be able to illuminate my scene better – allowing the audience to fully see all of the objects when viewing.