Since the first project update post, I have been completing tasks relating to the development of my project – I decided to try and change the colour of my cube object as it was the easiest option within my time frame. Below is a voice-over video discussing my decision in more detail, giving my thoughts and justification as to why I went with that decision.
Project Update
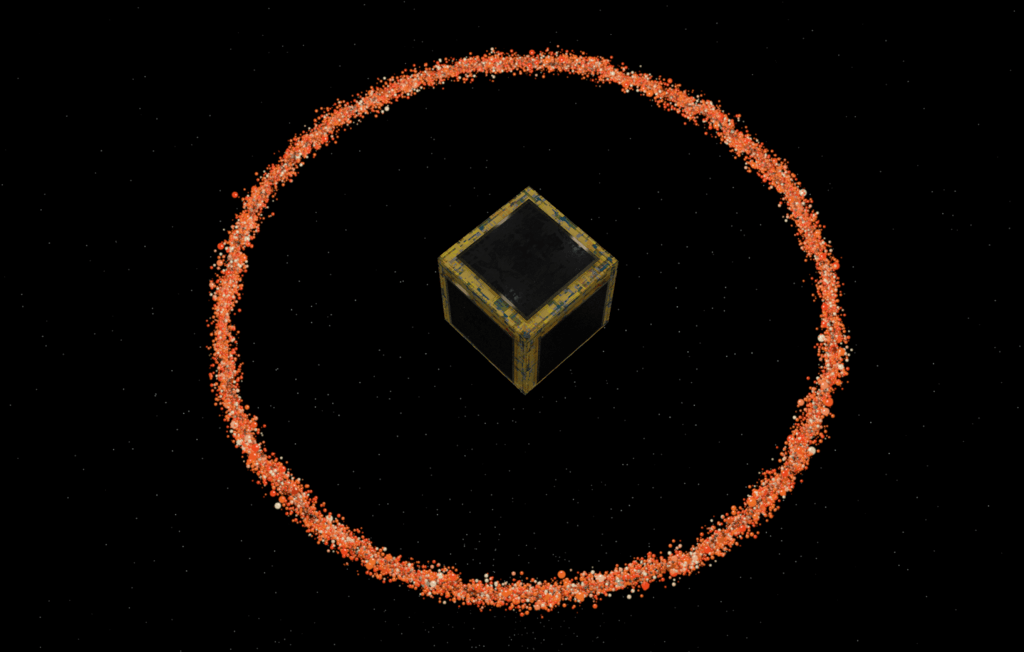
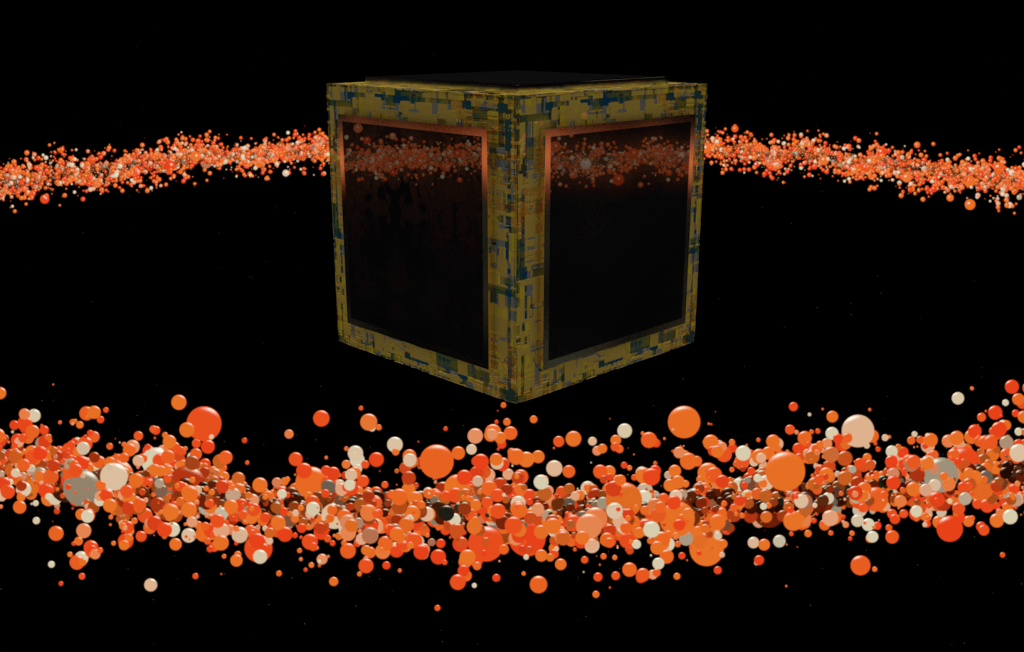
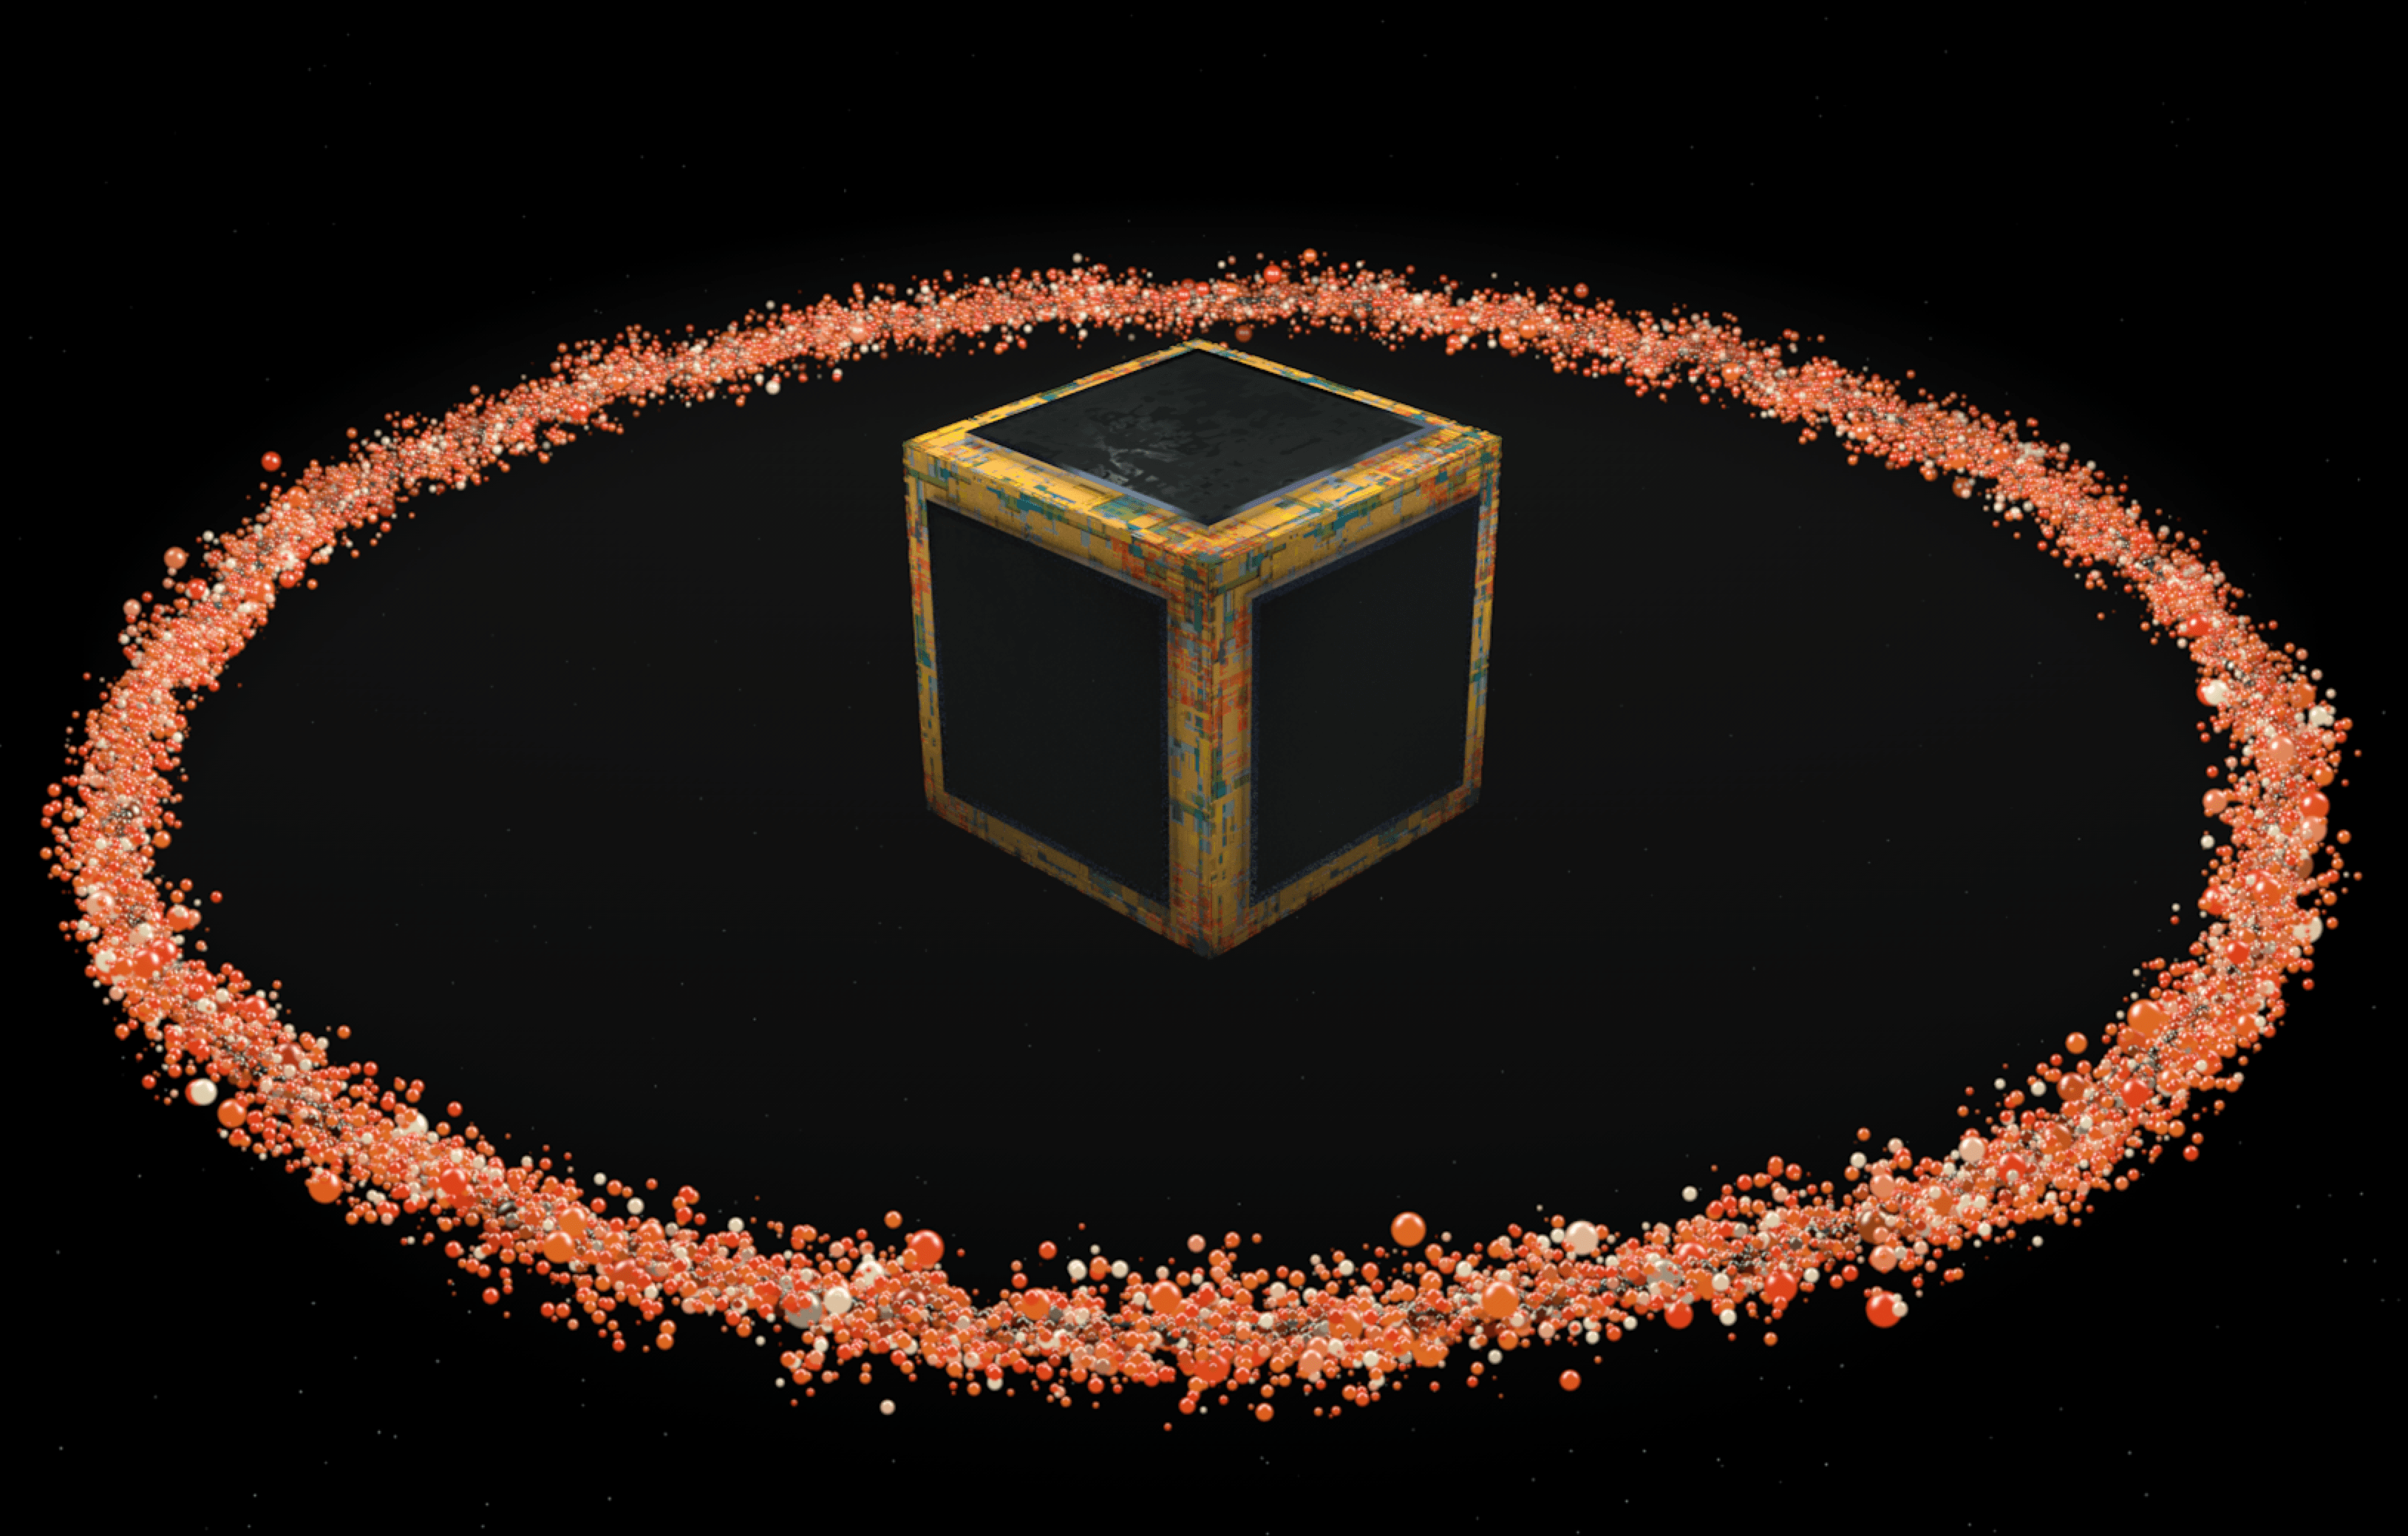
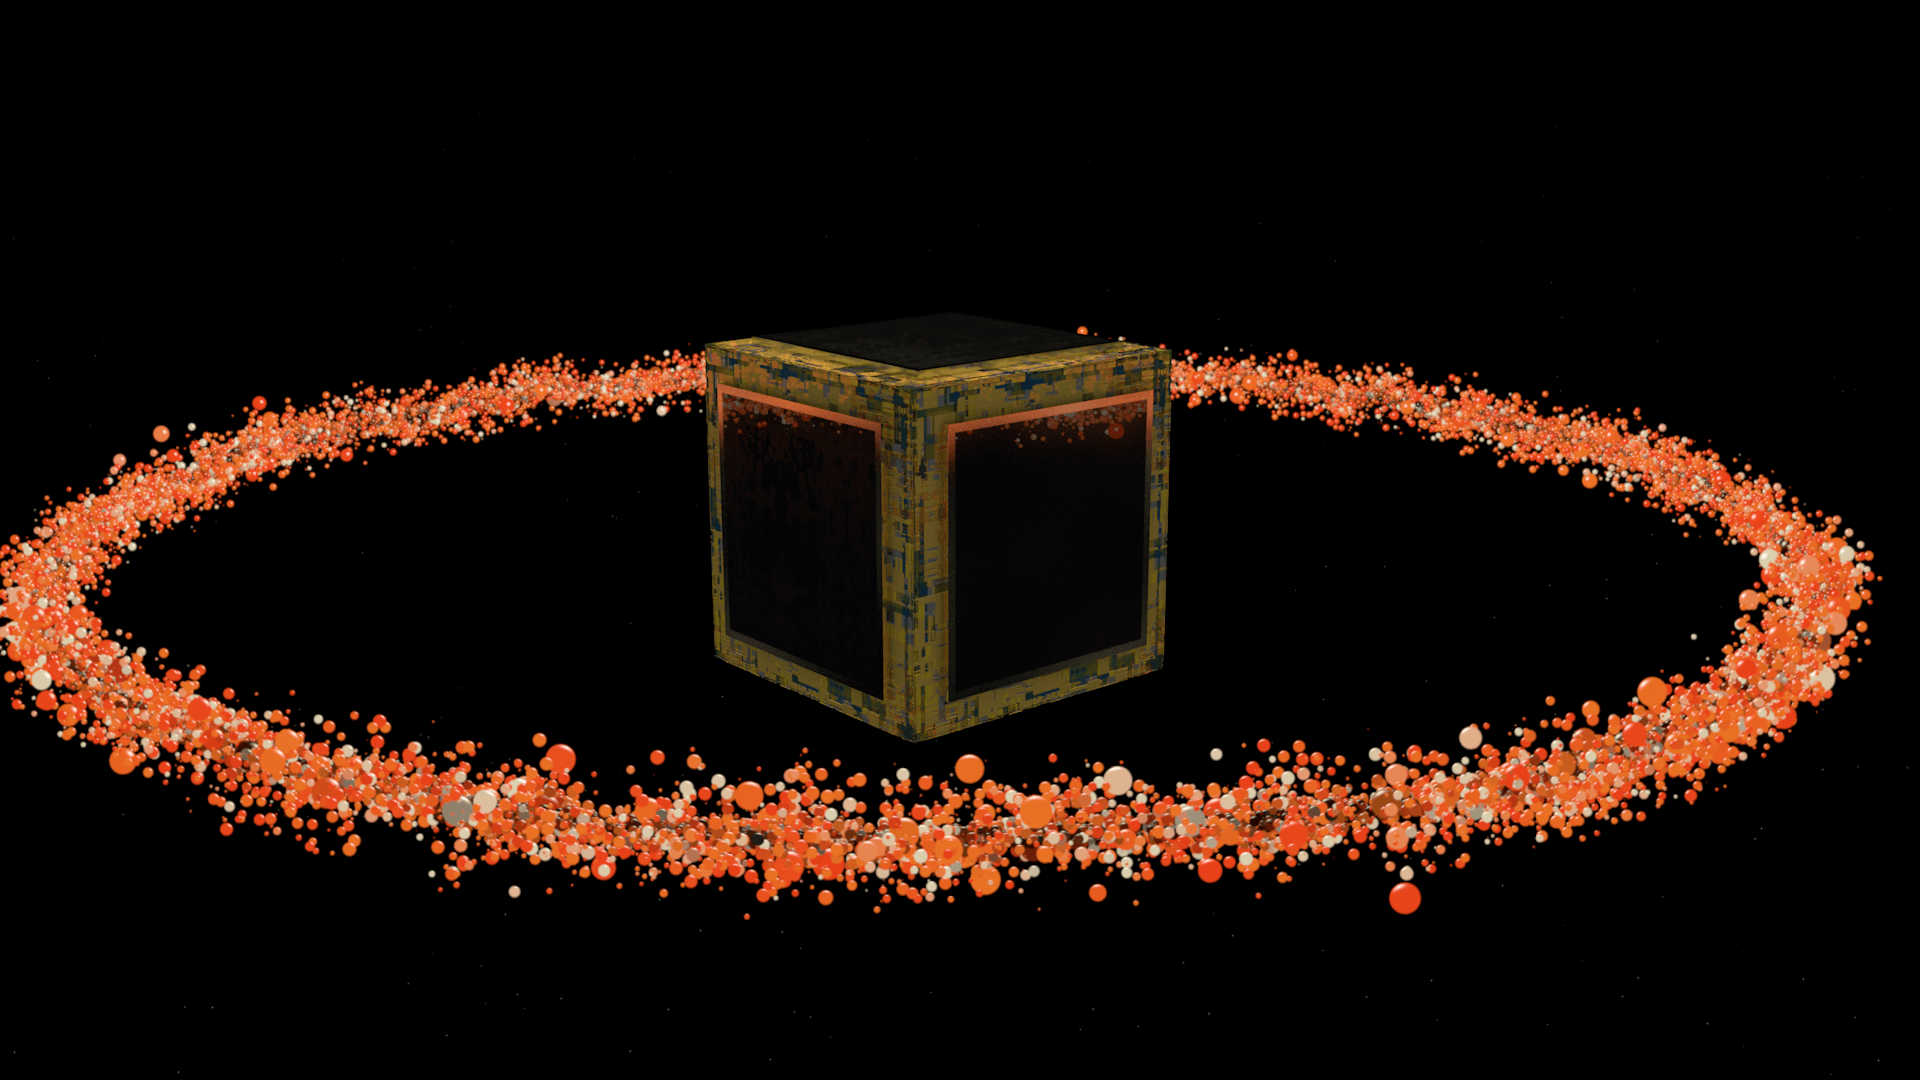
As I was experiencing some issues with my project, specifically the cube & x-particles colour palette, I have now decided to take a more commercial approach to the animation and make it brand orientated. The voice-over below discusses the issues in more depth:
My next step after this project update will be to experiment with different colour swatches for the displacement map image – this will allow me to potentially save a lot of time with resolving the current problem by changing the colour to a something that is more complementary to the scene, and not modelling something entirely different which will take many hours to make perfect.
However, if I am unable to find a more complementary range of colours for the cube, I will have to plan out the new vending machine model, which will focus on several different aspects of the design, including:
- Visual style
- Period/decade
- Colour palette
By planning these sections out it will enable me to create a model that not only matches the scene in terms of colour, but also as a whole making the animation look complete. I feel that I will want to create something that is slightly cartoony, with lots of illuminating aspects – I feel that this aesthetic of the vending machine will help match the abstract aesthetic of the animation, whilst also adding a fun/non-serious element to it.
Additionally, adding the vending machine will still reinforce the contrast between man-made and organic – an element that I have been want to incorporate from the beginning.
Camera Set-Up
A short voice-over video explaining the camera set-up within my animation, and also discussing other scene changes/additions further developing it.
Fog Creation
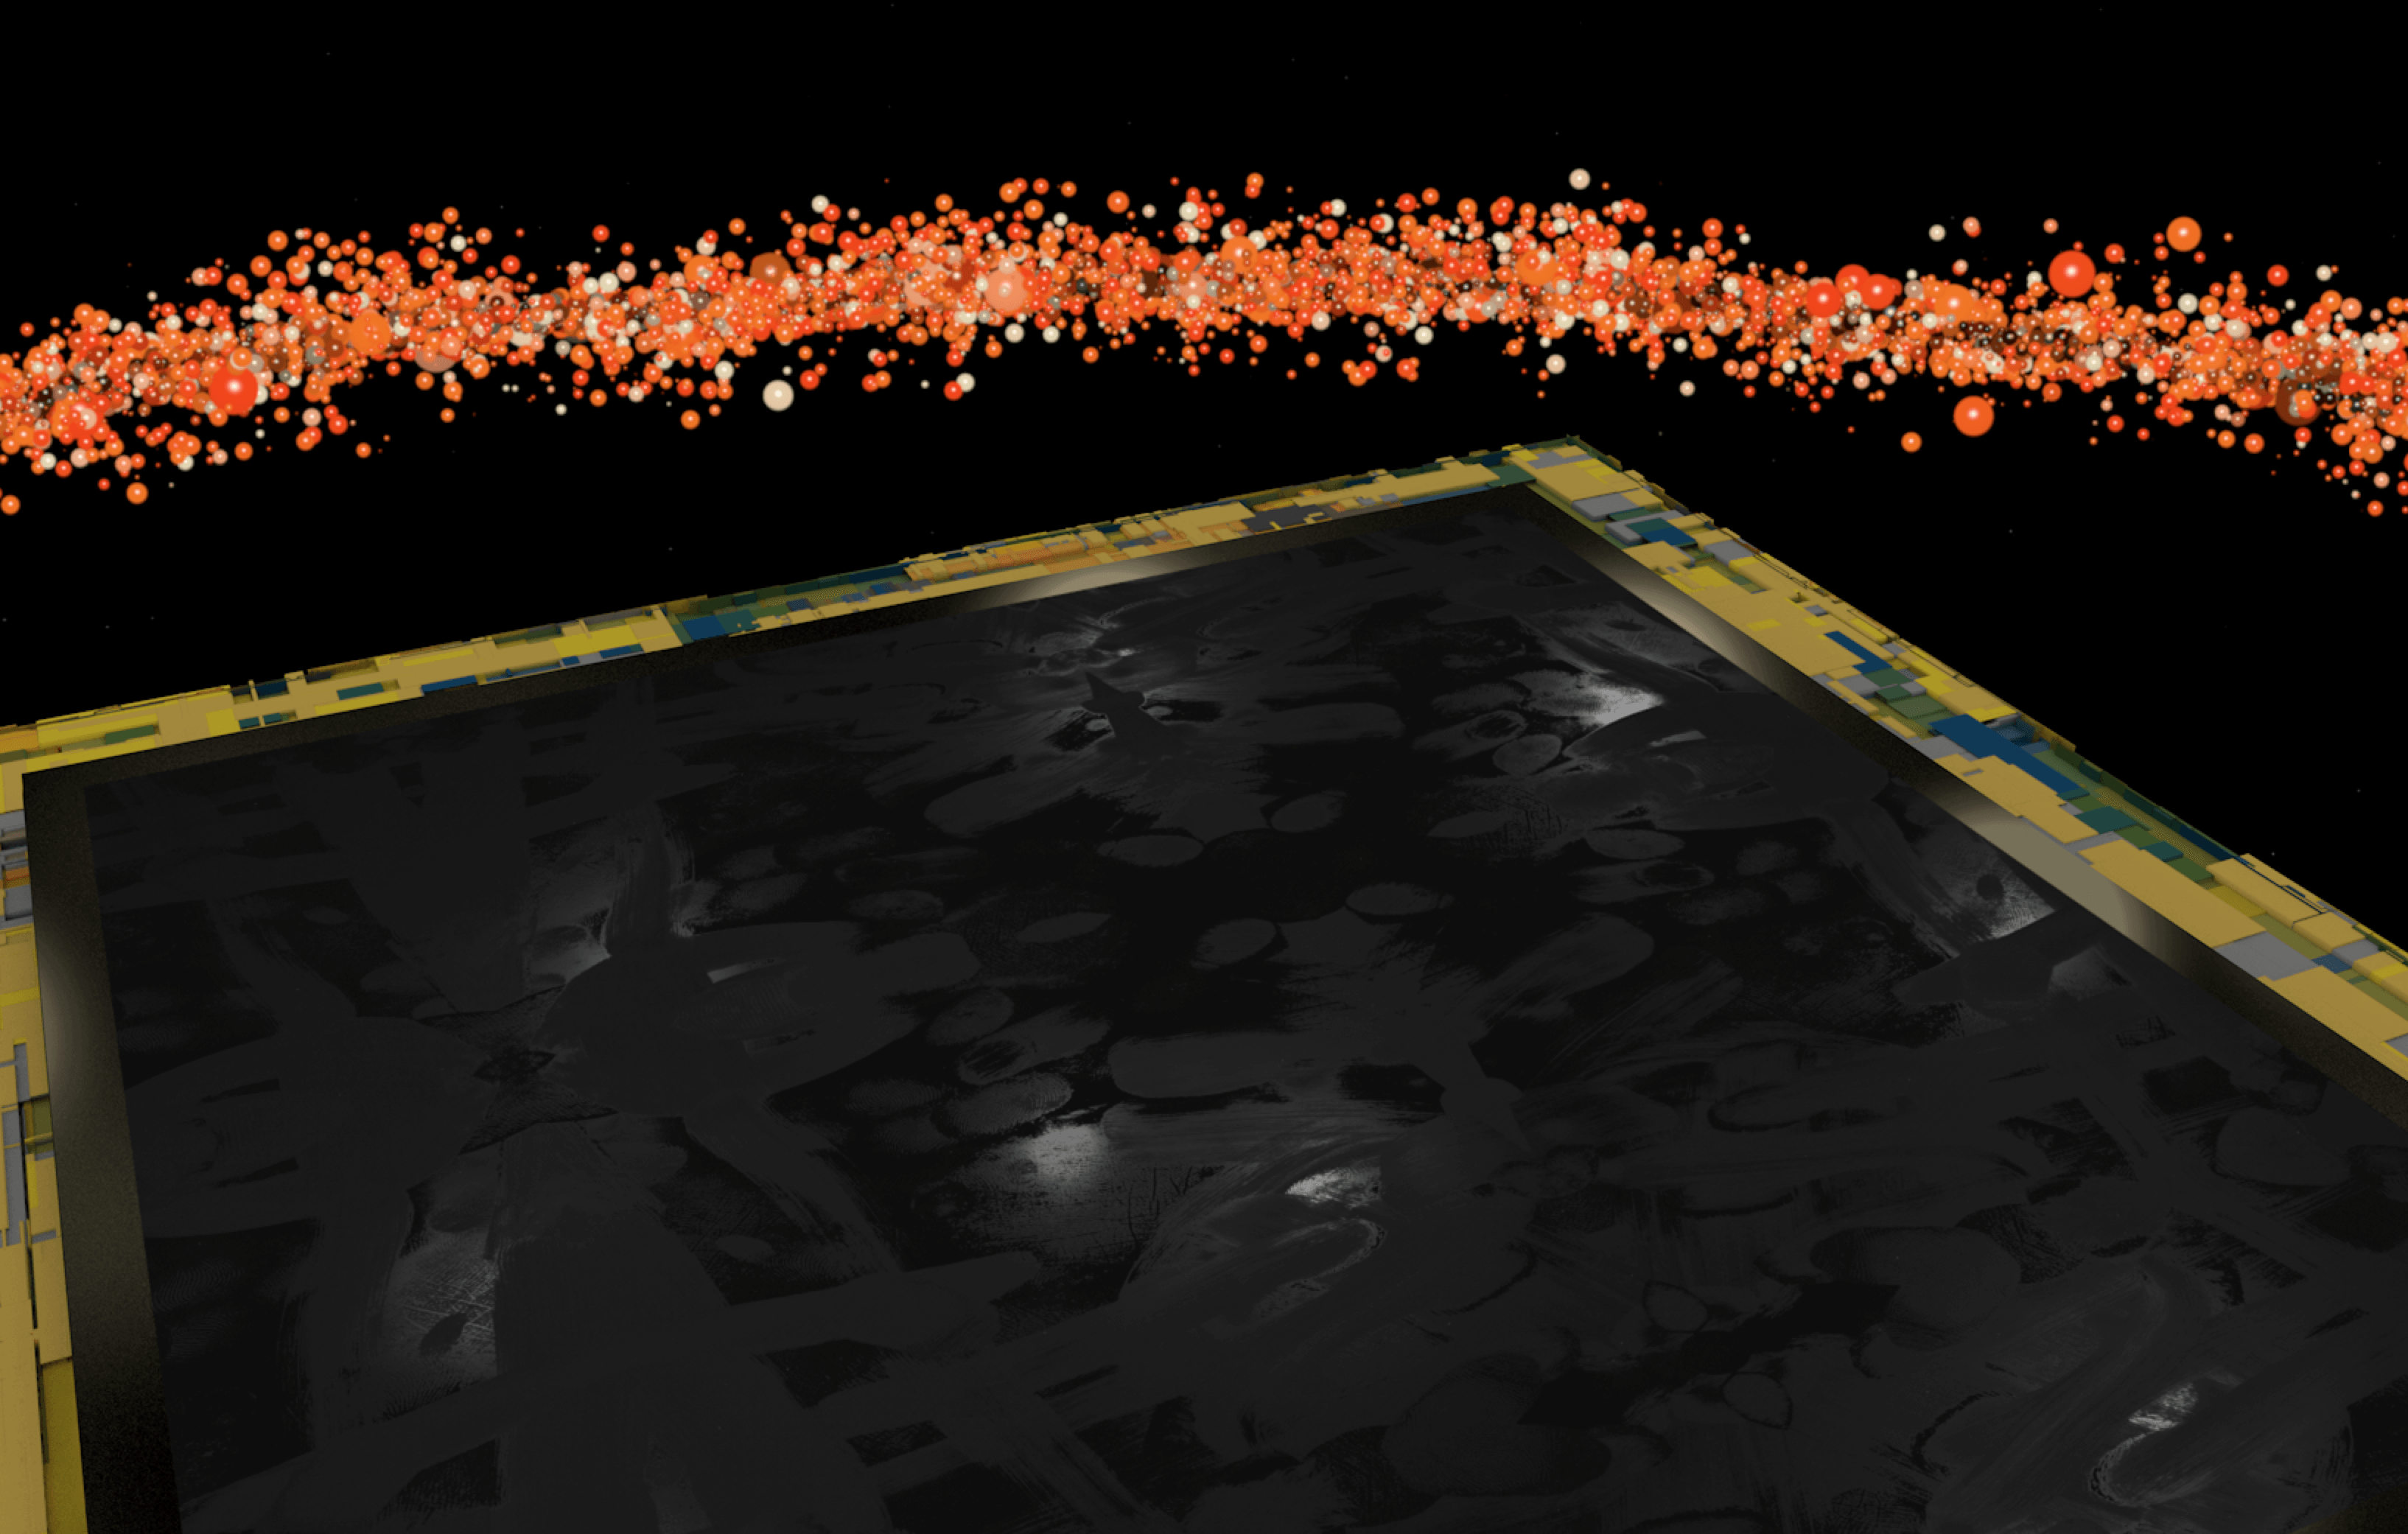
Once the assets were all added to the final scene file, I came to the conclusion that it looked a little bit empty – this was either to do with the camera angle or the fact that the X-Particles ring was too large for the cube. To fill this empty space, I decided add some fog or space dust to the scene.
After adding this element to my scene, it changed the whole dynamic of the it – although its very subtle, I feel it adds something interesting for the viewer to look at.
With Fog:
Without Fog:
Asset Integration
Now that I had resolved the emission problem since the last post, I can focus on integrating the two assets together – prior to this post, they have always been separate. The time-lapse below shows the process of integrating them together into the final scene file for the project and some additional problems that I over came during this process.
To show off the final scene and position/location of each asset within, I have provided some renders below at different angles to help denote this: