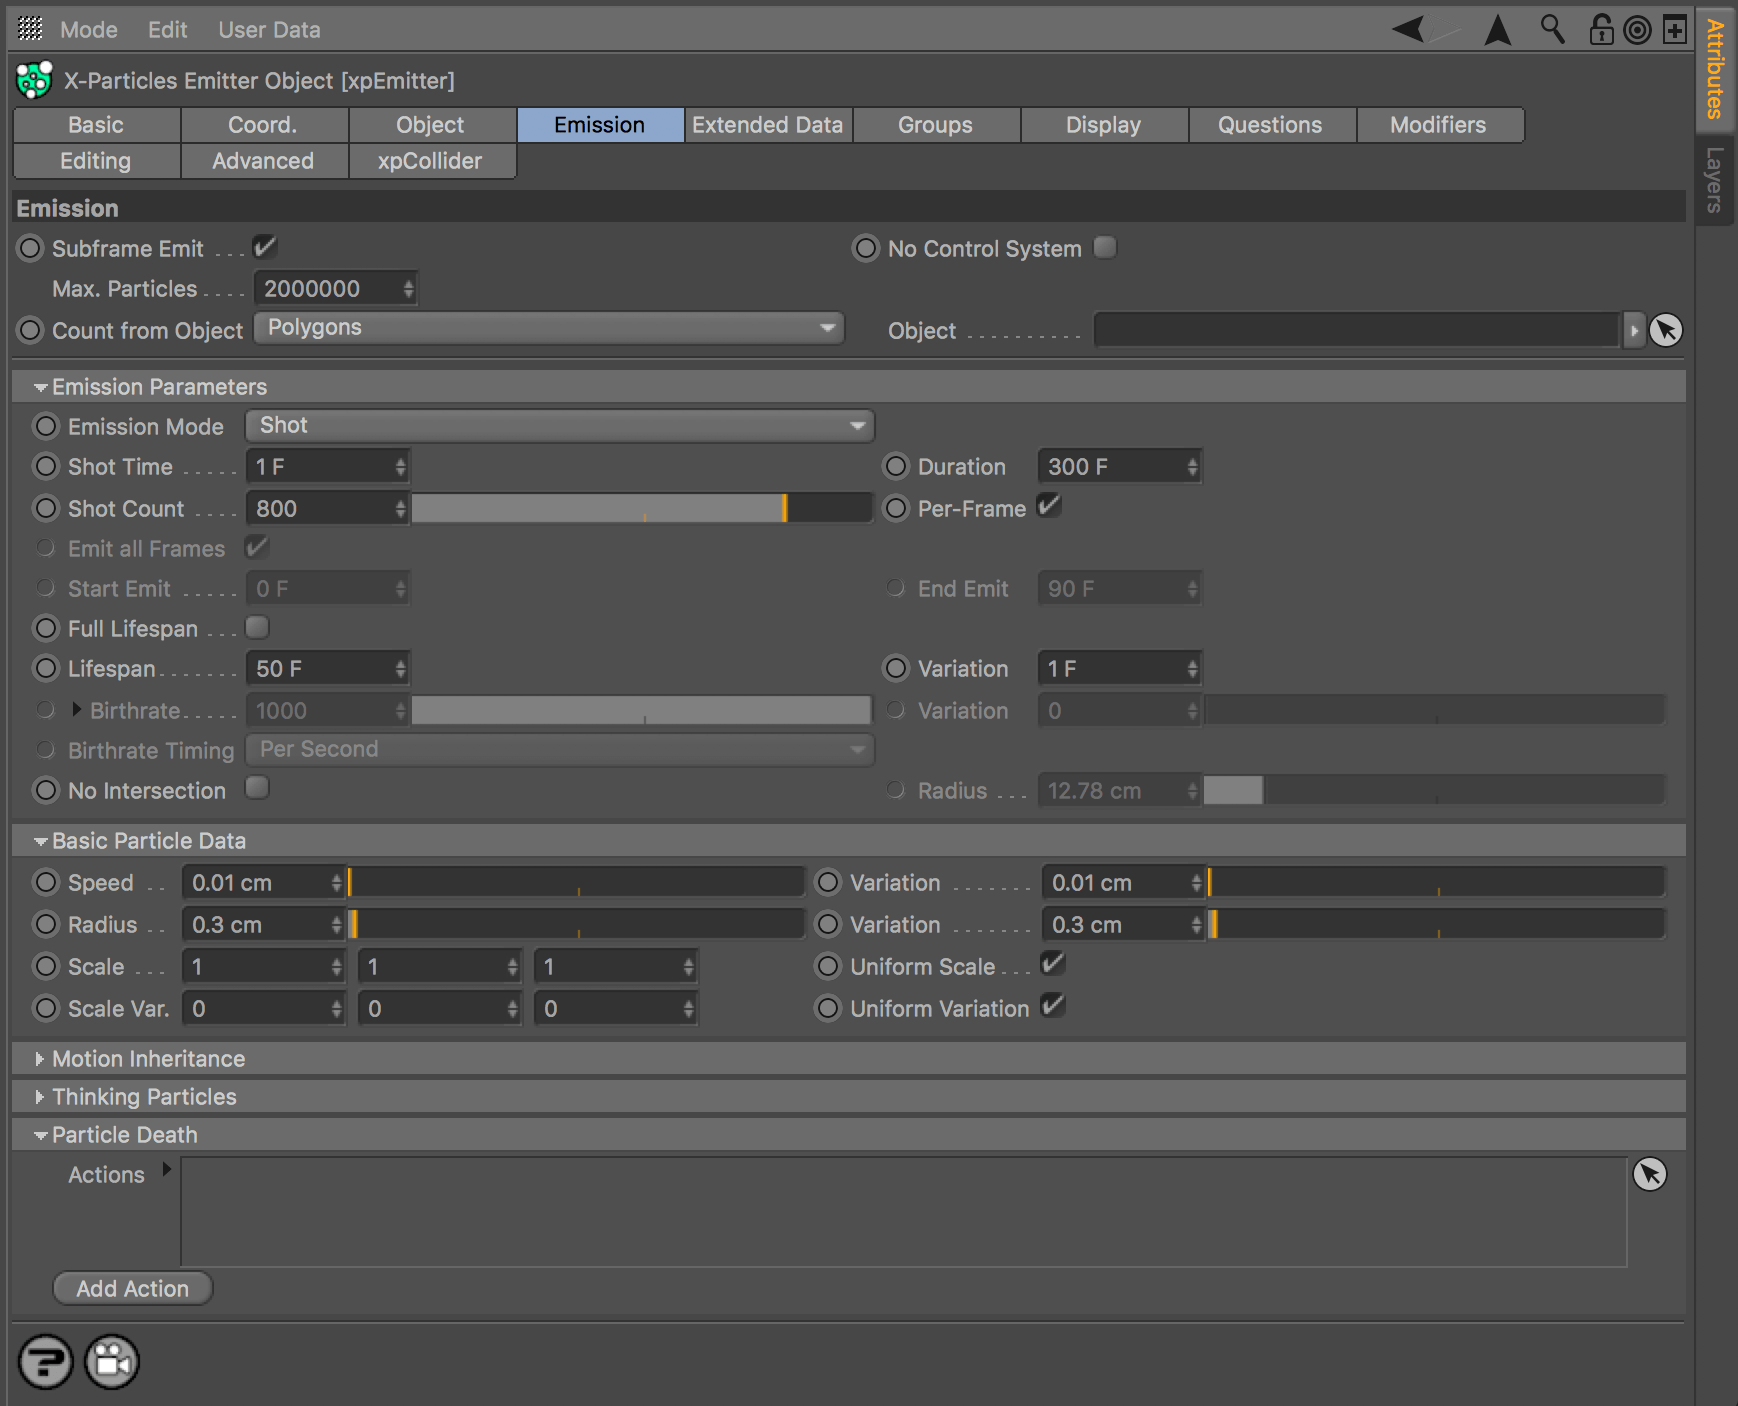
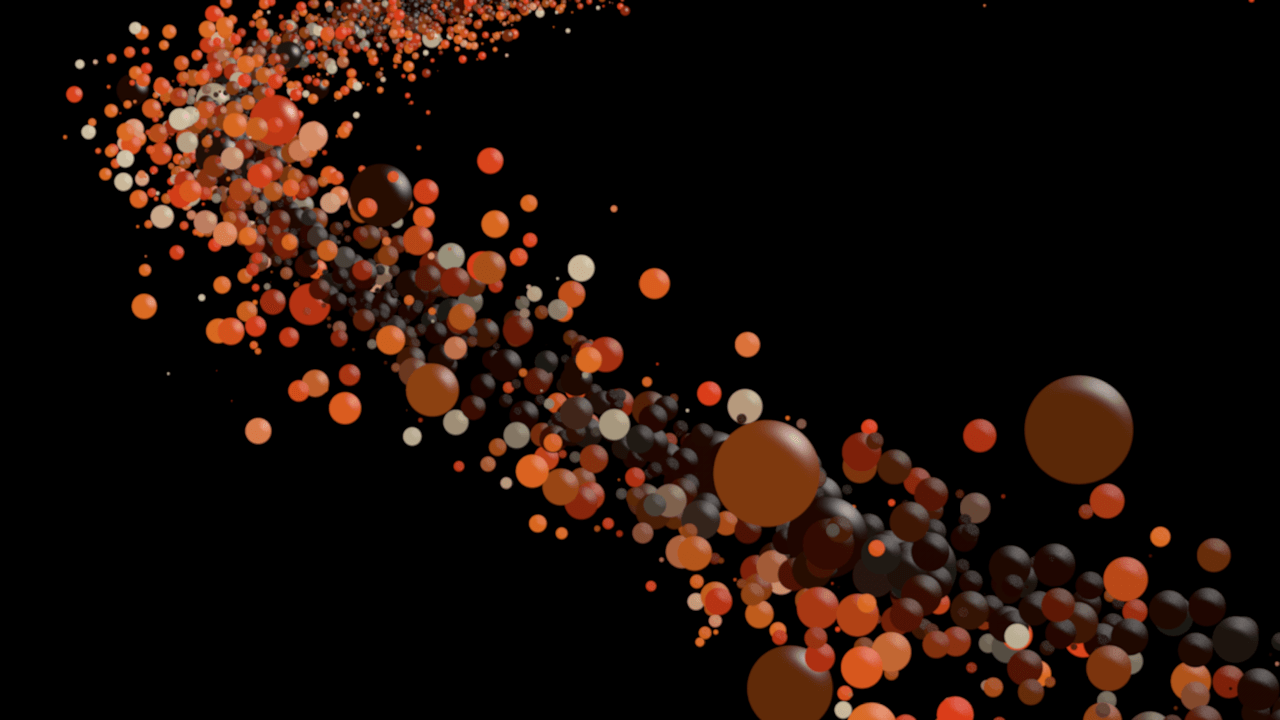
After a lot tweaking with the settings, I finally managed to reduce the emission speed of the particles down to rate that matched my requirements. Below is a screen grab of the final settings for the emitter, and you can specifically see that the emission speed is down to 0.01cm but still reproduces a similar visual effect that was produced by the other examples before (in Pt.1, 2 and 3).
The animation below uses the same settings provided in the screen grab, which I feel will work well for the final animation when both assets are tied together.
After identifying that the emission speed was still too high in the X-Particles ring, I set about find a way to decrease this speed whilst also maintaining the desire look.
I continued to experiement with the settings in order to slow down the particle speed but also make them retain their wide spread – Within this animation, the speed was pushed down to 2cm which I thought slowed the emission speed down drastically, however, it still looks very fast in the animation.
Conclusion
Even after decreasing the speed settings almost down to 0cm, the speed of the particles I feel is still too high – I feel that the xpSpeed setting inside of the modifer had something to do with it, possibly slightly countering the new low value settings within the emission tab. I will retest this by further decreasing the speed and decreasing the xpSpeed value as well, and if this doesn’t work then I will have to find a solution or alternative very quickly to resolve my problem. Hopefully, I will be able to take it down into 0.1cm range to have a drastic effect on it.
Since that last post, I have been working on adjusting the X-Particles ring to sort out the death rate of particles, specifically so that the number of black particles floating within is equal or less than the number of coloured particles. In addition to doing this, I have also attempted to decrease the emission speed of the particles – this whole process is documented below in a walkthrough:
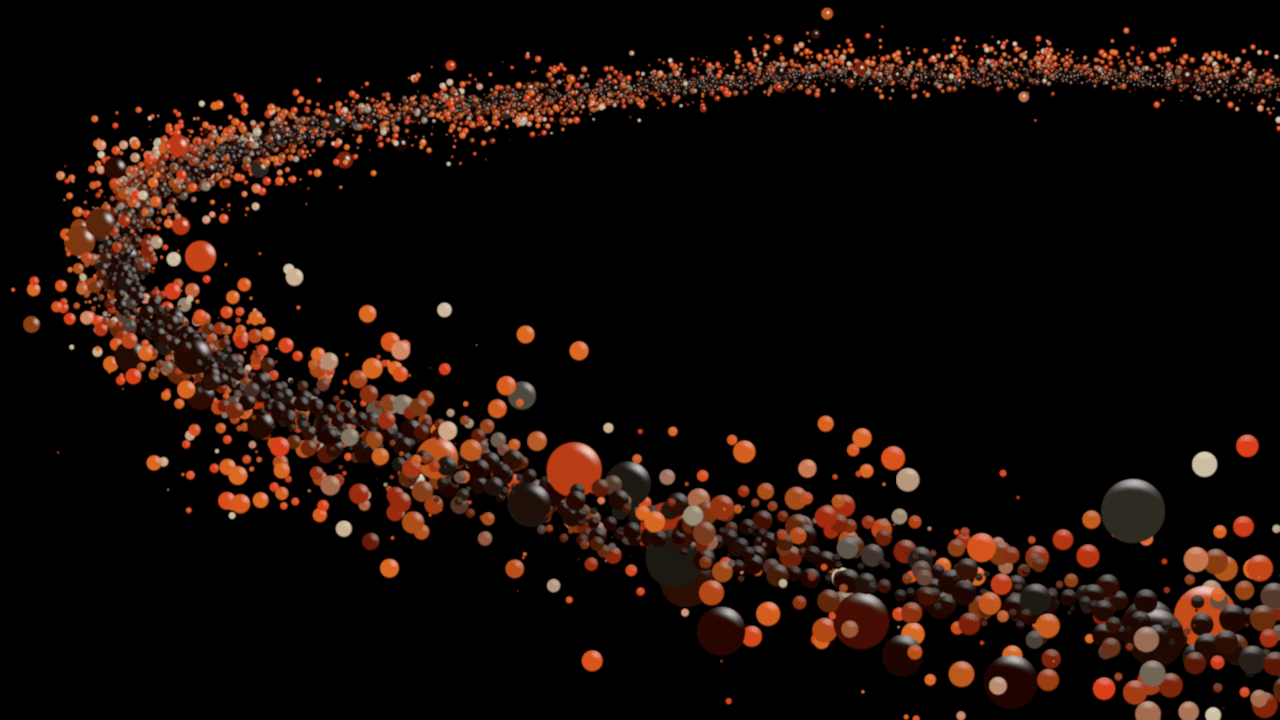
The process of adjusting the death rate of the particles was fairly simplistic, it was just a matter of balancing the life-span of the particles a long with the speed modifier within the material editor. I found that I only had decrease the life span of the particles by 1 0r 2 values as it was mainly the material editor that was effecting it – this was a much longer task as I tried several different changes before inverting the speed gradient which seemed to resolve the problem. As well, changing the emission speed of the particles was also fairly straight forward, I found that turning down the speed within the emission tab did solve it, however, I also had to balance it out further with the xpSpeed under the Modifiers tab to further increase the spread of the particles again. With all of those changes, this was the resulting animation:
Overall, I feel this animation is much better compared to the last one – it has tackled all of the issues that were highlighted within my reflection at the end of part 1, however, I still think that the emission speed of the particles is too fast. I feel that this is going to take a lot of fine tuning between the emission speed of the emitter and also the xpSpeed modifier, as one controls how fast the particles are emitted at and the other controls how far out they can spread. Currently, the emission speed is at 2cm, so I will try to decrease this value even lower to make them travel slower while increasing the xpSpeed modifier to further increase the spread – this should hopefully reproduce the same result I currently have, but just at a slower rate.
After finalising the turbulence and illumination material tests in previous posts, it was time to merge them together to form the final material for the project. Video below shows and explains this process that I went through in order to merge them together:
This was a fairly simple process of merging them together, however, it still needs to be fine tuned to make it look better. Despite this fact, I was able to test and render out a small animation showing the material being effected by the turbulence and also glowing:
Conclusion
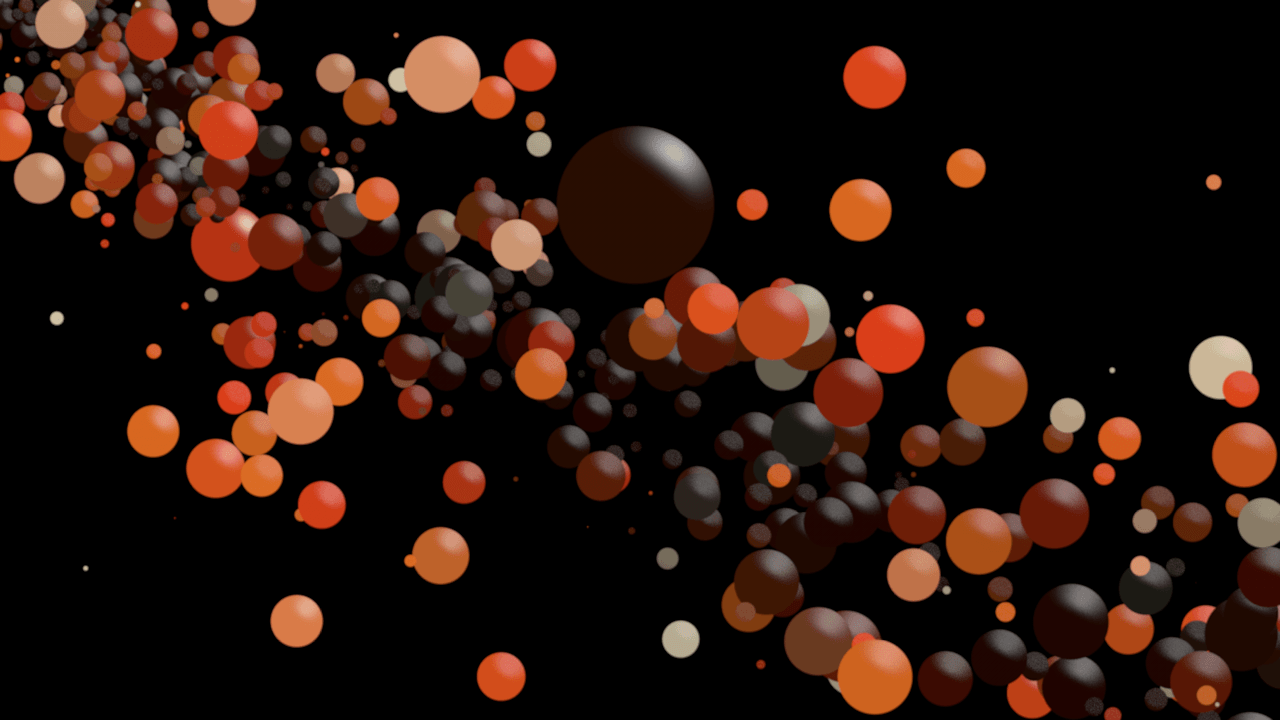
Overall, the animation has the desired effect I wanted to achieve and implement into my project. However, its not quite up to the level of quality I would like it to be, as there are a number of things that need to be addressed. Firstly, I need to change the death rate of the particles that are being birthed through the emitter – if you look anywhere on the ring you are able to see a lot of dark black spheres floating around that aren’t doing anything. I feel that the ratio between the black spheres and coloured spheres is too imbalanced, by shortening the death rate of the particles I will be able to eliminate a lot of these black spheres just as they start to lose their speed and colour.
Additionally, I also need to decrease the animation speed of the ring as its too fast and doesn’t match the aesthetic I’m trying to achieve. When observing the animation, it is very clear that the particles are moving very fast and for a very short distance – my scene is going to be a space/zero-gravity environment, and because of this I would like the particles to be emitted very slowly and also to be moving very slowly as I feel this best reflects the environment they are in. There are multiple ways I could do this:
1) I could either slow the particle emission down by decreasing the speed of the particles, specifying the amount of particles that can be emitted per frame and also by decreasing the effector controlling how far out the particles can spread. This will allow me to slow the particles down but also produce a similar visual result as to what I currently already have.
2) As well, I could render with a higher frame rate within the camera settings – this would allow me the flexibility to slow it down to half the speed or more within post-production. The result of this will allow me to achieve the same effect however, it will the exact same but at decreased speed. However, its key to note that this method will greatly increase my rendering time as increasing the frame rate of the scene will also increase the number of frames that my computer will need to render out.
After creating the illuminating material in the last post, I wanted to continue to focus on the the X-Particles ring. One key aspect about the ring is that, I want it to have some erratic movements occurring when the camera pans over it – this YouTube tutorial below was very resourceful as it gave me a lot of information about how to make the x-particle move in the way I wanted.
Although I have used this before for my initial research, it goes into great detail about ‘Turbulencexp’ which is the main effector that I use within in project. I took the relevant information that made the particles move, I then applied it to my X-particles ring that I had created before – the screen recording below explains and shows my process up to the point of rendering:
After creating this, I then needed to set up the camera, this is shown below in a time lapse. Overall, I set the camera on a spline and changed the rotation of it to produce a more visually interesting shot. I then manually targeted the centre of the particle emitter using key frames, this allowed the X-Particles ring to always be central within the shot – this was lastly paired with a short focal length to ensure all of the particles that were in focus.
The video below is the final animation, unfortunately this video is choppy and stuttery as I had to lengthen the clip inside of After Effects, as it was too fast for you to see the turbulence within the particles. Additionally, I also added fade in and out to the animation to make it look better visually – this was also accompanied by a glow effect to make the spheres stand out a bit more in the scene.
Overall, I really happy with how it came out. You can see the turbulence in the particles as some of them move is a wave like fashion, however, this wont be the final setting as I feel it could be increased slightly to make it more visible within the render. In addition, I also feel that the colours of the particles work well, further thinking will need to be conducted into the final colours in the final animation as they might clash with the cubes colours. Next time, I will be sure to add Depth of Field to the animation, this will give the video more visually interesting elements to it, whilst also putting emphasis onto the particles in front. As well, I will add the illuminating material to it, where the spheres glow based off of their speed, this will complete this asset for the animation meaning I can start on the camera work for the final render.