After conducting research on X-particle materials, I set about re-creating my scene from before utilising the knowledge I had gained from watching the tutorial on youtube. I took a screen recording to show my workflow and I also experimented with trying to get the emitter object or the torus to rotate, this was to see if I could get the particles to rotate too.
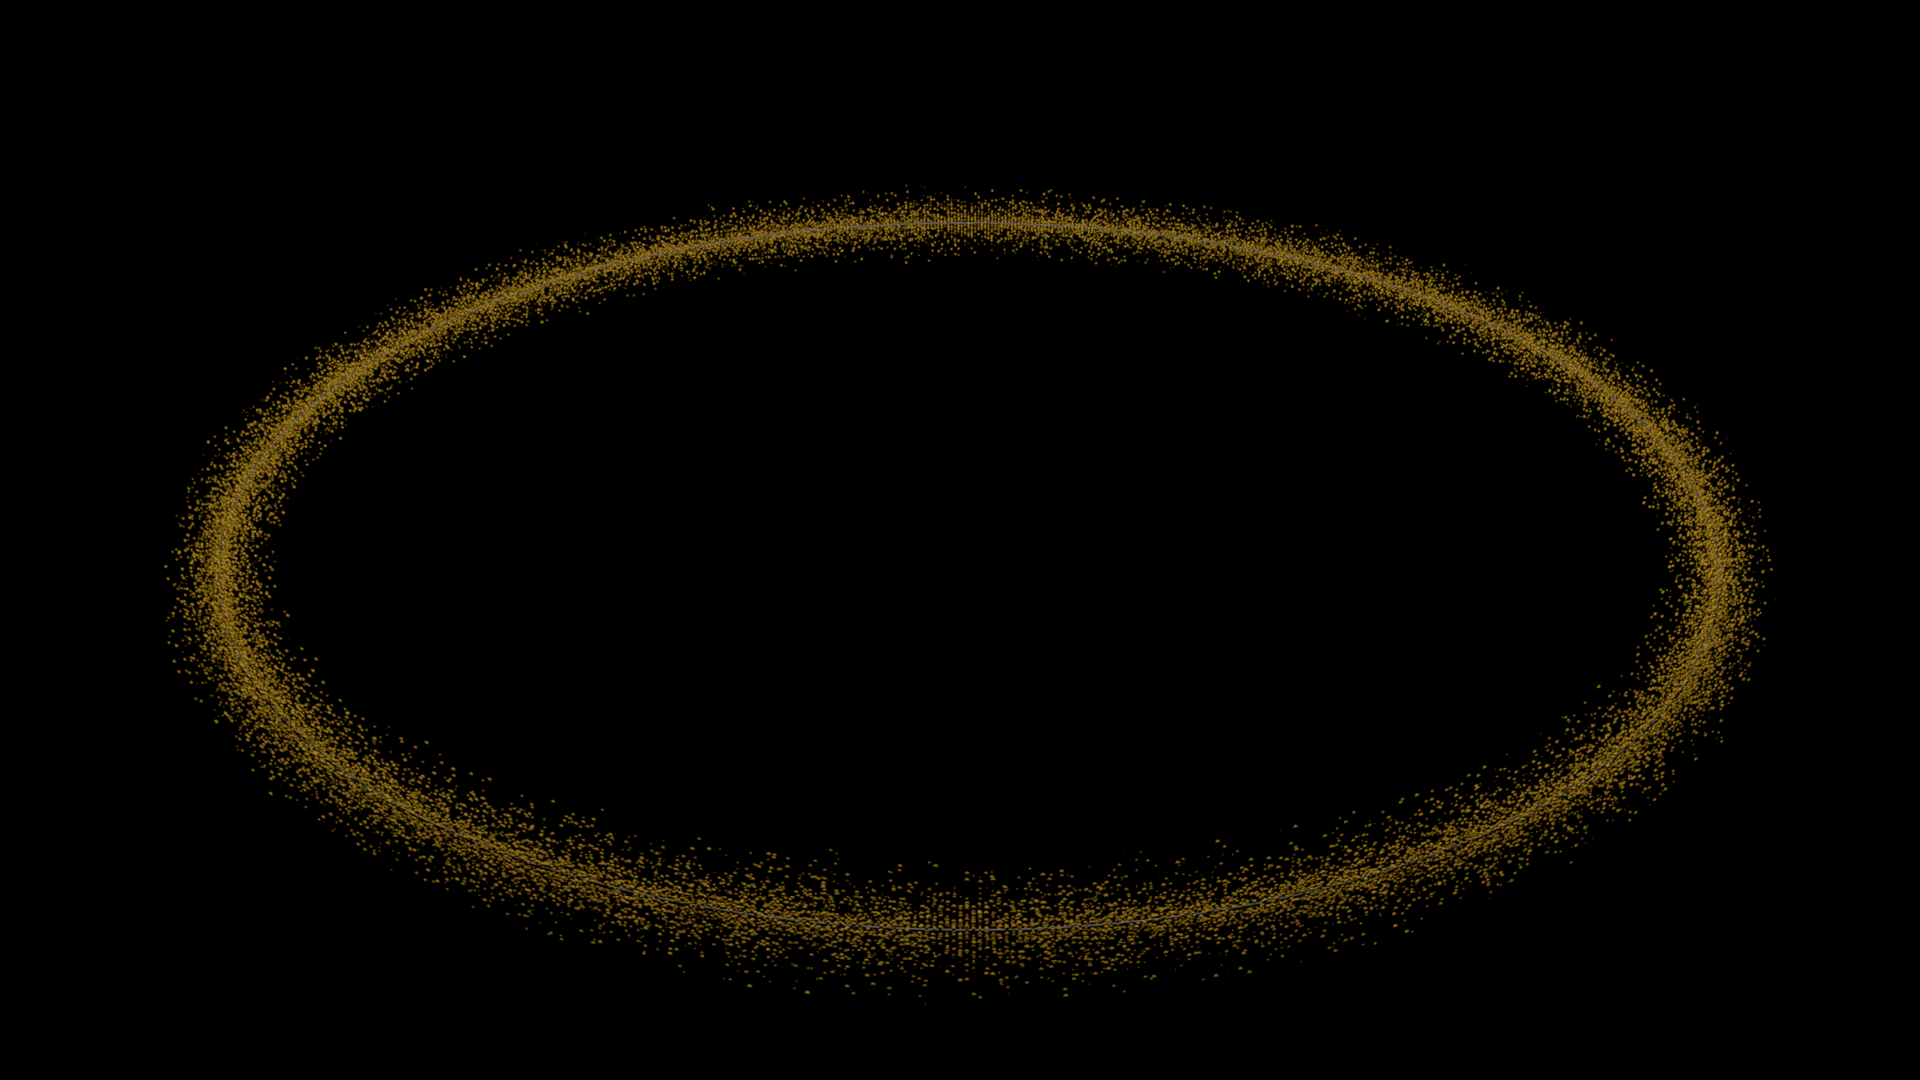
Overall, the testing went well as I was able to produce something very similar to what I had envisioned and storyboarded. At the beginning, I made the x-particle system form a ring that stay relatively close together when particles were emitted from it – this was due to tweaking the xpSpeed settings and changing it to a negative value so that as the timeline continued to play, the particle speed slowed down. Additionally, I was able to colourise the particles with bright colours from a gradient that also had a glossy texture to them, I feel this element alone was good in comparison to the first test I conducted as the spheres seemed for 3D instead of just being flat objects. As well as the particle colour, I created an oversized sphere with a material added to it to create the background – within the test animation you can see faint white dots on the background which is apart of the texture called Starfield which is very convenient as it looks very attractive.
However, with the success of employing all my learned knowledge into the test, I wasn’t able to get the ring of spheres or the emitter to rotate. I feel like the solution to this might be very simple, however, due to having little exposure time to the software, Im probably just missing it.I will have to conduct some further research into this section and if unsuccessful, I think I will be able to get around this by panning the camera to create the same effect.
Here is another Youtube tutorial by Greyscalegorilla, the project being done doesn’t apply to my animation at all, however, there is a specific part which goes over x-particles materials in great detail which was very useful. The specific part in the tutorial starts at 15m 20s and ends at 19m 50s, which can be viewed below:
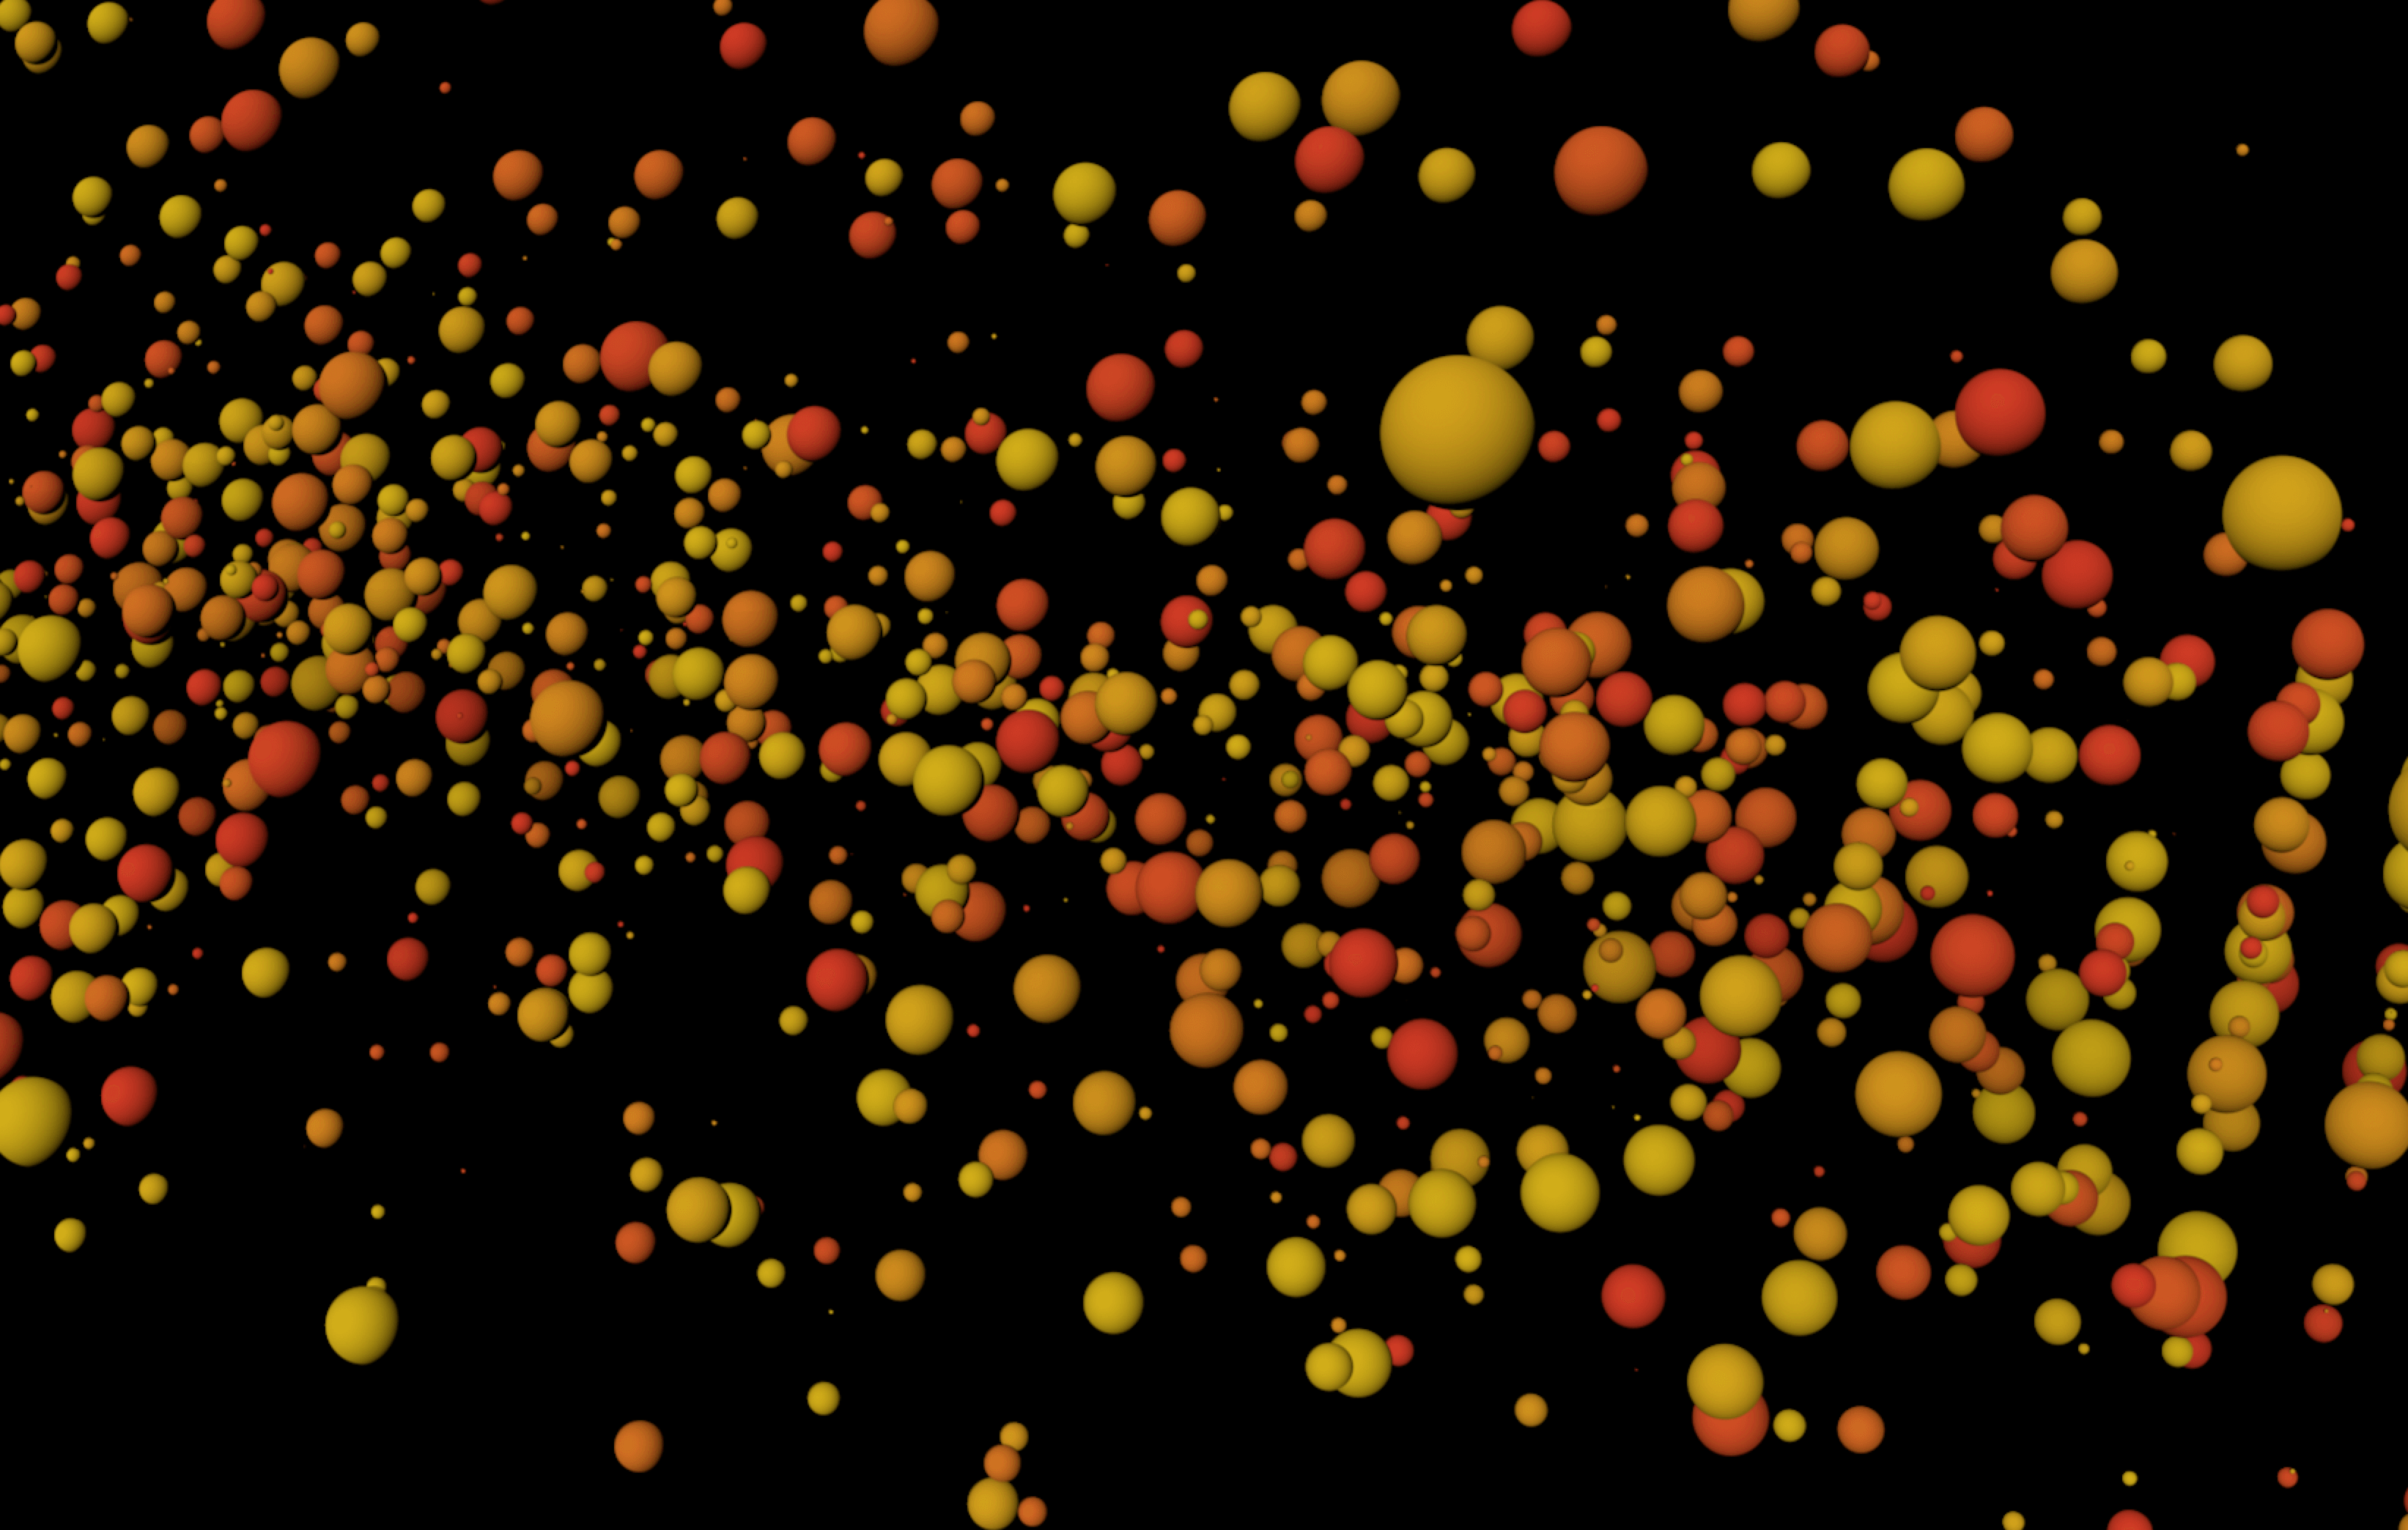
When experimenting with X-particles before in my X-Particles Research post, I didn’t know how to make glossy X-particle materials, specifically looking for a reflectance within the material. When experimenting I came very close to discovering how to do this, however I didn’t select the right colour mode under: X-particles material > Illumination > Lighting > Mode. Under this section within the colour shader of the x-particles material, there are many different settings to choose from, each with their own unique effect which can be seen in the renders below – I feel overall the only one that I will use will be the Phong colour mode as it gives that glossy aesthetic to the material which I desire. However, it is key to note that there were other modes that also produced interesting features:
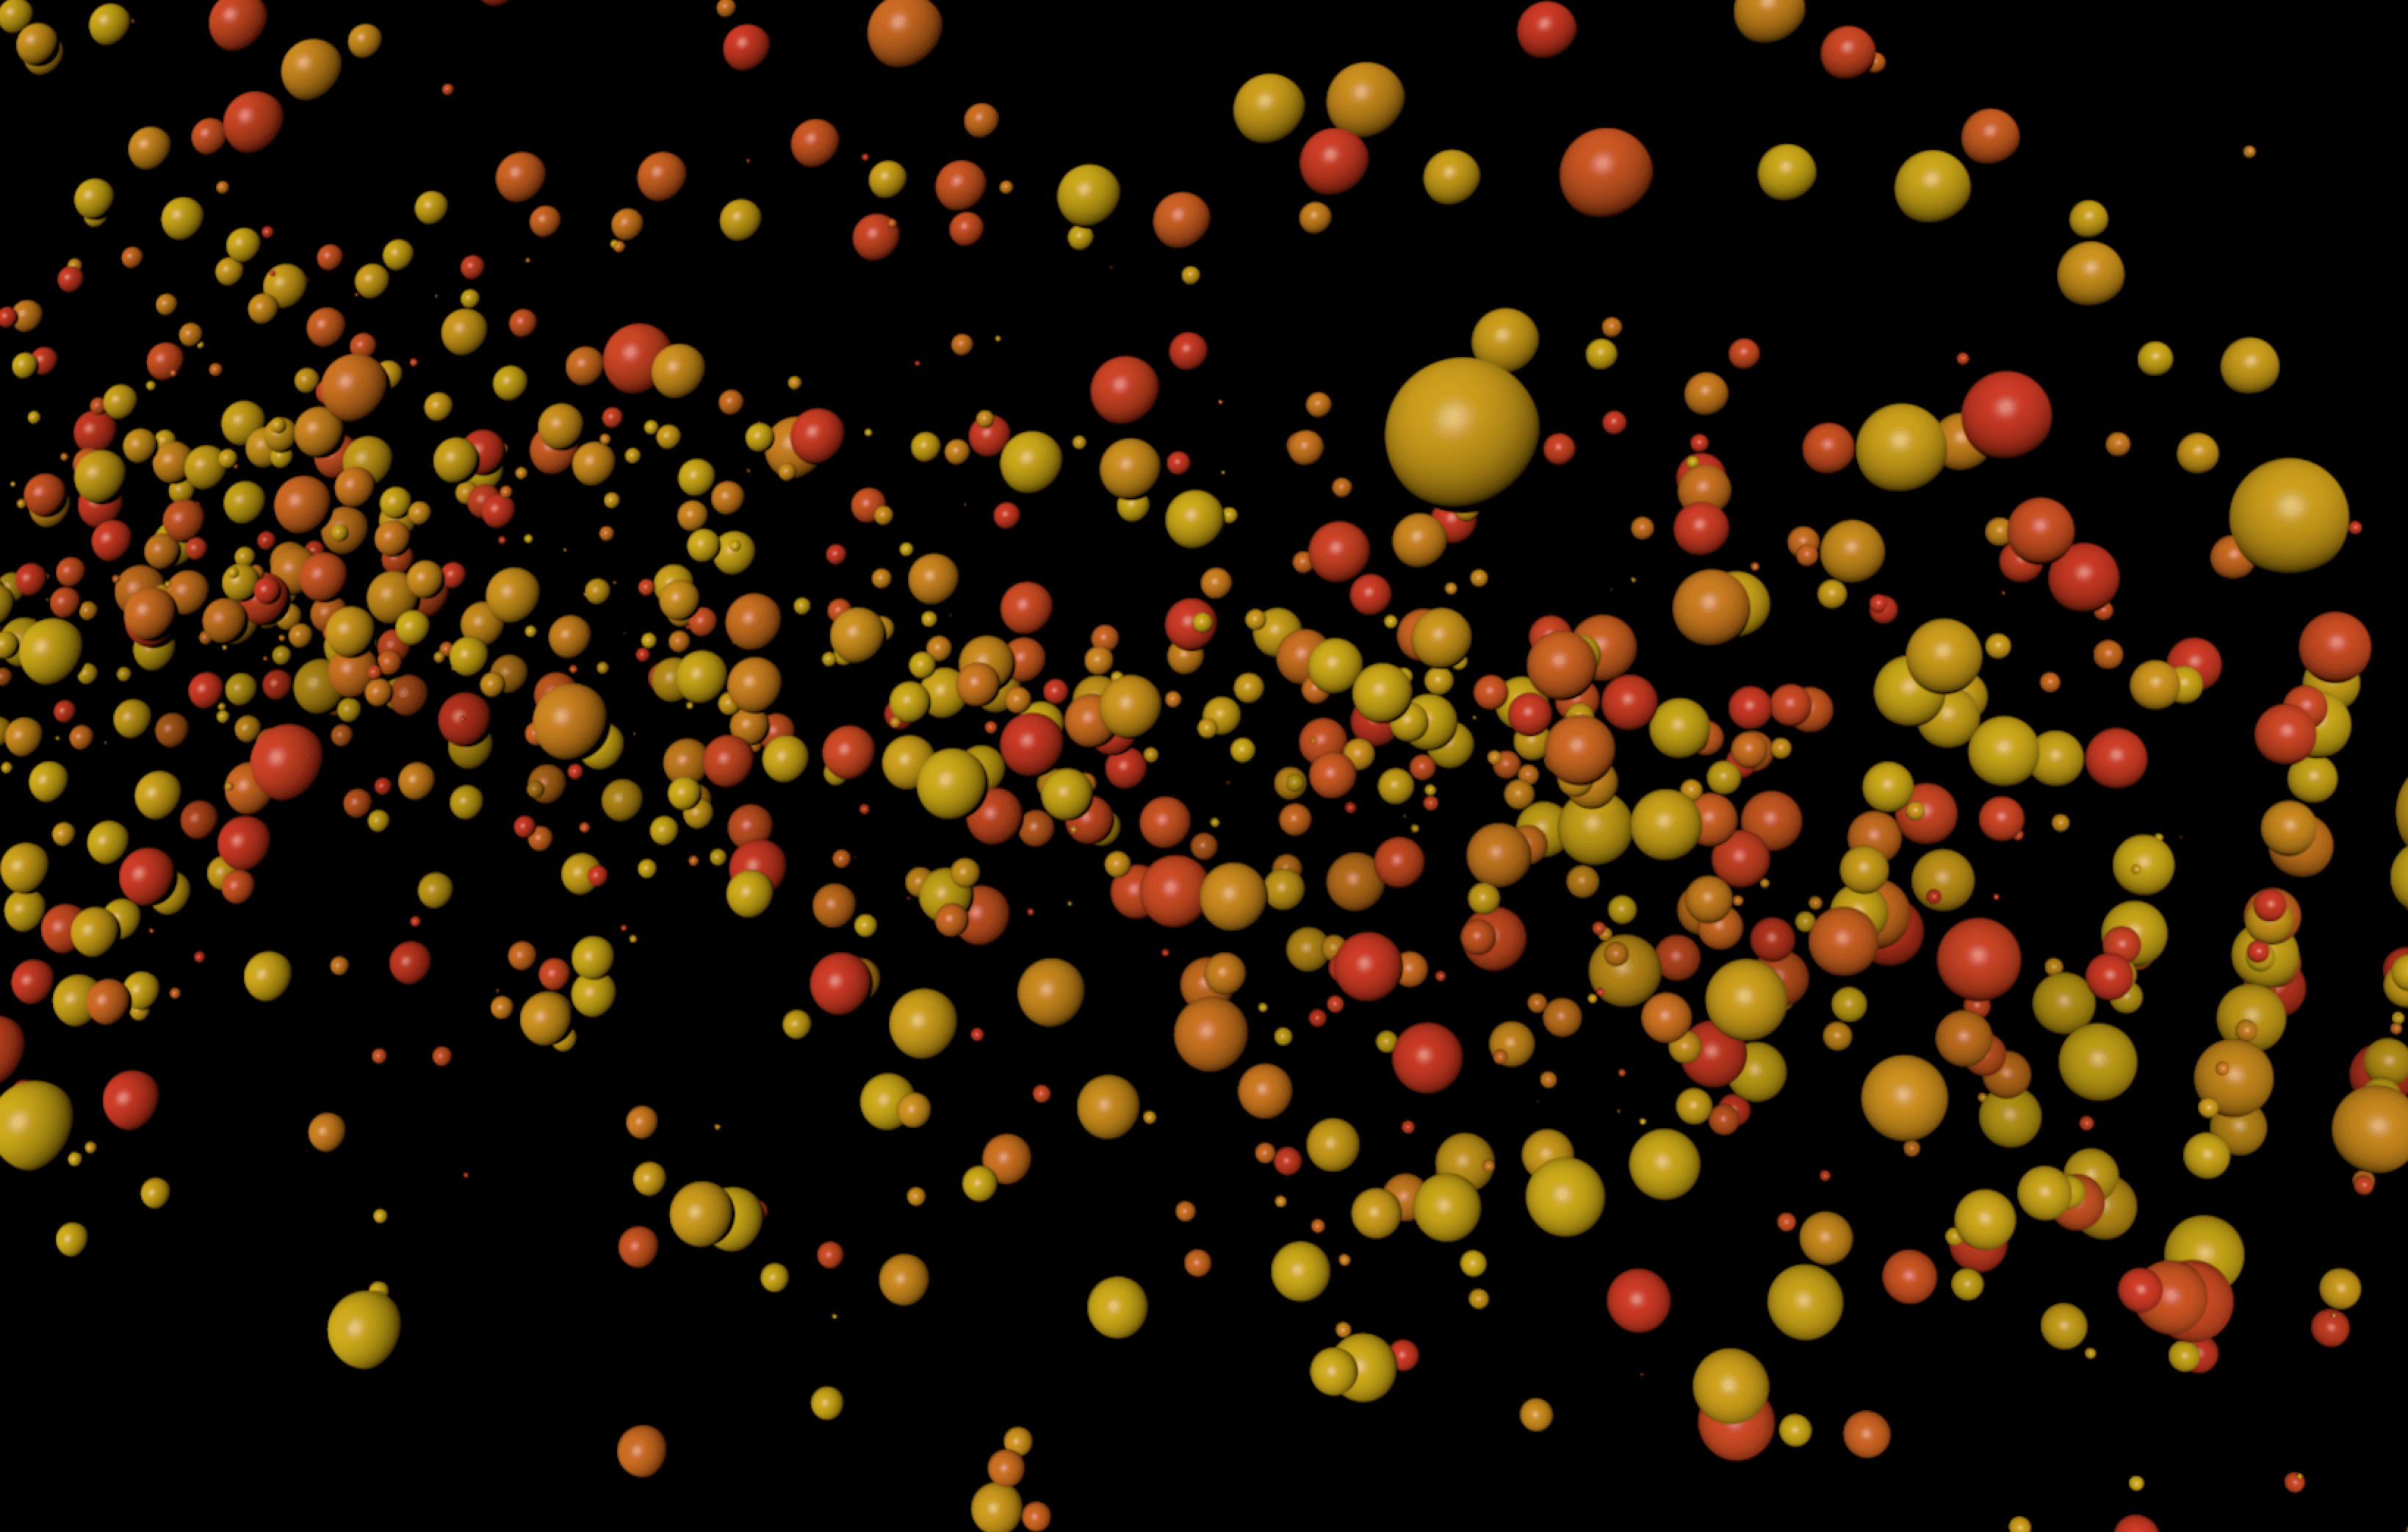
Diffuse – The diffuse mode is very much similar to phong as it brings a 3D effect to the particles emitted, it understands where the light is coming from within the scene and creates shadows accordingly to create the 3D illusion.
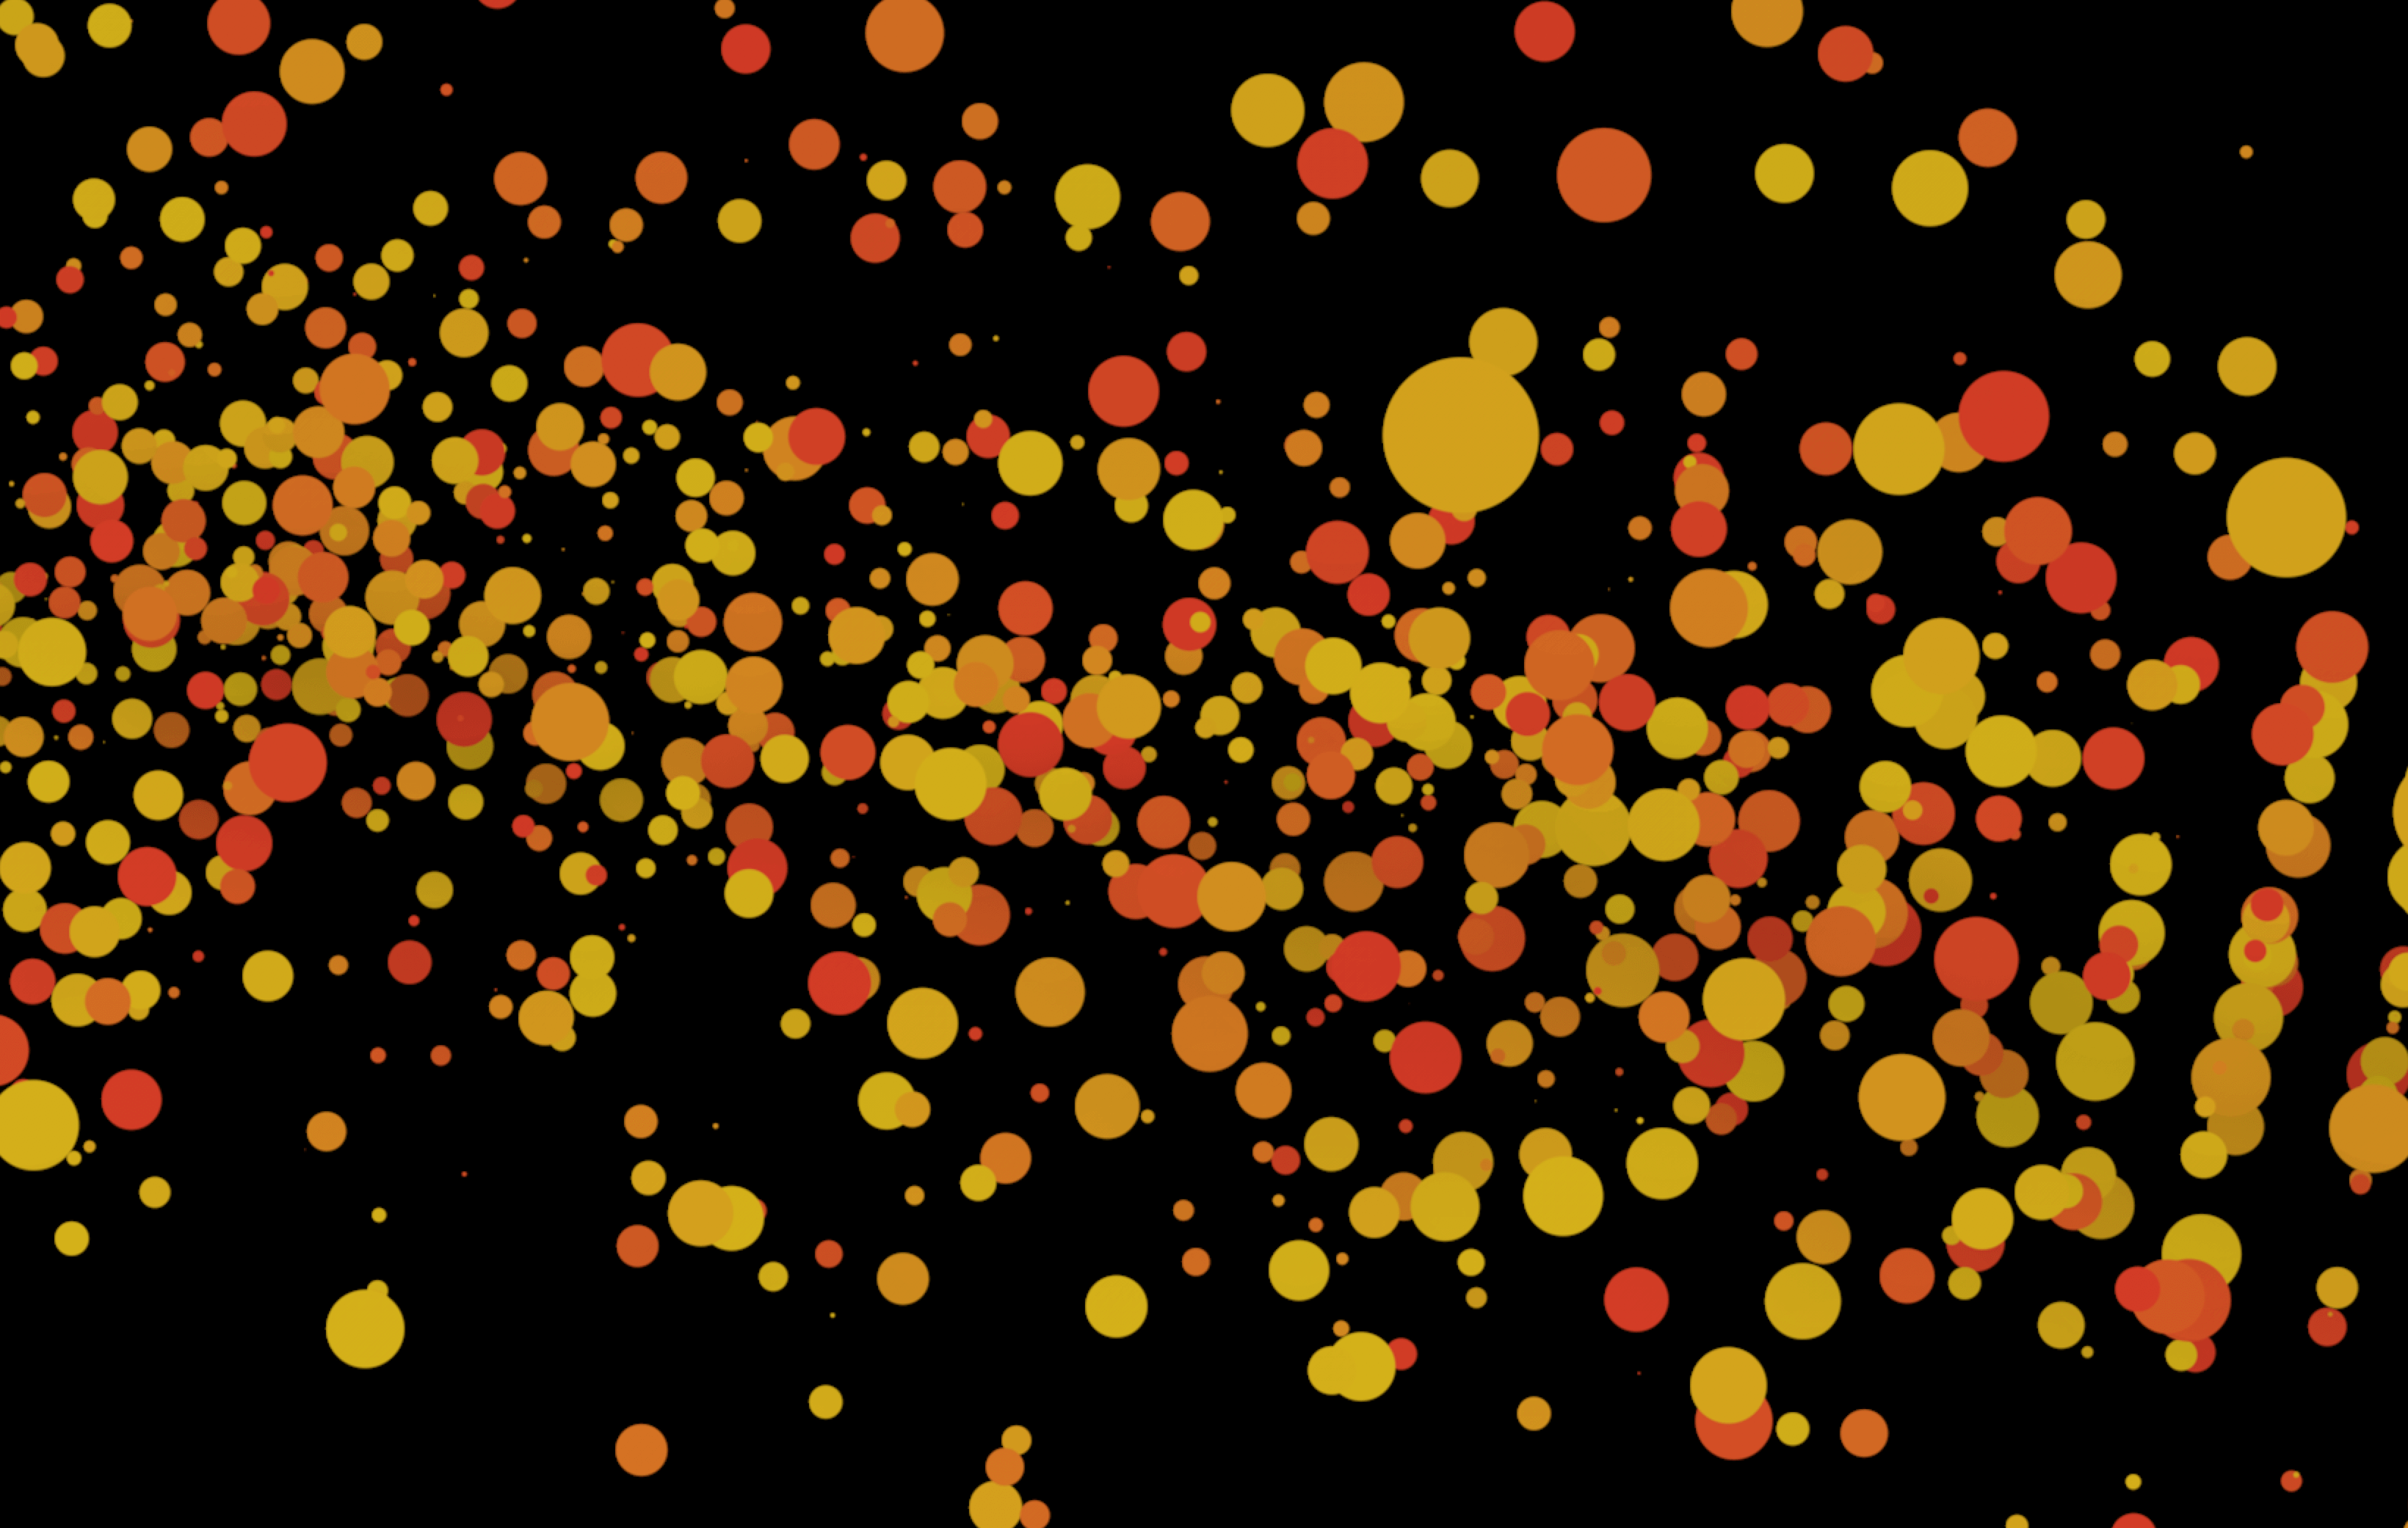
Fuzzy – The fuzzy mode is also very interesting as it blurs each of the particles making them seem more like dust or light splotches – I could see this being used within my animation to create a hazy atmosphere, however, the colours and opacity would have to be changed accordingly.
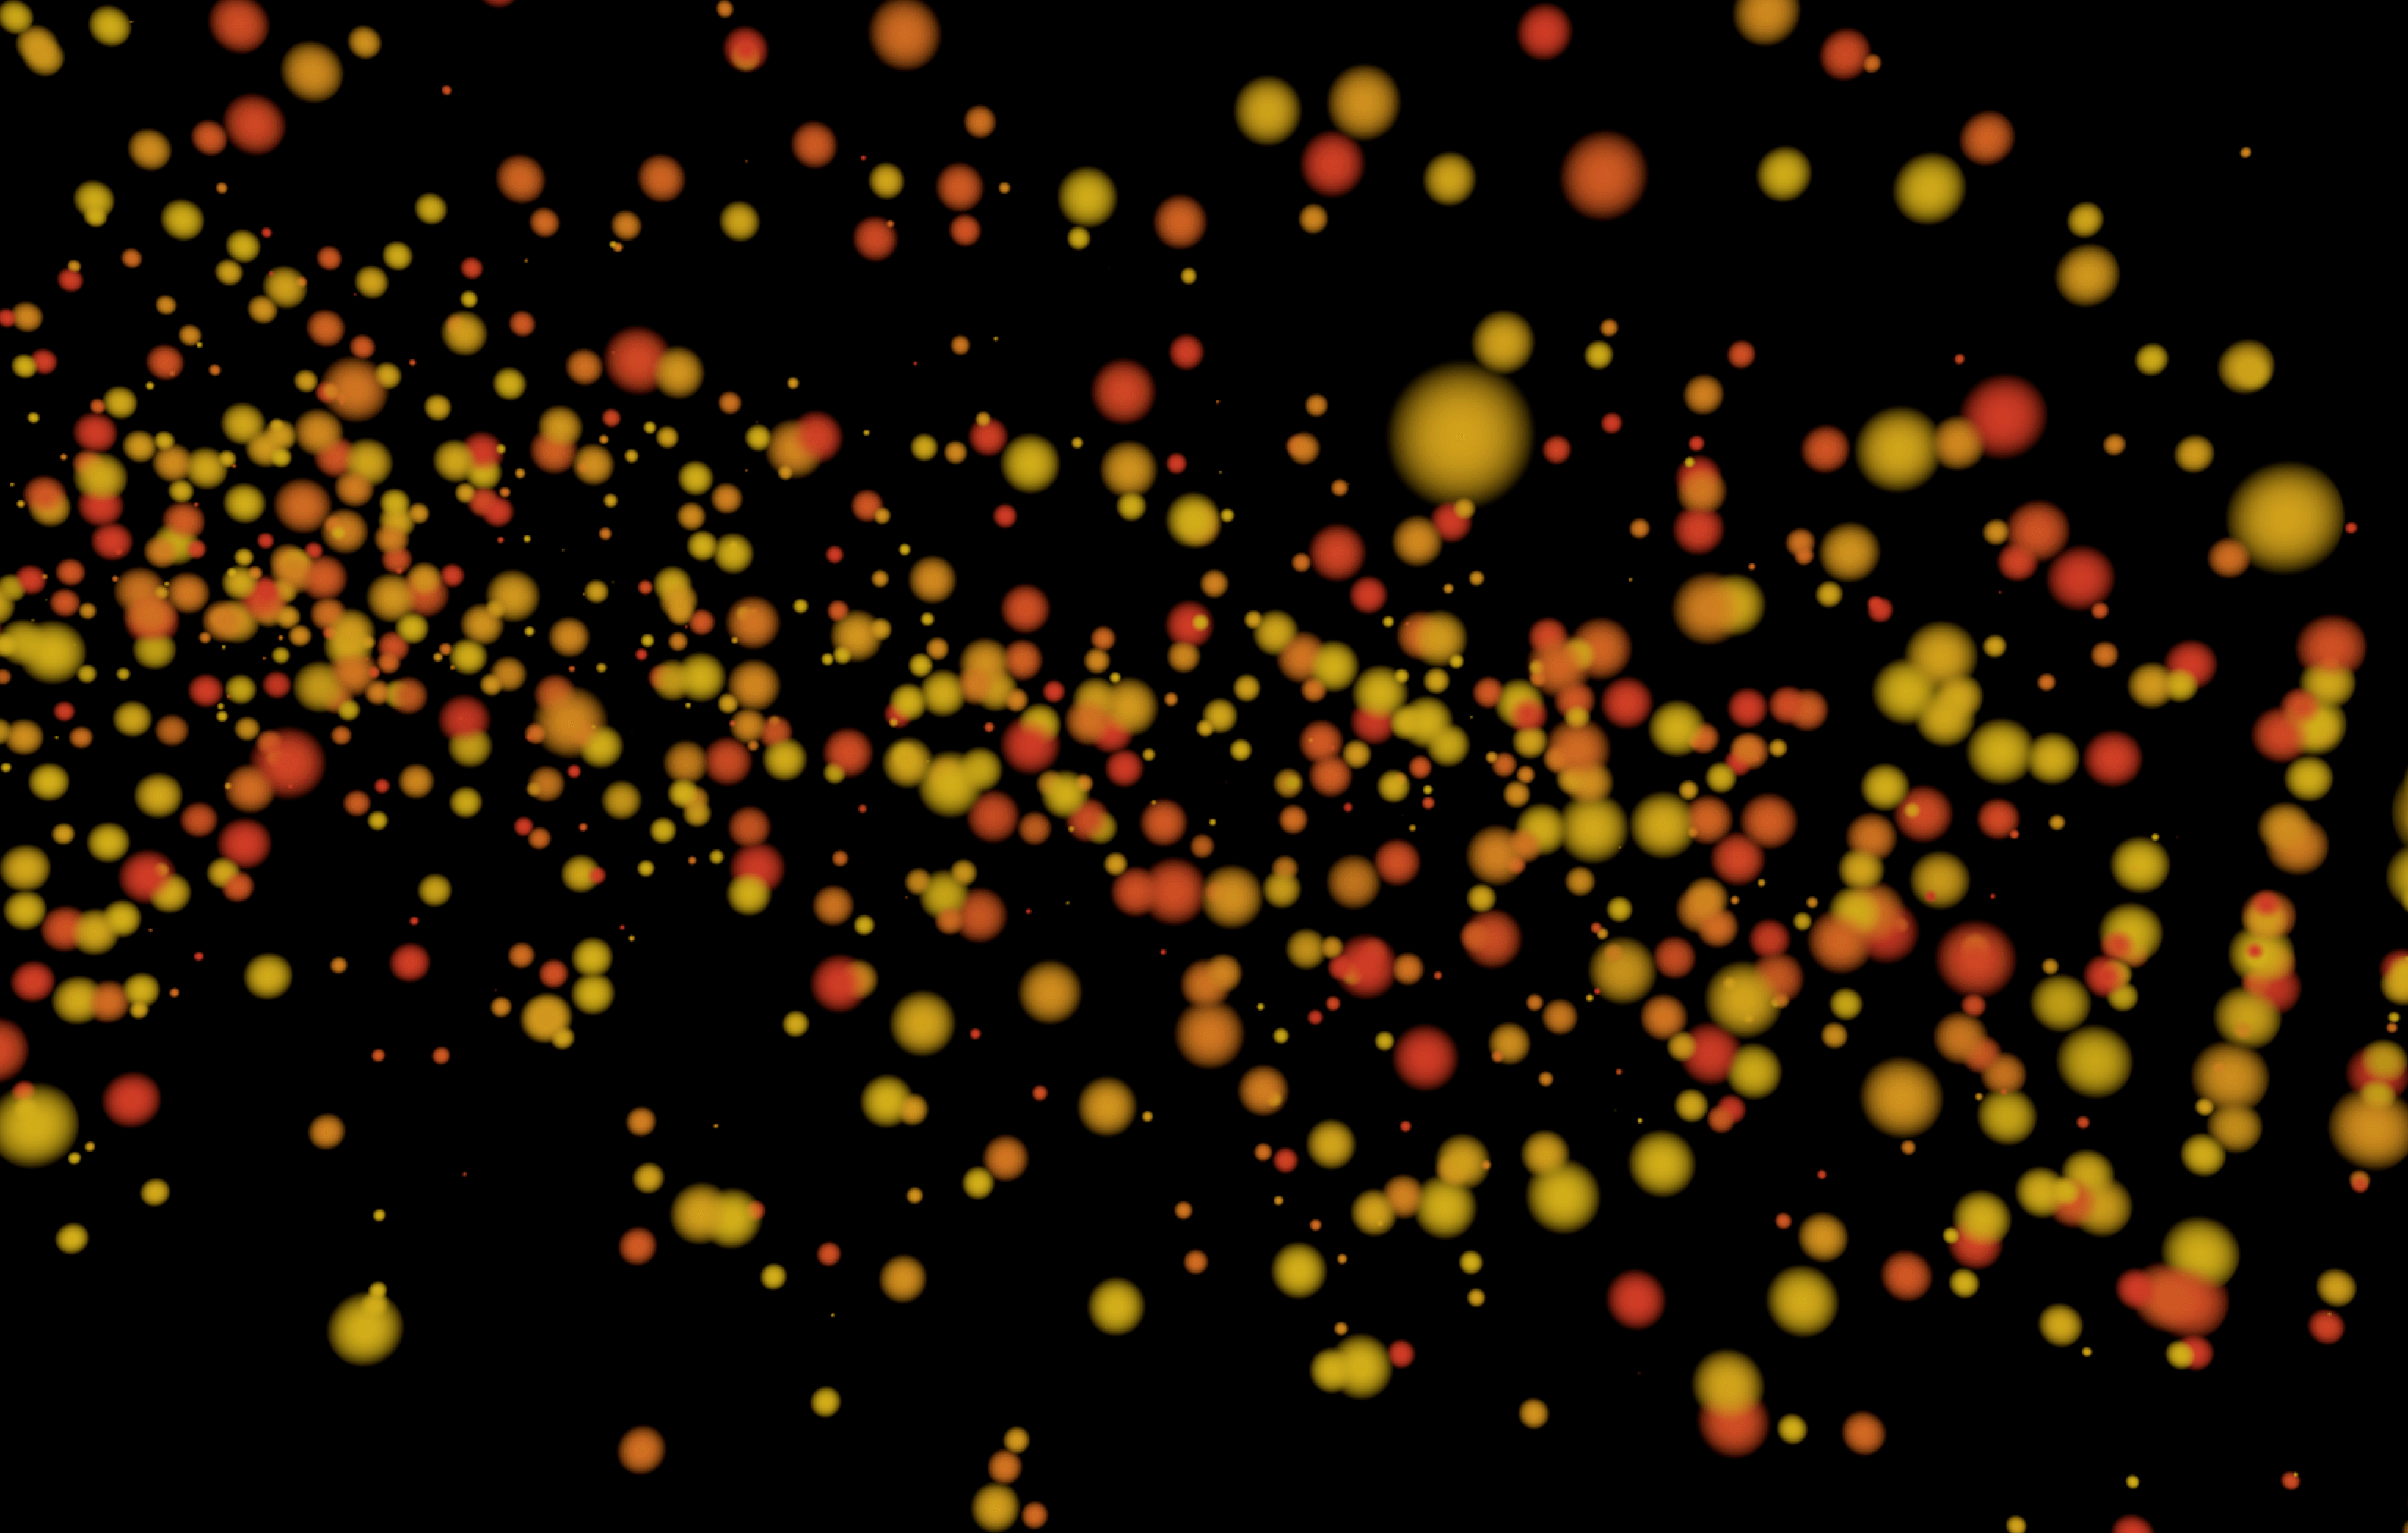
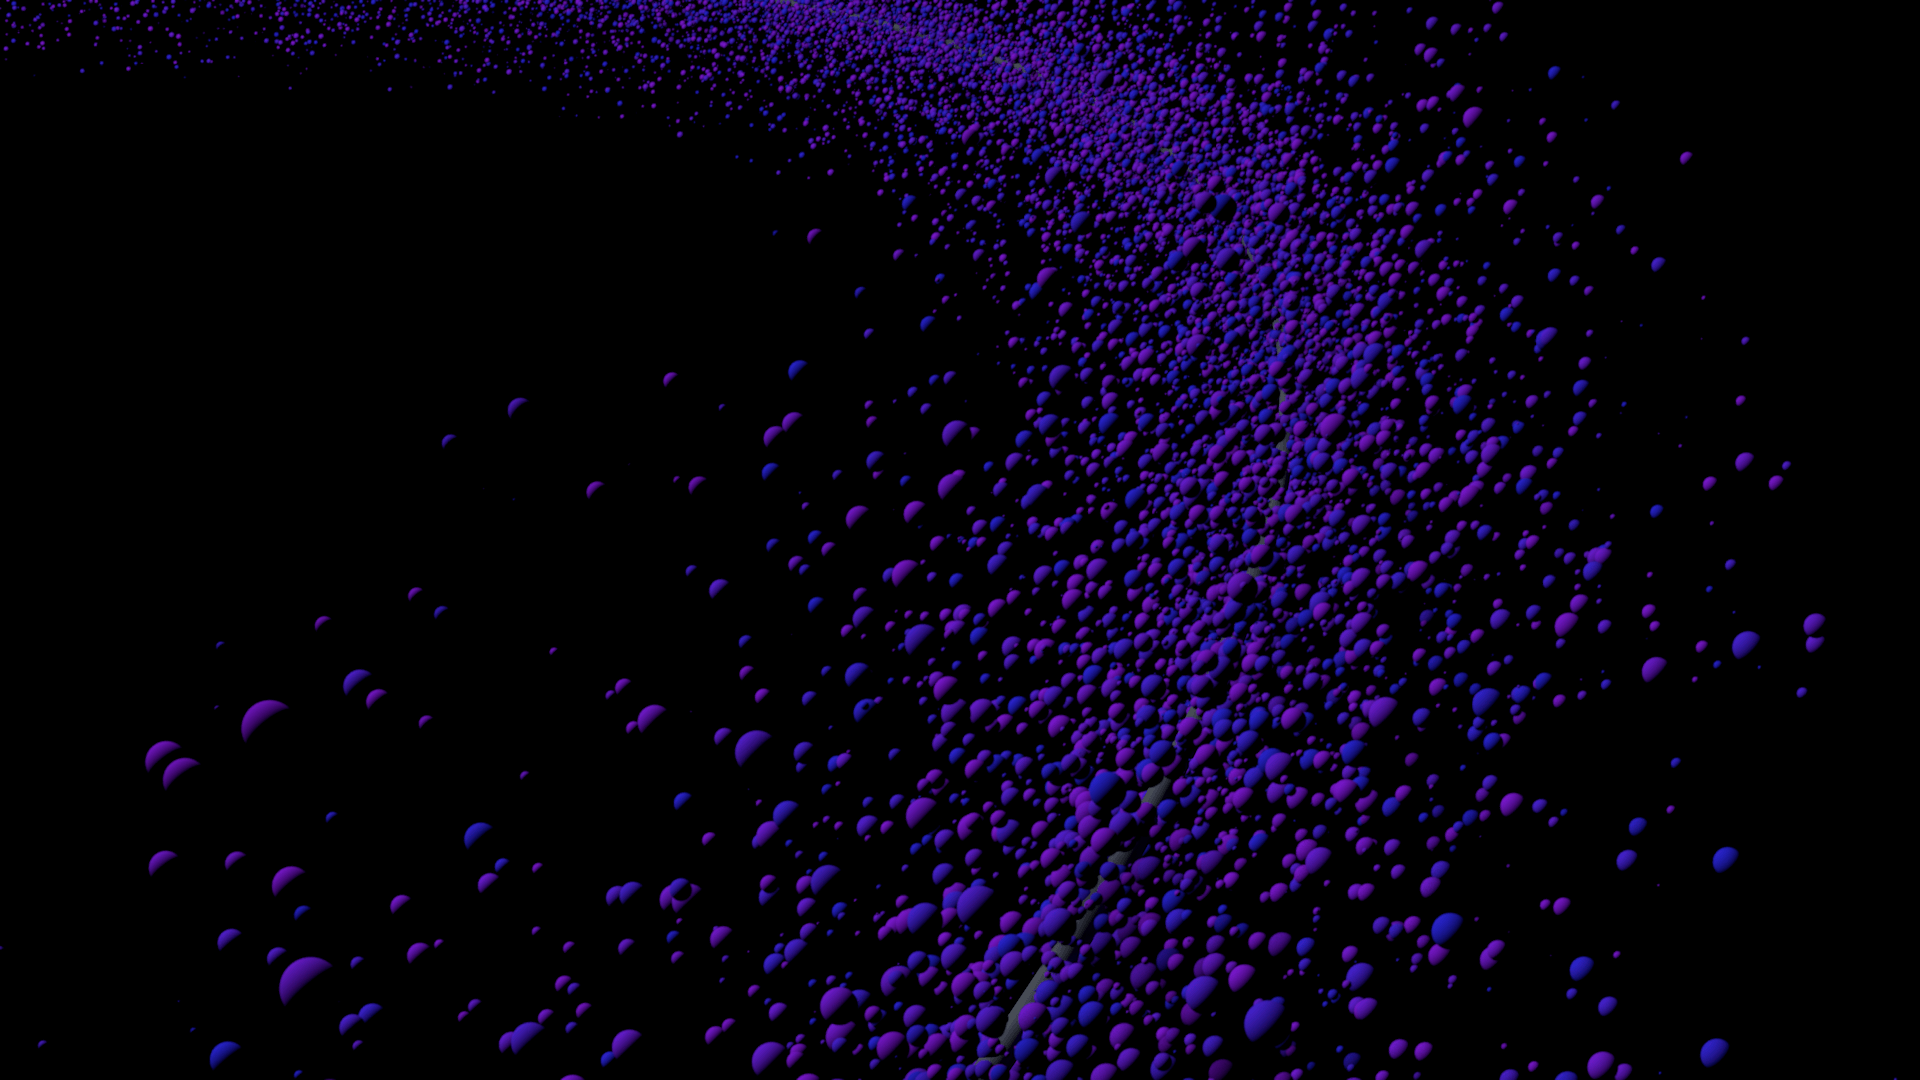
Neon – The neon mode is by far the most different setting compared to all of the others – it adds a slight blur to each of the particles but also adds a strong luminance to each of them which can be seen in the background of the render. To me, I could see this being used to denote a blood vessel if a swatch of reds and dark pinks were used, the particles could also them be red blood cells or other cells found in the bloodstream.
After creating a successful test of the displacement/height map, I decided to put that task on hold and try and conduct some research into X-Particles and try and find a way of creating a ring of spheres for my animation. After a generic search on YouTube, I can across this video by Greyscalegorilla that gave essential information on x-particles, which can be seen below:
The video mainly focusses on the Modifiers section within the X-particles plug-in, with trying to make the ring of spheres I though it would be a good video t watch as it might contain a lot of really useful information that I wouldn’t be able to understand in a quick time frame.
The first part of the video focussed on a particular modifier called xpNetwork which makes the particles that are emitted change direction at a specified angle at specified times/frames – for example, a particle would change 90º in any direct every 10 frames which creates a really geometric look. With the addition of trails added to the particles, it creates a physical line behind it that tracks its path. Overall, this creates a really unique look that can be adjusted to your project needs – I could see this being used within a sci-fi film where a computer generator created something within the real world but however, it doesn’t match my aesthetic that I want to achieve so I wont be using it.
The second part of the video focussed on xpSpeed which is a modifier that allows for better speed adjustment of the particles. Within the modifier, I would be able to control the speed by going into xpSystem > Modifiers > Motion Modifiers > Speed. It would then allow me to insert a value to tell the software to slow down or speed up the rate at which the particles are travelling – the larger the negative number would mean the faster it would slow down and vice versa which would enable me to achieve the aesthetic I would be looking for.
The last part of the video looks into xpTurbulance, this is very similar to the turbulence effector that is already on the stock version of C4D, however, its for the x-particles system. As its fairly similar, I wont go into details about it but It was a very effective way of making the particles react differently within the editor and could be something I might be able to use within my project.
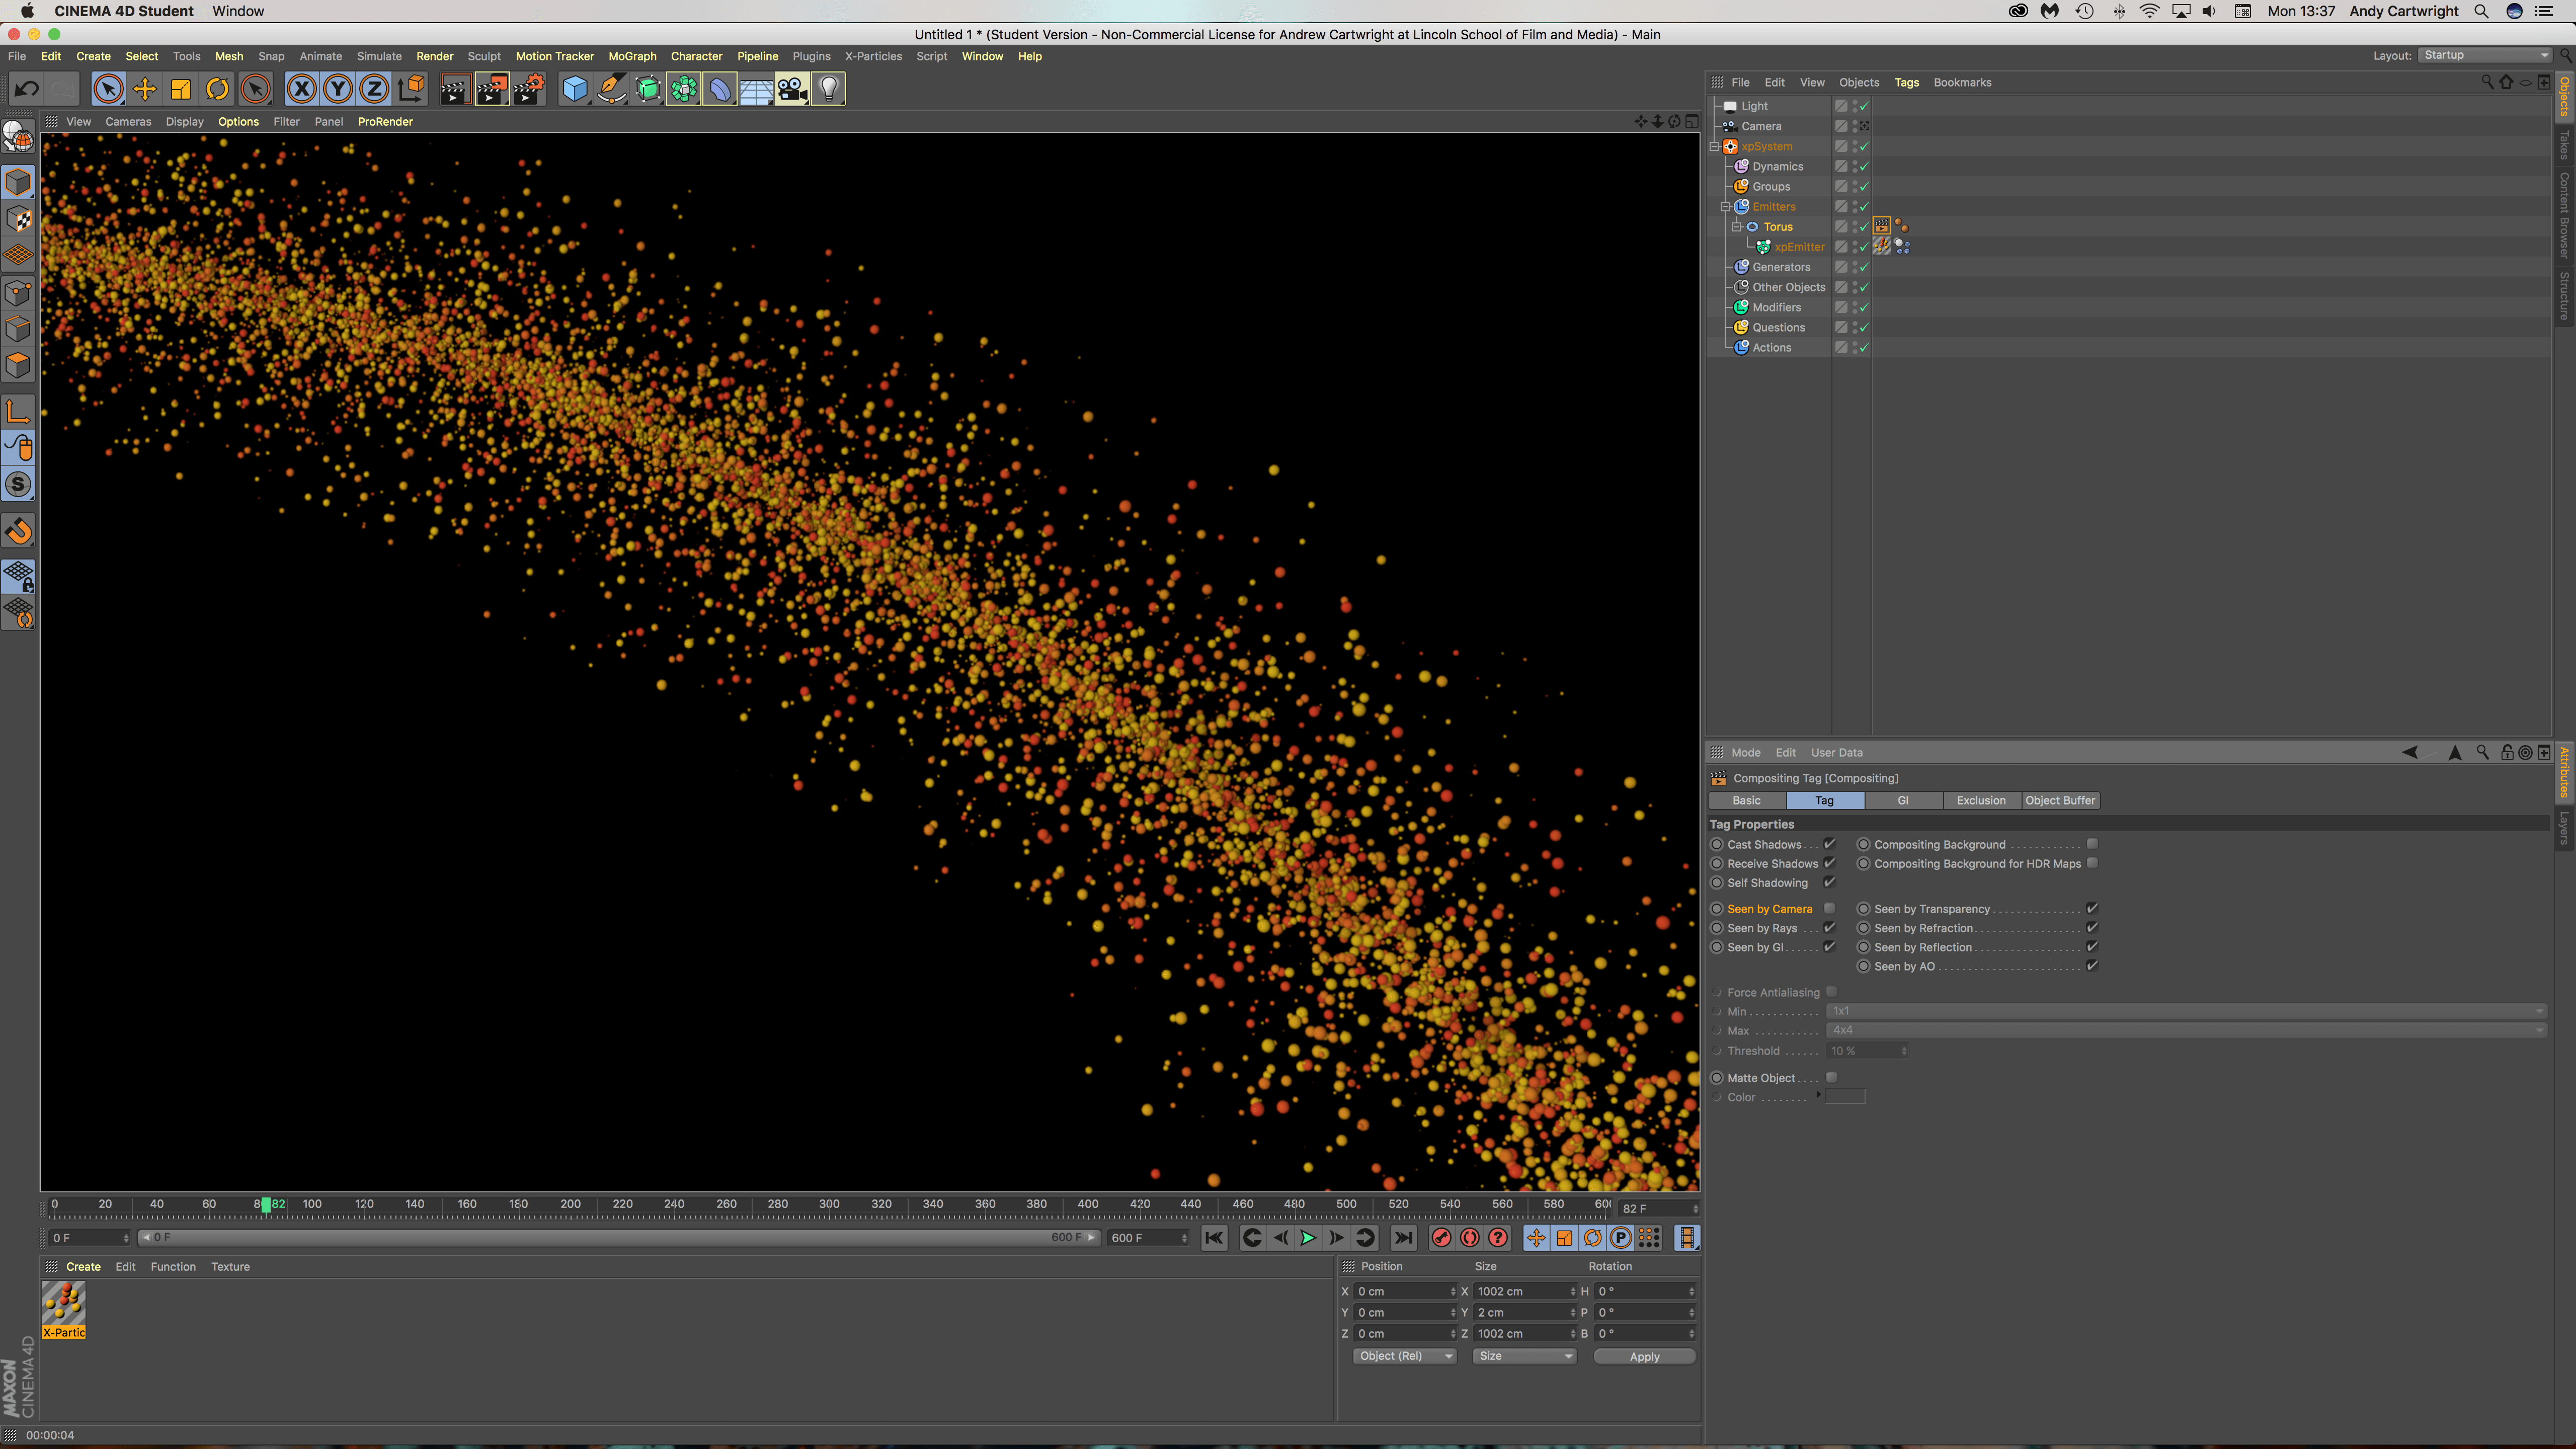
After watching that video, I decided to experiment in the software and dive in head first. The screen recording below shows my workflow and captured all of my different experimentation of trying to get the emitted particles to: A) be emitted in a torus shape (a ring), B) to make the emitted particles group together around the torus and C) rotate in a clockwise fashion.
For task A, I was able to make the torus become the emitting object for the particles, overall, this wasn’t a very complex task but as I didn’t know I spend a lot of time tweaking different settings as I though it was under another sub-heading in the Emission tab but I got there in the end. For task B, I wasn’t able to make the emitted objects group together, I tried adding a rigid body tag and experimenting with the force as this worked within the Glowing Sphere Animation, but this didn’t work. Within the video embedded above, I might be able to control the speed in which the particles are emitted by going into xpSystem > Modifiers > Motion Modifiers > Speed. I would then have to insert a negative value to tell the software instead of speeding up as the timeline goes on, to slow down instead – the larger the negative number would mean the faster it would slow down and vice versa which would enable me to achieve the aesthetic I would be looking for. Lastly, for task C, I will have to experiment further with the rotational aspect of the project, I feel that I might have been able to make it do so by animating the emitter object (the torus) with key frames – At frame 0 I could have set a key frame so that by frame 90 it would have rotated 3 times for example. But to fully test this hypothesis, I will have to go back into the software and test it out.
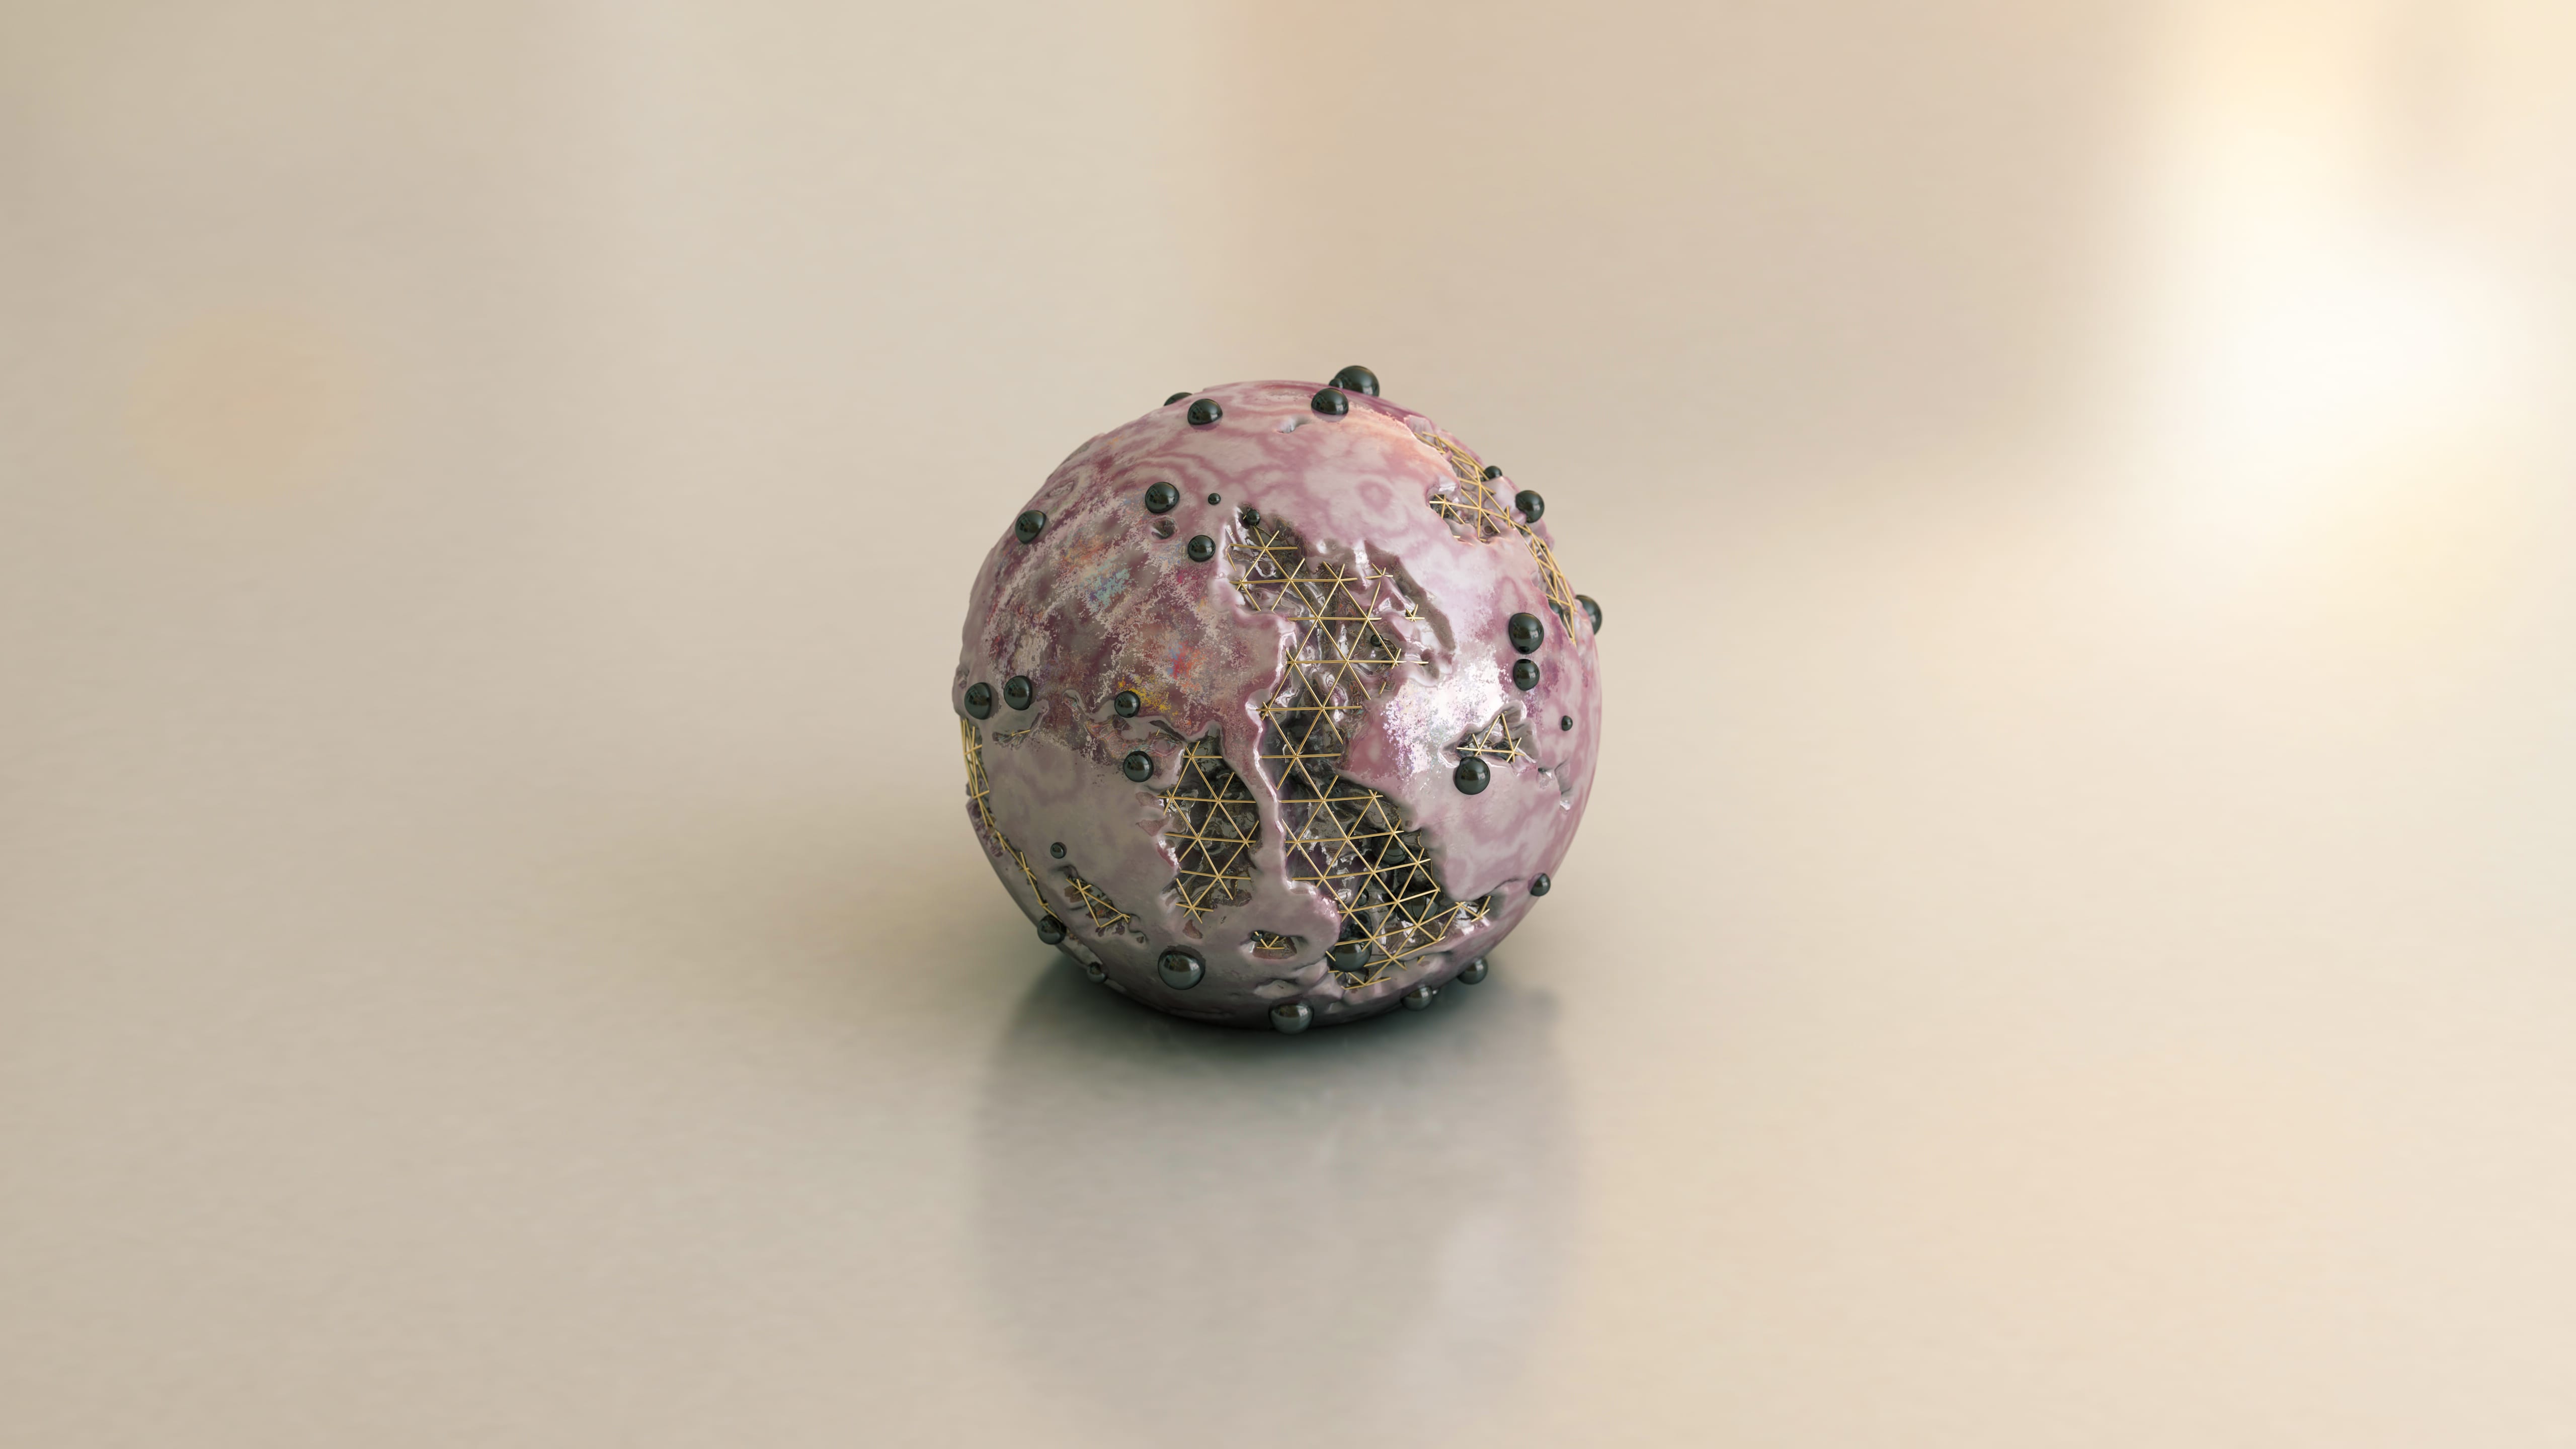
After following the abstract sphere tutorial on youtube, I was advised by my tutor to try and animate it as it was a still image – this at first seemed like a really daunting task as I had to consider so many more variables within this animation that I have never really dealt with. My first instinct was to make the sphere rotate as the whole object was really unique and I thought showing the whole back portion of the sphere might be interesting. Furthermore, it was suggested again by my tutor to try and make the small black spheres on the shape move or grow/shrink in size – as the original sphere was in a cloner I wasn’t able to make them move, however I was certain I could make the grow/shrink with key frames. This whole process was fairly easy, it involved the simple process of setting key frames, changing values slightly and then moving the timeline forward and repeating the process – at the beginning of the animation the sphere size was 0.6 and then I further increased it to 0.9 roughly every 15 frames, I didn’t want it to seem regular as the shape is fairly organic, I wanted the growing and shrinking process to be organic looking too. Additionally, I learnt something new by doing this process. Within the animation there is a short pan done by the camera, before I didn’t know how to doit but with the power of the Motion Camera Tag, I was able to set a start camera and a end camera and key frame the blending strength between them to create an aesthetically pleasing transition – this was good to know as I might be able to use this within my animation, however, I will more than likely just key frame the positional co-ordinates to make the camera move (which I didn’t think of doing at the time).
Overall, I feel like the process went well of turning the still image/project into a moving animation, however, I feel a number of factors could have been altered to improve it. Firstly, I feel that the ‘marble’ texture that was on the outer shell of the sphere could have been made less glossy, when the sphere rotated you are able to see the hdri map in the background very clearly – although this could be regarded as a good element about the project, I feel that it wasn’t very aesthetically pleasing in my personal preference. Additionally, I also should have made the black spheres on the outside grow & shrink more in size – I don’t feel that it was very noticeable so having them grow larger might have resolved it – as well, even having the sphere’s grow/shrink at a faster rate might have had a better effect too.
Andy Kramer is a digital artist, most famous for his work on Star Trek’s ending credits. His work has a attractive space aesthetic which I feel inspires my work, I specifically like the way the scene is layered up especially with the planets – the way in which the asteroids seem to stand out against the planet and the dust is very attractive and is something I would like to incorporate into my own work. I could see myself using similar conventions when shallow focus’ are being used with the ring of spheres, this would help to add to the visual element of the animation as the audience would be able to get a better understand on the space or distance between the spheres and the cube. Additionally, I was fully surprised to find out that the ending of the film and the credits were created within Adobe After Effects – I didn’t associate After Effects as a powerful 3D software tool, but after some further research I discovered that Andy has developed some plug-in for AE that enable it to do so (and also with a bit of perspective trickery).
Your Privacy Matters
We use essential cookies to ensure our website functions correctly. With your consent, we also use analytics cookies to help us understand how people use our site, so we can improve its performance and usability. These analytics do not collect personal information or track you across other websites. By clicking Accept, you agree to the use of cookies as outlined in our Privacy and Cookie Policy.