X-Particles Final Material Pt.1

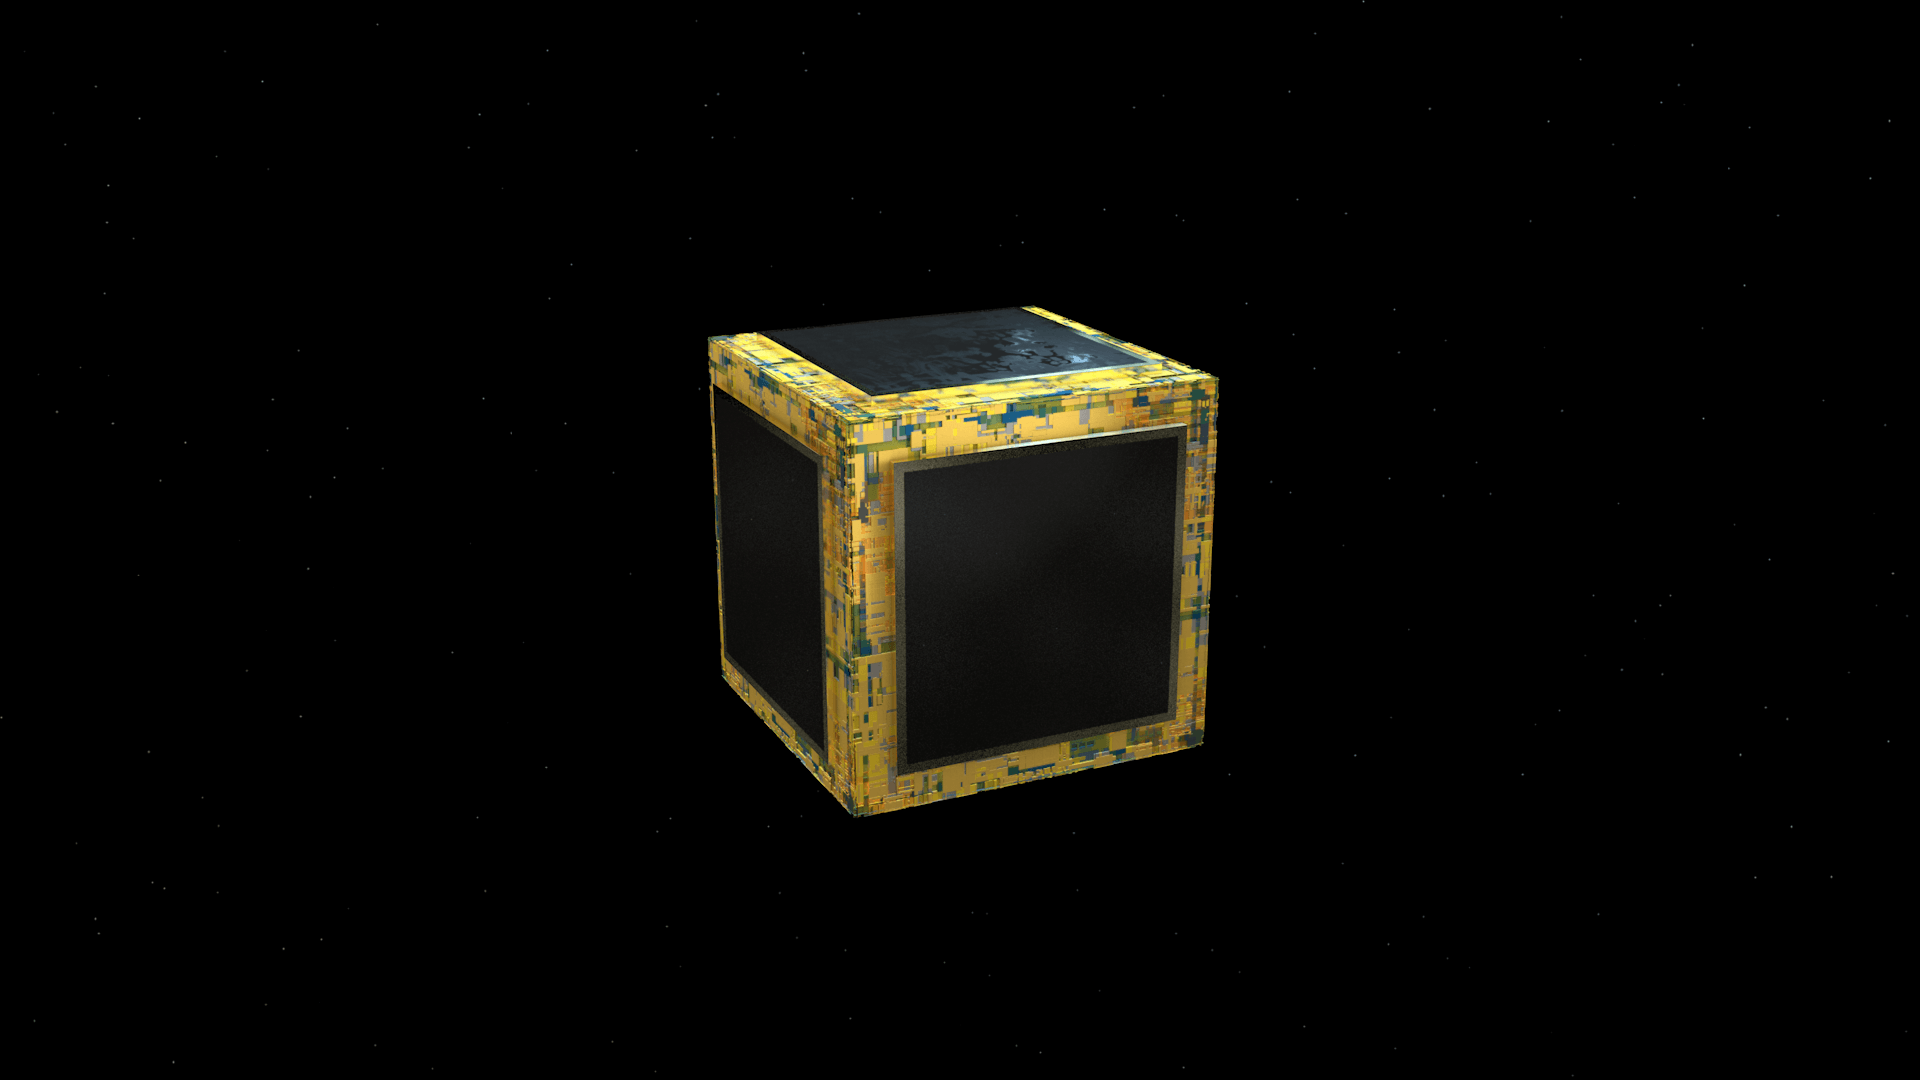
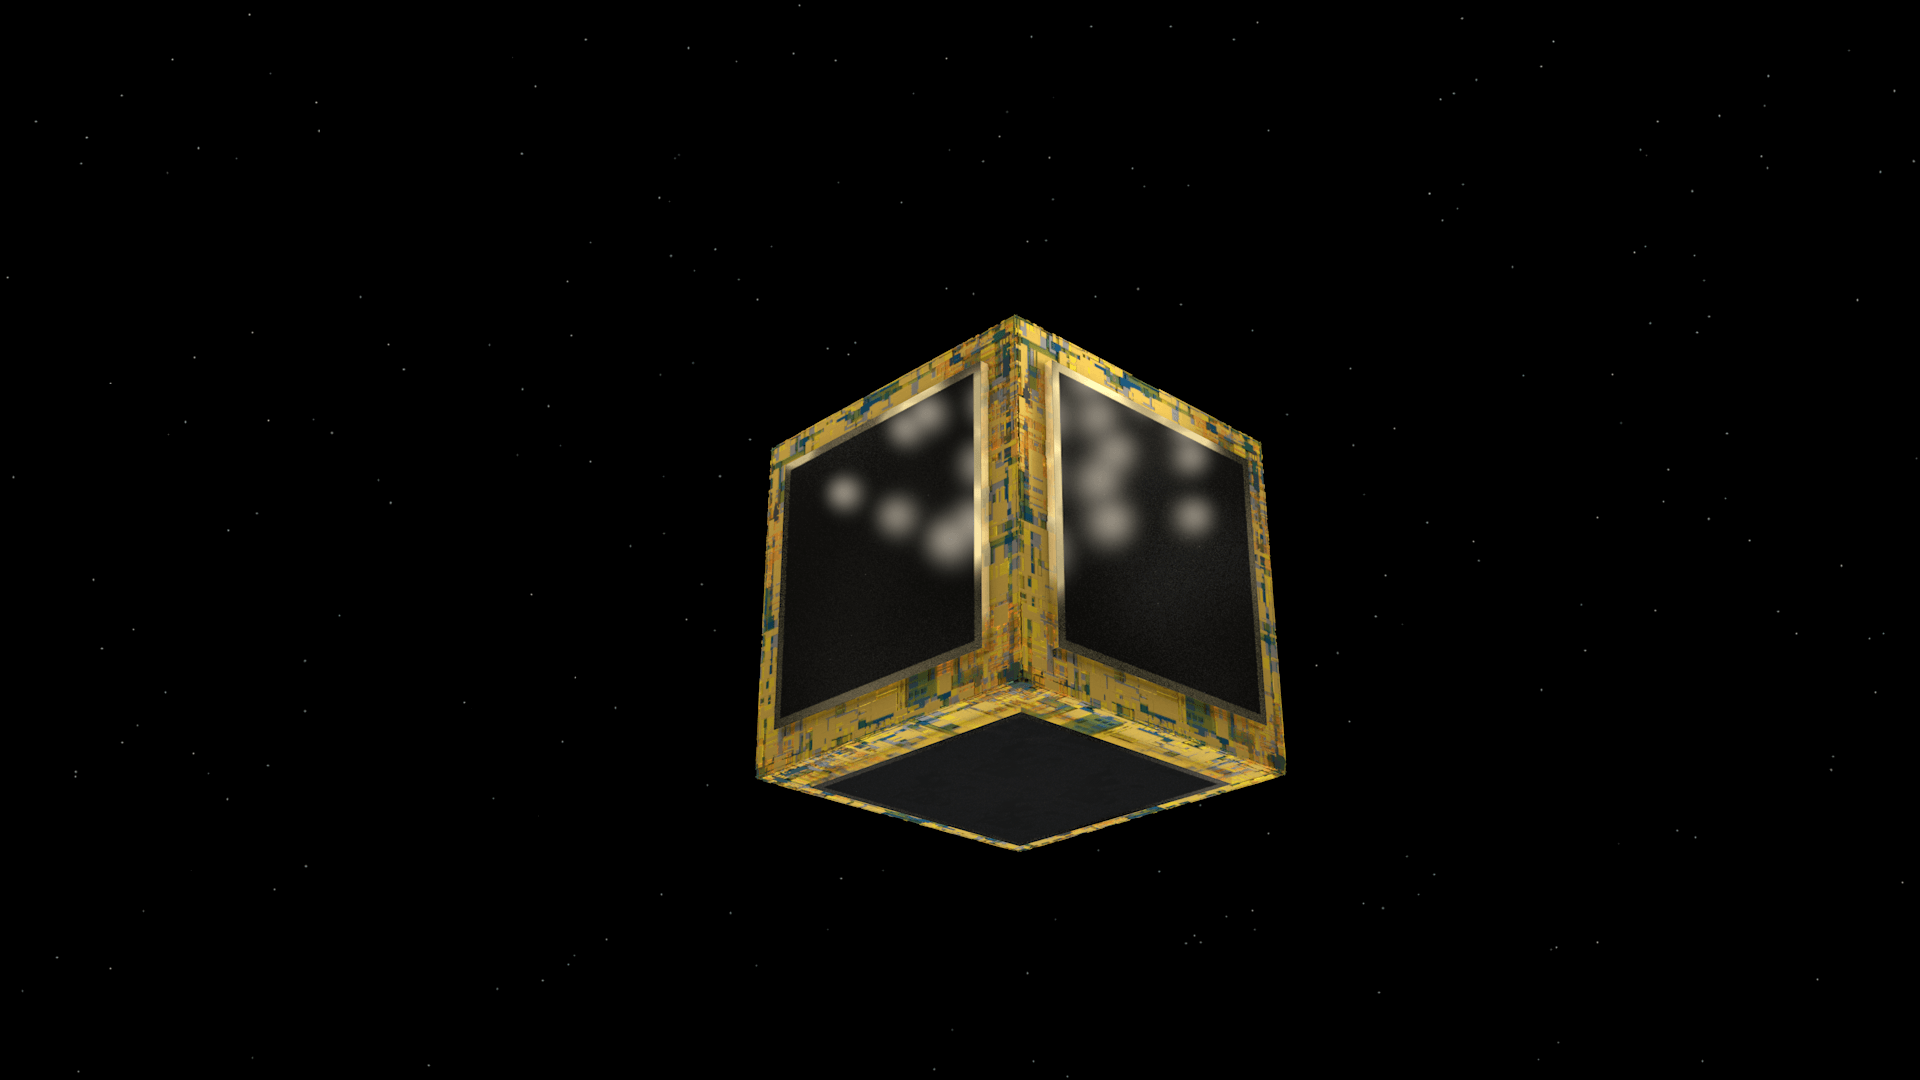
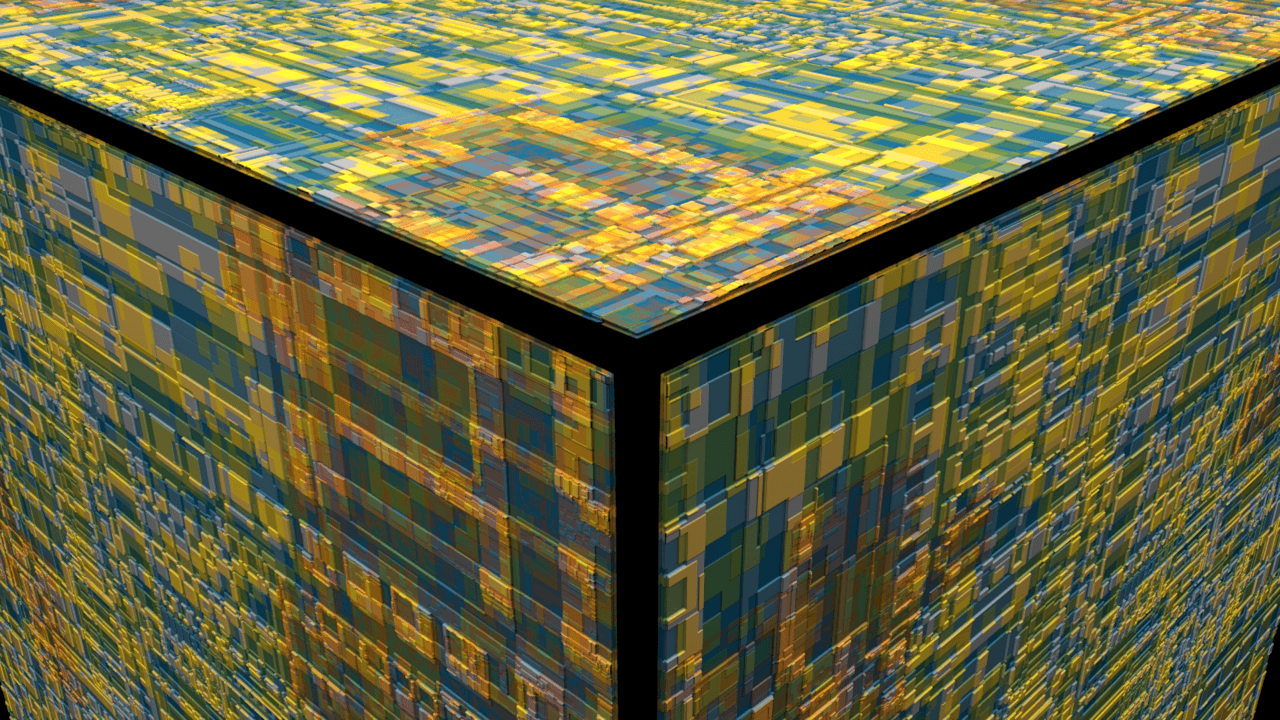
After finalising the turbulence and illumination material tests in previous posts, it was time to merge them together to form the final material for the project. Video below shows and explains this process that I went through in order to merge them together:

This was a fairly simple process of merging them together, however, it still needs to be fine tuned to make it look better. Despite this fact, I was able to test and render out a small animation showing the material being effected by the turbulence and also glowing:

Conclusion

Overall, the animation has the desired effect I wanted to achieve and implement into my project. However, its not quite up to the level of quality I would like it to be, as there are a number of things that need to be addressed. Firstly, I need to change the death rate of the particles that are being birthed through the emitter – if you look anywhere on the ring you are able to see a lot of dark black spheres floating around that aren’t doing anything. I feel that the ratio between the black spheres and coloured spheres is too imbalanced, by shortening the death rate of the particles I will be able to eliminate a lot of these black spheres just as they start to lose their speed and colour.

Additionally, I also need to decrease the animation speed of the ring as its too fast and doesn’t match the aesthetic I’m trying to achieve. When observing the animation, it is very clear that the particles are moving very fast and for a very short distance – my scene is going to be a space/zero-gravity environment, and because of this I would like the particles to be emitted very slowly and also to be moving very slowly as I feel this best reflects the environment they are in. There are multiple ways I could do this:

1) I could either slow the particle emission down by decreasing the speed of the particles, specifying the amount of particles that can be emitted per frame and also by decreasing the effector controlling how far out the particles can spread. This will allow me to slow the particles down but also produce a similar visual result as to what I currently already have.

2) As well, I could render with a higher frame rate within the camera settings – this would allow me the flexibility to slow it down to half the speed or more within post-production. The result of this will allow me to achieve the same effect however, it will the exact same but at decreased speed. However, its key to note that this method will greatly increase my rendering time as increasing the frame rate of the scene will also increase the number of frames that my computer will need to render out.

X-Particles Wind Effector

After creating the illuminating material in the last post, I wanted to continue to focus on the the X-Particles ring. One key aspect about the ring is that, I want it to have some erratic movements occurring when the camera pans over it – this YouTube tutorial below was very resourceful as it gave me a lot of information about how to make the x-particle move in the way I wanted.

Although I have used this before for my initial research, it goes into great detail about ‘Turbulencexp’ which is the main effector that I use within in project. I took the relevant information that made the particles move, I then applied it to my X-particles ring that I had created before – the screen recording below explains and shows my process up to the point of rendering:

After creating this, I then needed to set up the camera, this is shown below in a time lapse. Overall, I set the camera on a spline and changed the rotation of it to produce a more visually interesting shot. I then manually targeted the centre of the particle emitter using key frames, this allowed the X-Particles ring to always be central within the shot – this was lastly paired with a short focal length to ensure all of the particles that were in focus.

The video below is the final animation, unfortunately this video is choppy and stuttery as I had to lengthen the clip inside of After Effects, as it was too fast for you to see the turbulence within the particles. Additionally, I also added fade in and out to the animation to make it look better visually – this was also accompanied by a glow effect to make the spheres stand out a bit more in the scene.

Overall, I really happy with how it came out. You can see the turbulence in the particles as some of them move is a wave like fashion, however, this wont be the final setting as I feel it could be increased slightly to make it more visible within the render. In addition, I also feel that the colours of the particles work well, further thinking will need to be conducted into the final colours in the final animation as they might clash with the cubes colours. Next time, I will be sure to add Depth of Field to the animation, this will give the video more visually interesting elements to it, whilst also putting emphasis onto the particles in front. As well, I will add the illuminating material to it, where the spheres glow based off of their speed, this will complete this asset for the animation meaning I can start on the camera work for the final render.

Animation Background Testing

In preparation to all my assets being completed, I took some time into thinking about the background or the stage in which my animation will take place. The narrated screen recording below takes you through my thought processes and ideas when it comes to creating the stage, whilst also justifying my choices:

From this scene I created, I have produced some renders below of what the ‘Starfield’ looks like and also what it looks like with the cube inside of it. The stars on th images almost look invisible, however, if they are viewed fully you can clearly see them.

1

2

Camera Motion Research & Testing

Research

After creating my abstract cube, I wanted to test a way of linking the camera’s rotation based around the abstract cube, which will be centred within my scene. The aim of this will allow my camera to rotate around the cube whilst having a shallow depth of field focusing on the ring of spheres in front.

I found a video on YouTube which explored this rotation element that I want to introduce into my own work – however the objects used weren’t exactly the same but the basic principles behind it could still be adapted to my project.

Overall, the main element that I took away form this was the use of splines – I didn’t know that I could use a spline to create the camera motion within C4D. Now this I have gained this knowledge, I will have a lot of creative freedom with my camera movements when it comes to rendering the animation. In addition, I felt that the C4D tag ‘Align to Spline’ was very critical within this as without it, the camera wouldn’t have been able to follow the specific shape.

Testing

After watching the tutorial, I set up a scene which resembled something similar to my animation with the extra additions of the spline and the camera. I then went about creating some interesting camera movement by altering the camera position within the key frame limit (o-150), which would alter how far around the spline it would travel and, then also by using the rotate tool to change the angle of the spline which the camera followed – by doing this, I created this animation below with interesting textures and an over sized sphere with a ‘Starfield‘ colour texture on it.

Overall, I feel that using the align to spline method of camera movement would be an easy and effective way of creating camera motion within my animation – this particular example, although very exaggerated could be slowed down to create the type of shot that I would like within one of the scene in the animation. The section in mind is scene 2 (which can be seen in the Storyboard) where there is a shallow focus on the spheres floating in front with the cube in the background, however, I would need to change the Spline Position from 100% at the end of the scene to a smaller value like 10% to allow for the camera motion to be slow enough to capture all the details.

When this is done, it will achieve a very aesthetically pleasing shot, which I feel will be good enough to be further edited in After effects with the extra ideas I had in mind.

Renders

Untitled 0030

Untitled 0042

Alternative Displacement Map

After encountering and solving problems with my displacement map, I had thought of a different way of getting around it. In my first displacement map creation I created small geometric shapes inside of the artboard – I realised that because I allowed these shapes to touch the very edge, that they would be displaced upwards which would prevent it from connecting perfectly to the vertices when mapped onto the 3D object.

After realising this, I decided to alter my pre-existing displacement map by adding a white or black rectangle to the edge of it – this would then mean all of the vertices would be displaced to the same level, allowing to connect together perfectly on the 3D object.

Firstly, I started in Illustrator because my initial thinking was to start it from scratch, however, I realised that I would be creating more work for myself as I could have just added the boarder in After Effects and exported it straight away saving myself lots of time – which I did.

After exporting, I then created a quick mock up of my scene – adding the displacement channel with the image and also adding the colour, which produced these two renders below:

White boarder

Blackboarder

Overall, the test was successfully as the boarders made the vertices connect up perfectly on the 3D cube which I was hoping it would do. However, I feel that for next time i will have to change the size of the coloured boarders as the one I made is far too big and leaves a lot of untextured space on the cube. Additionally, the colour of the boarder will have to be changed as both the white and black in these renders don’t suit the reset of the aesthetic that is being used.